Welcome to our digital assembly instructions! Scroll the images to the right and follow the steps
1 of 2
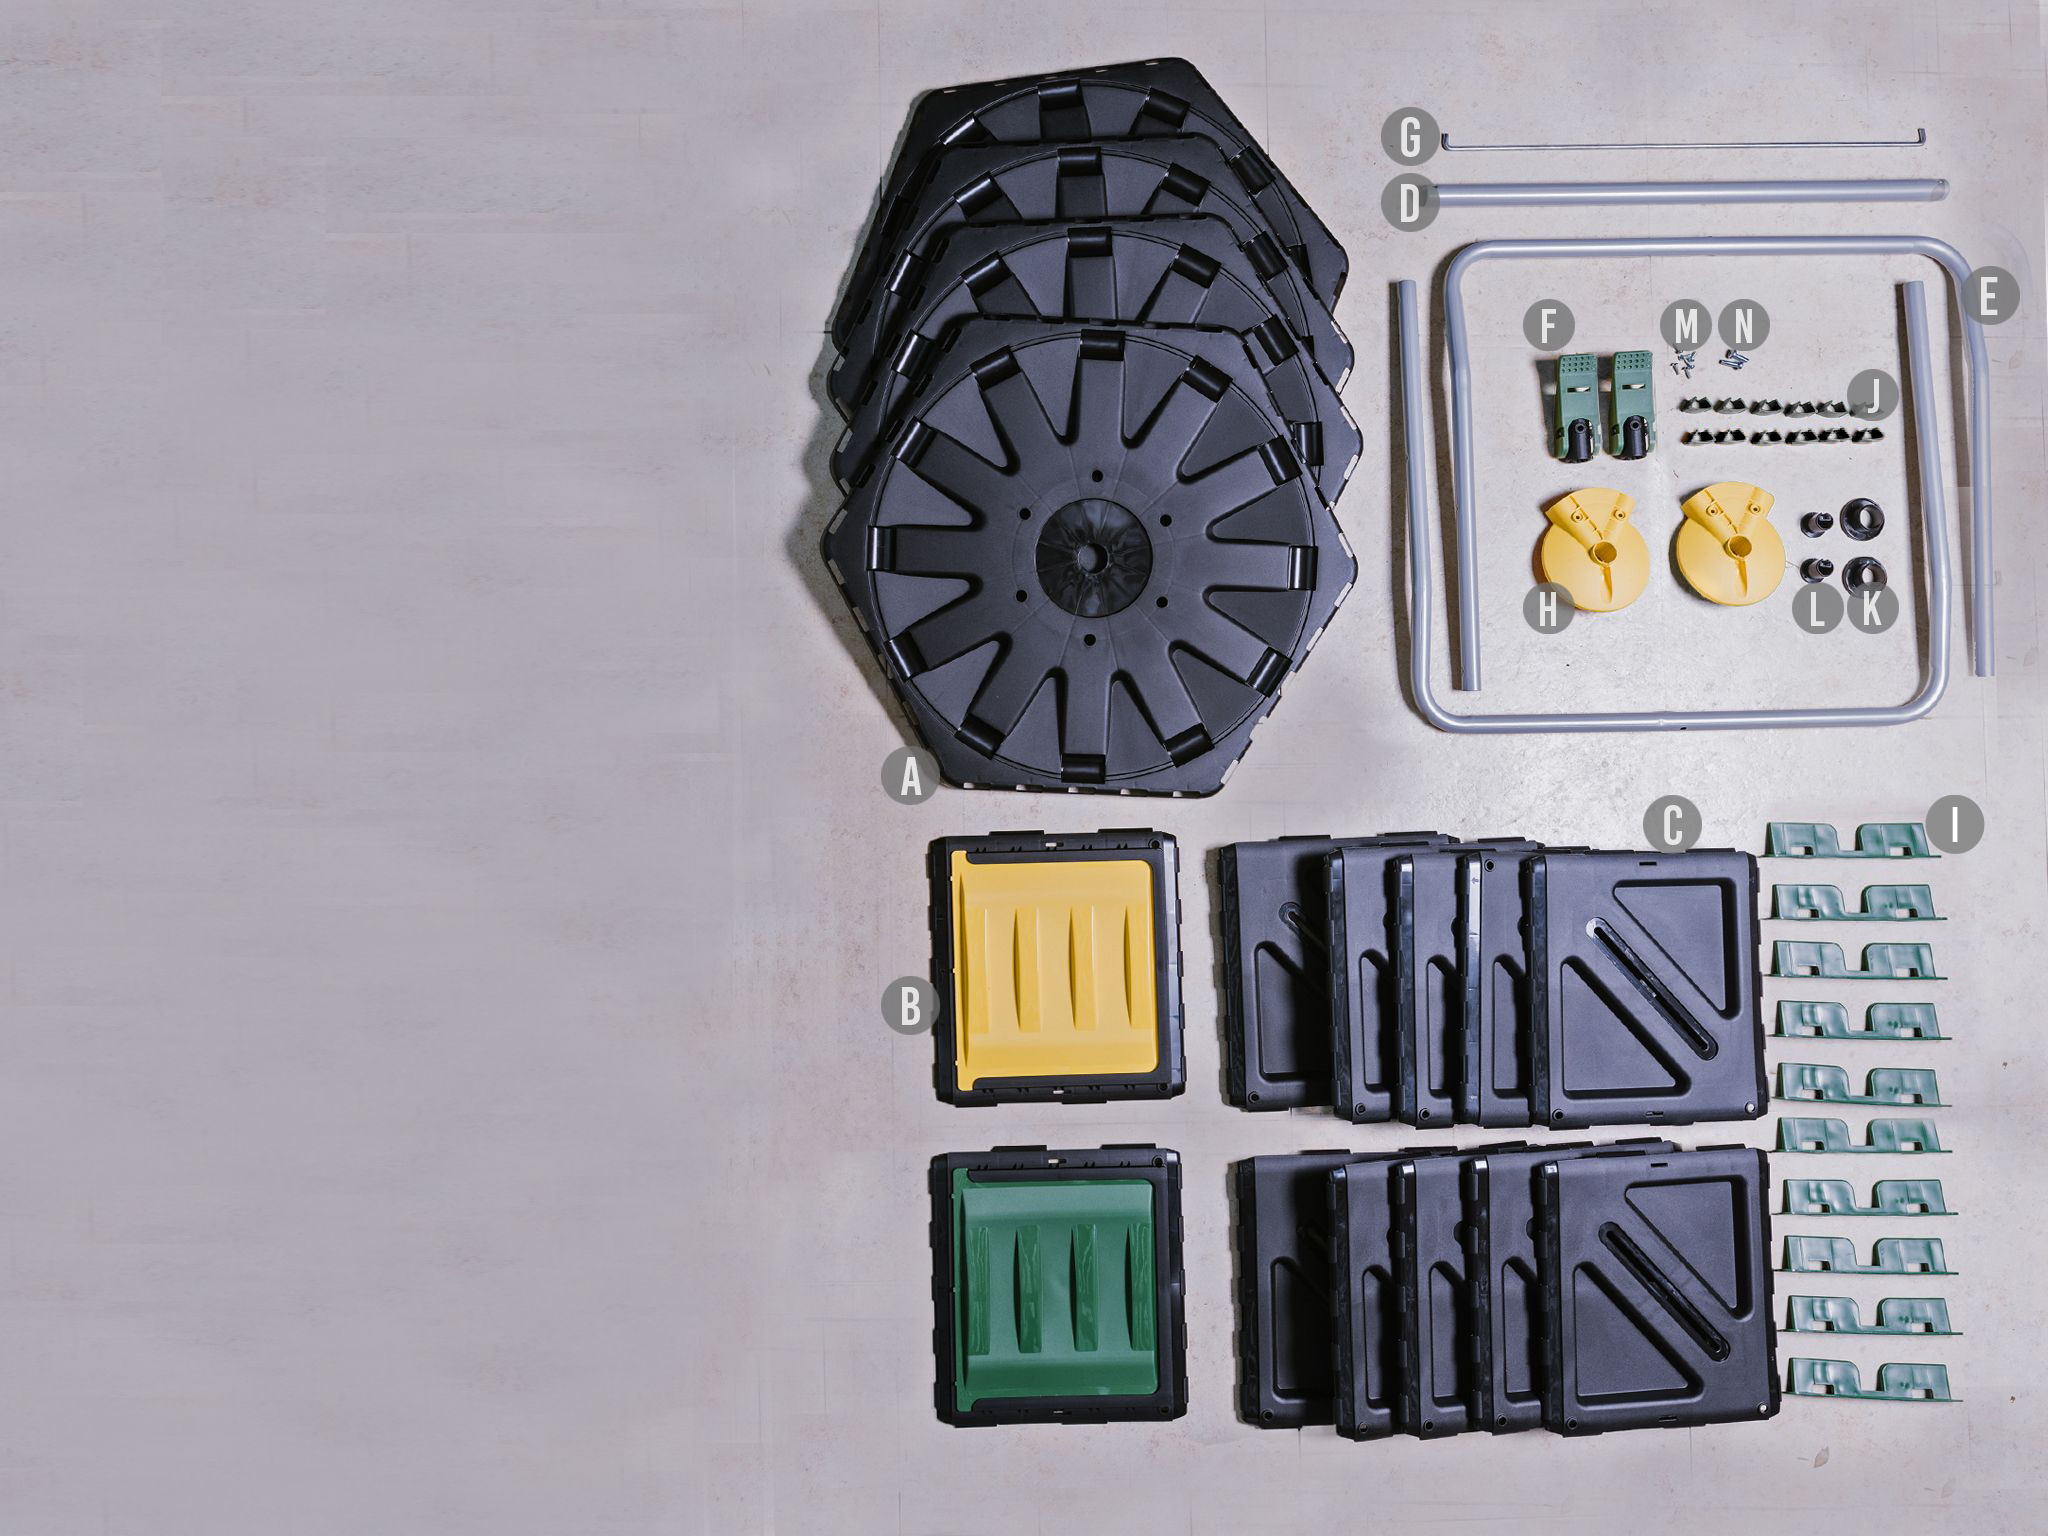
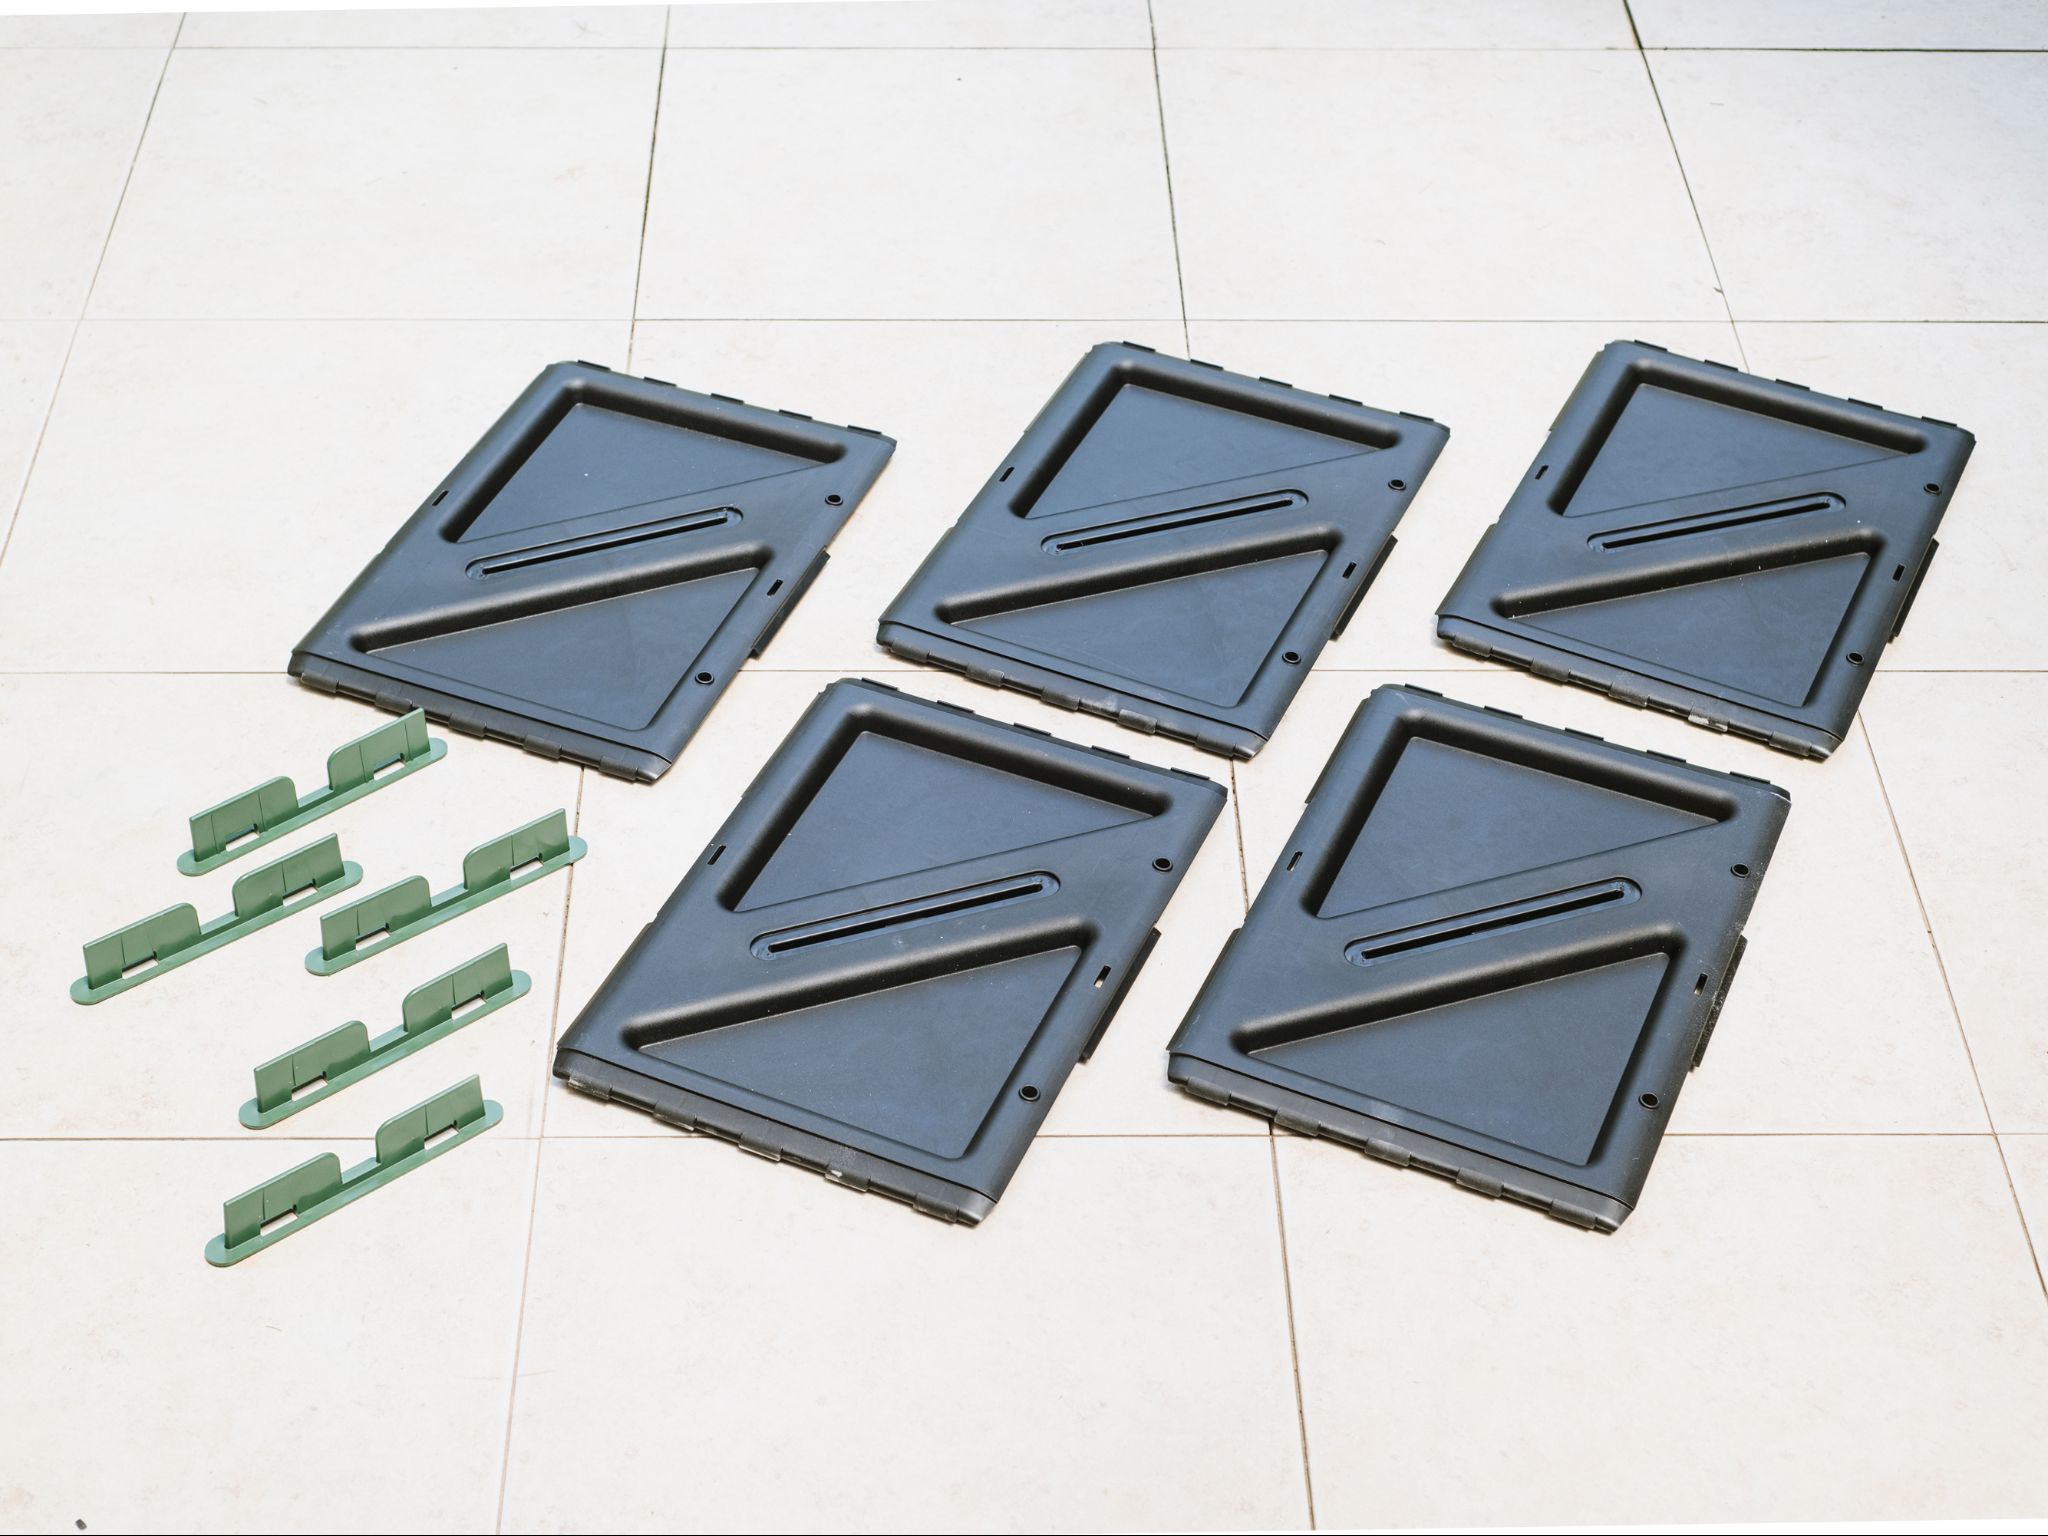
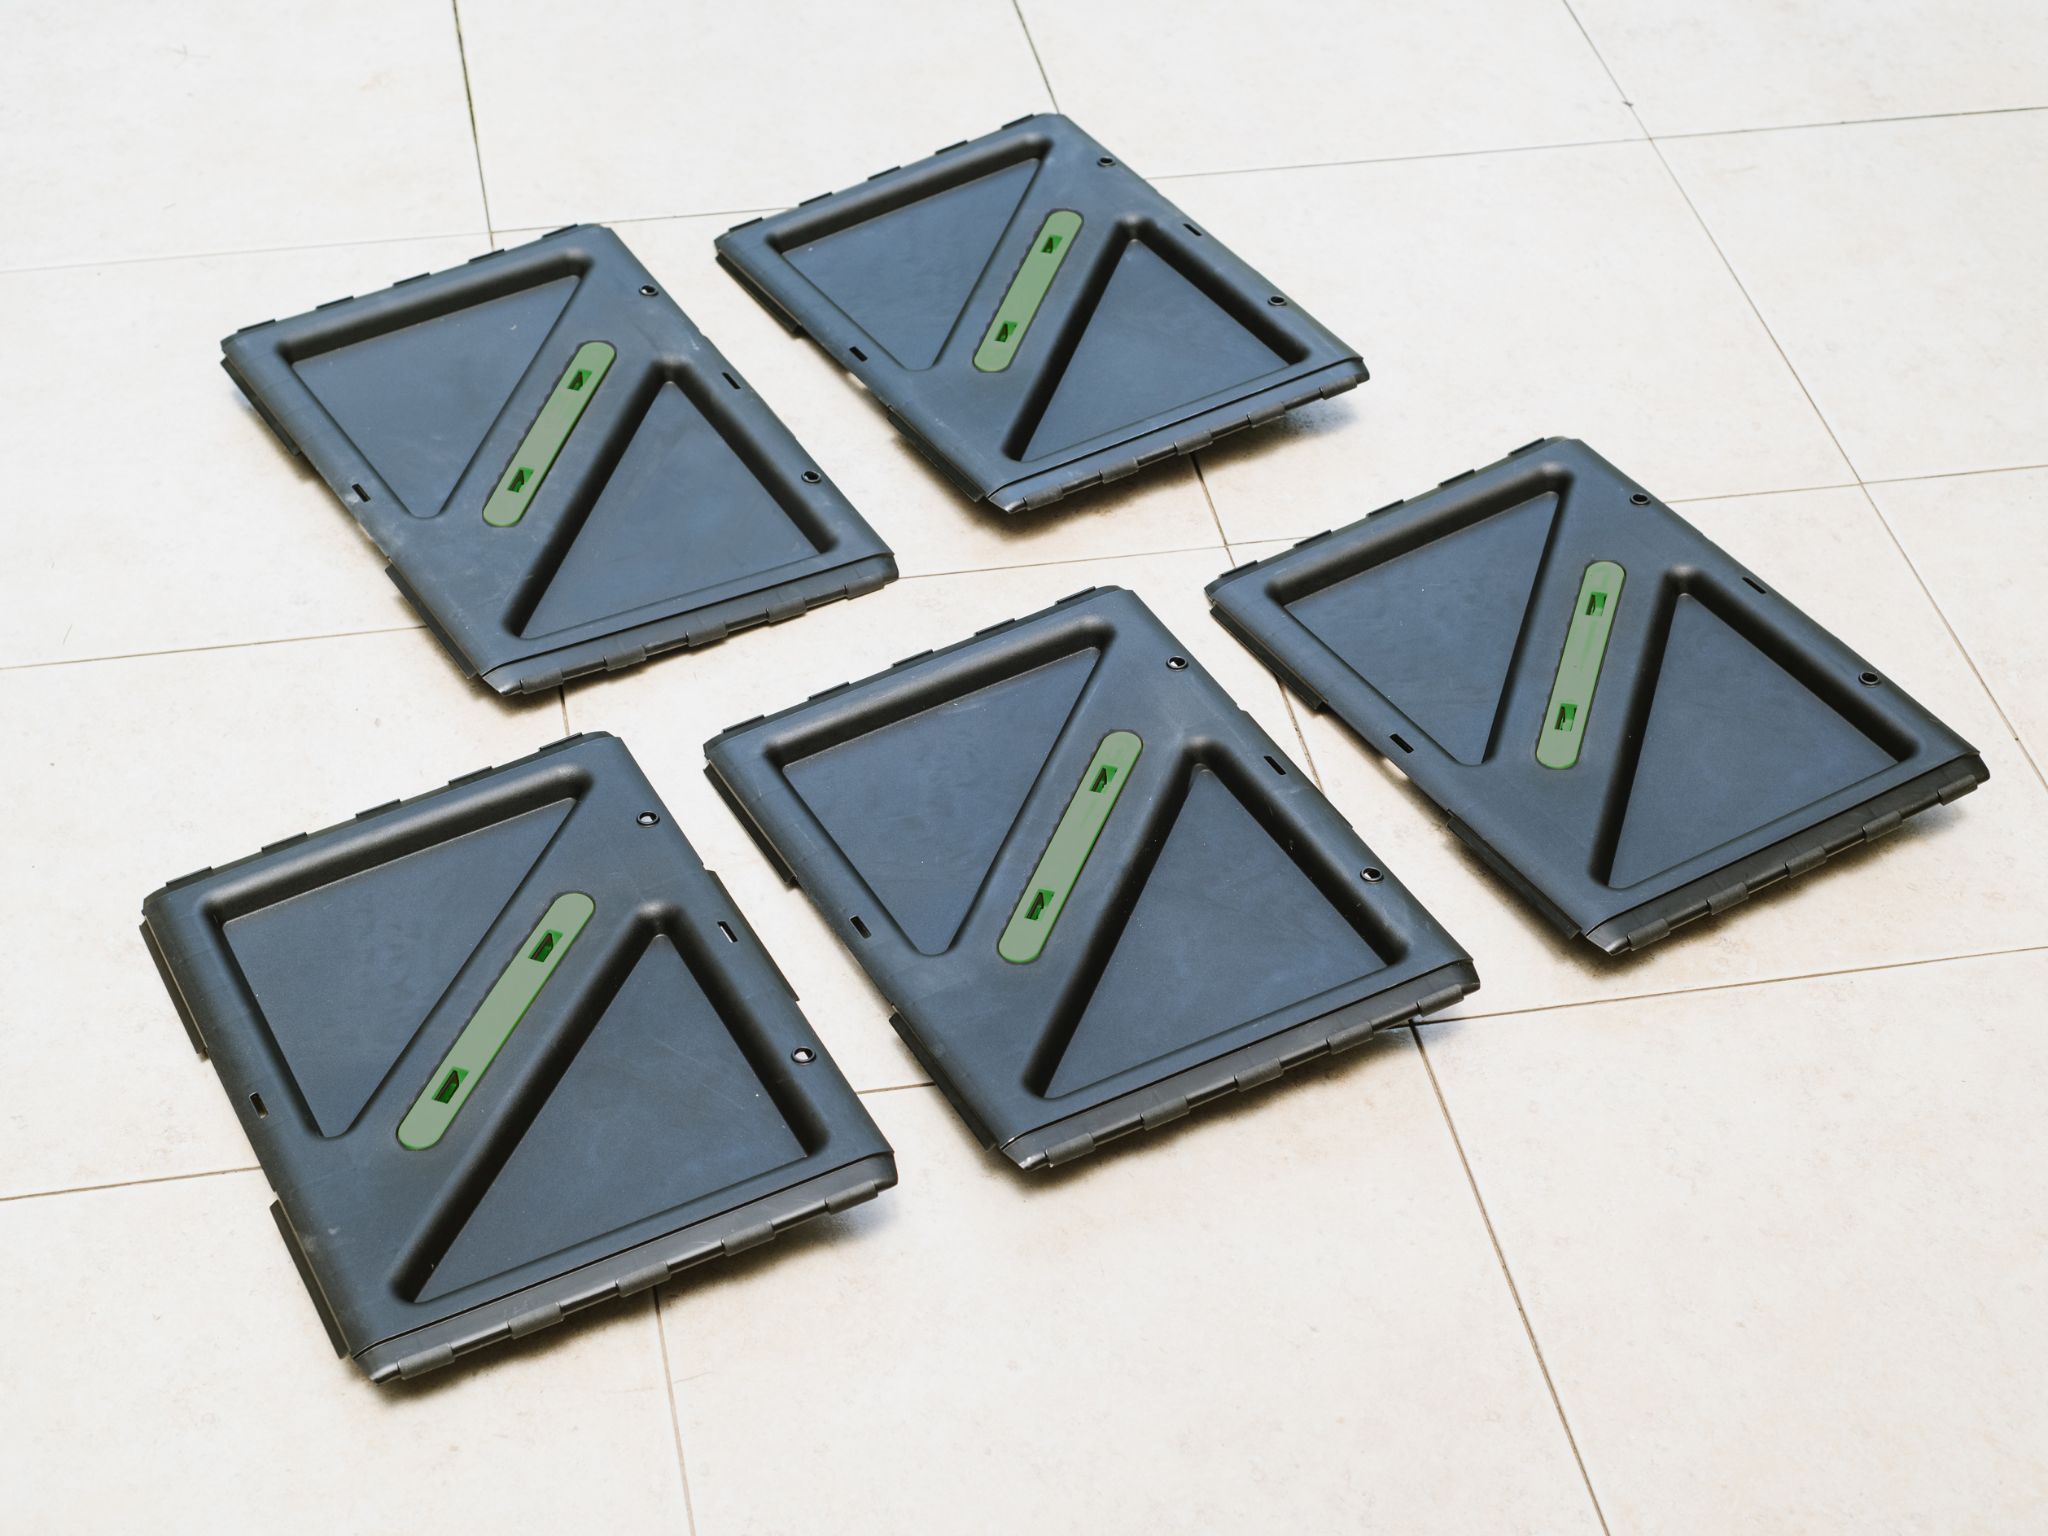
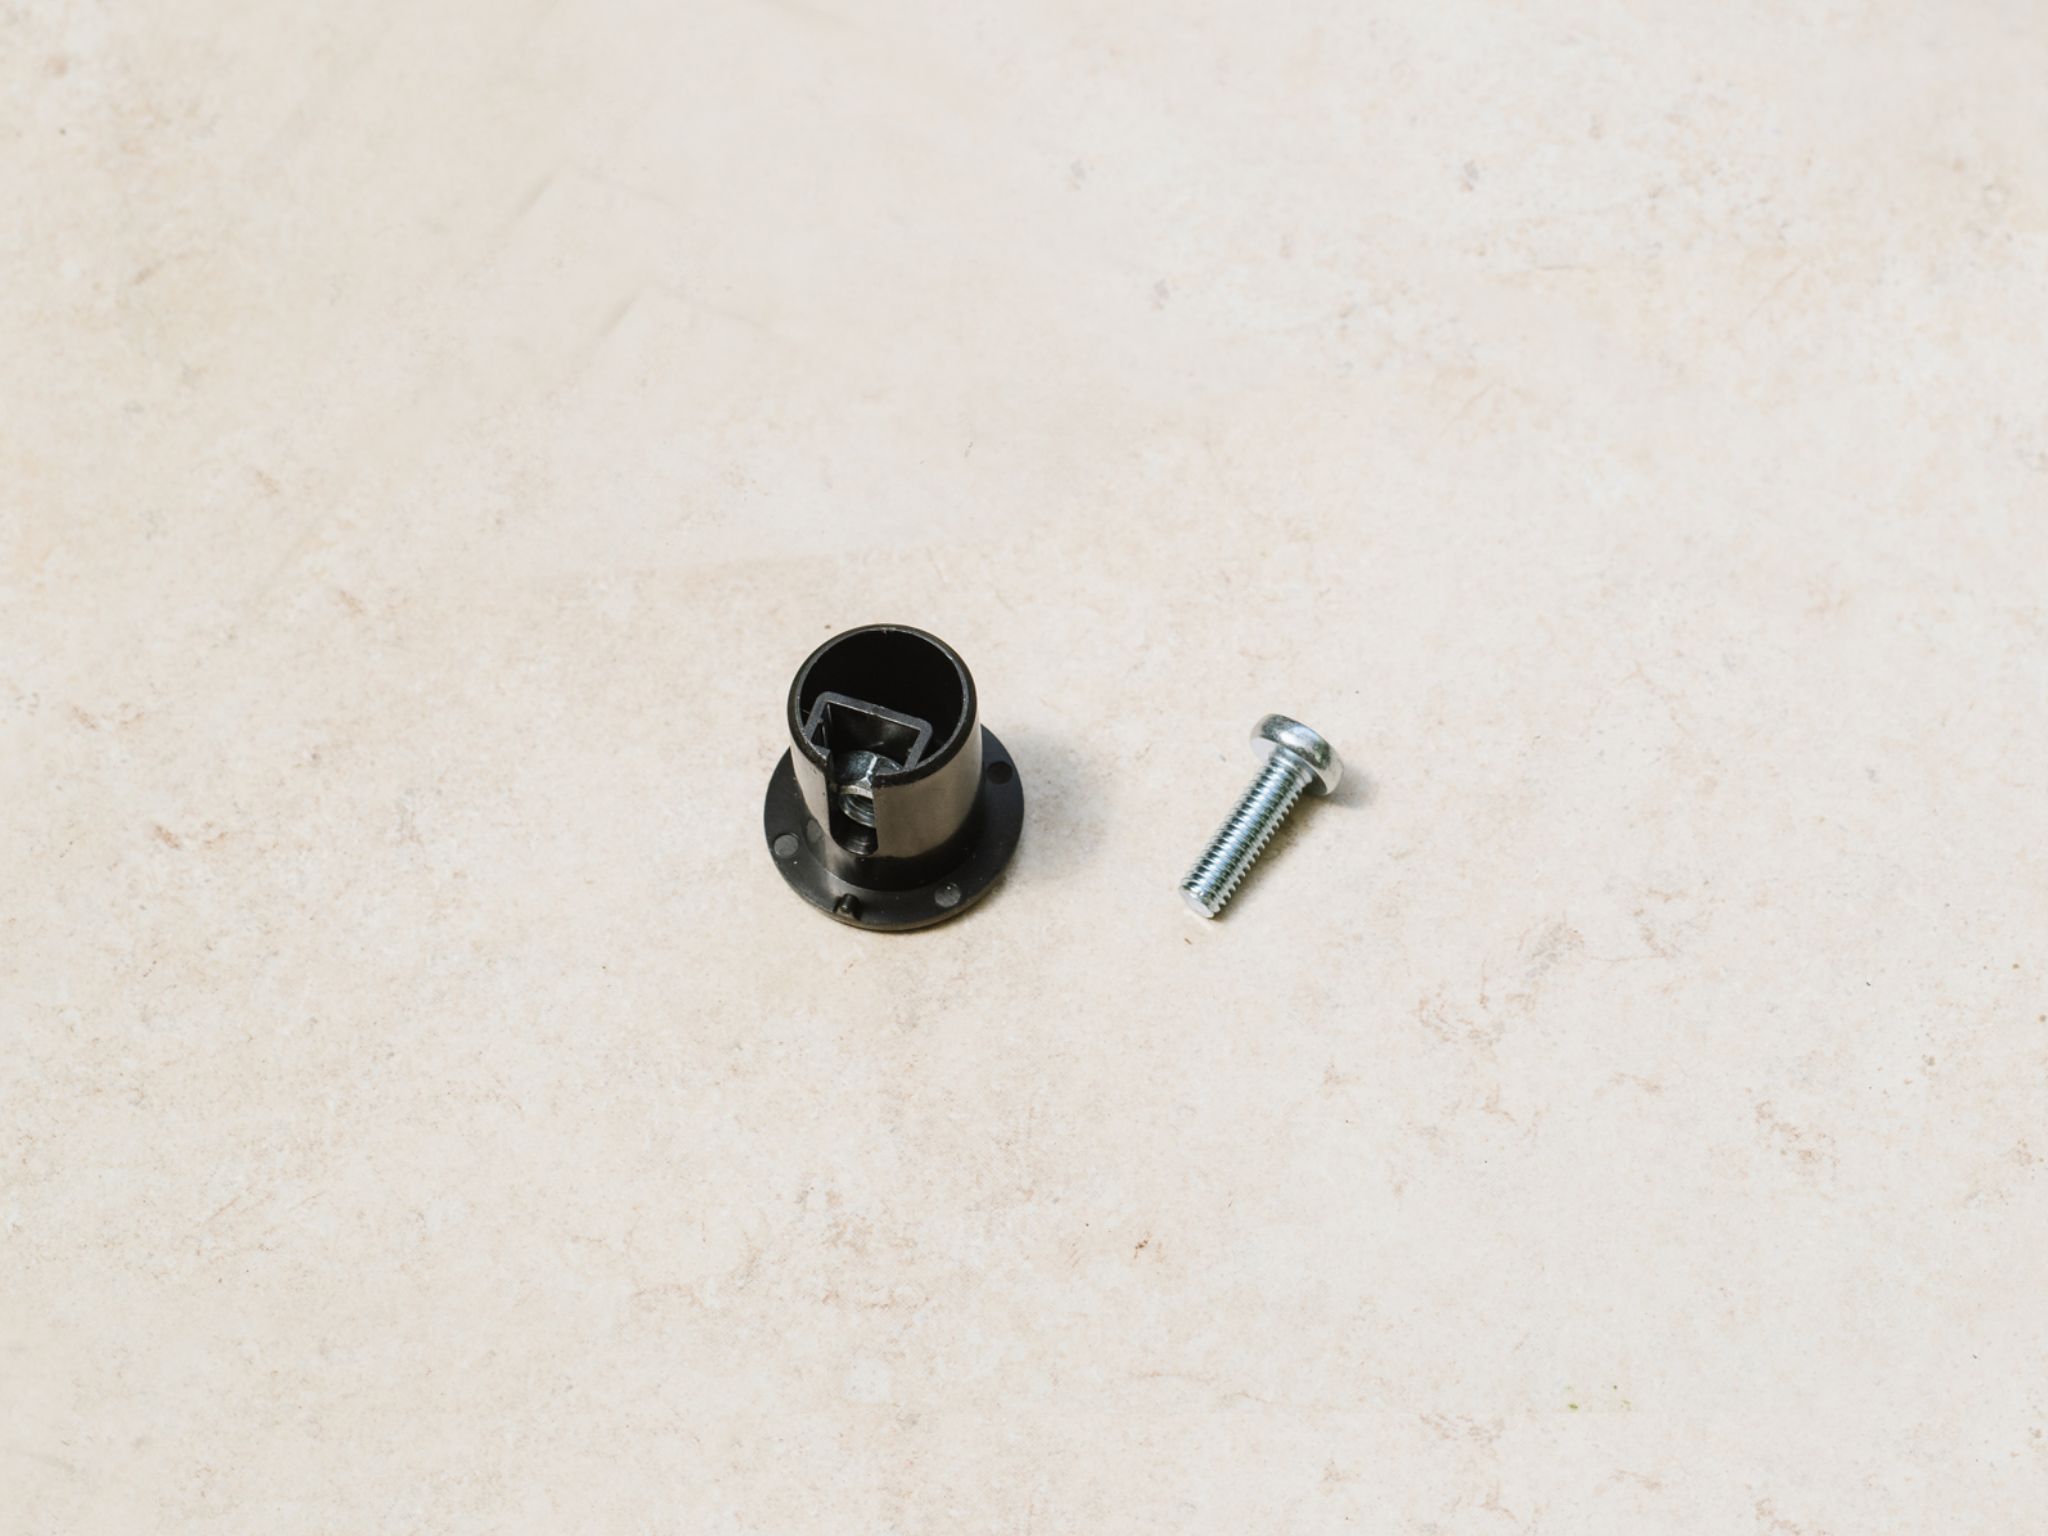
Material
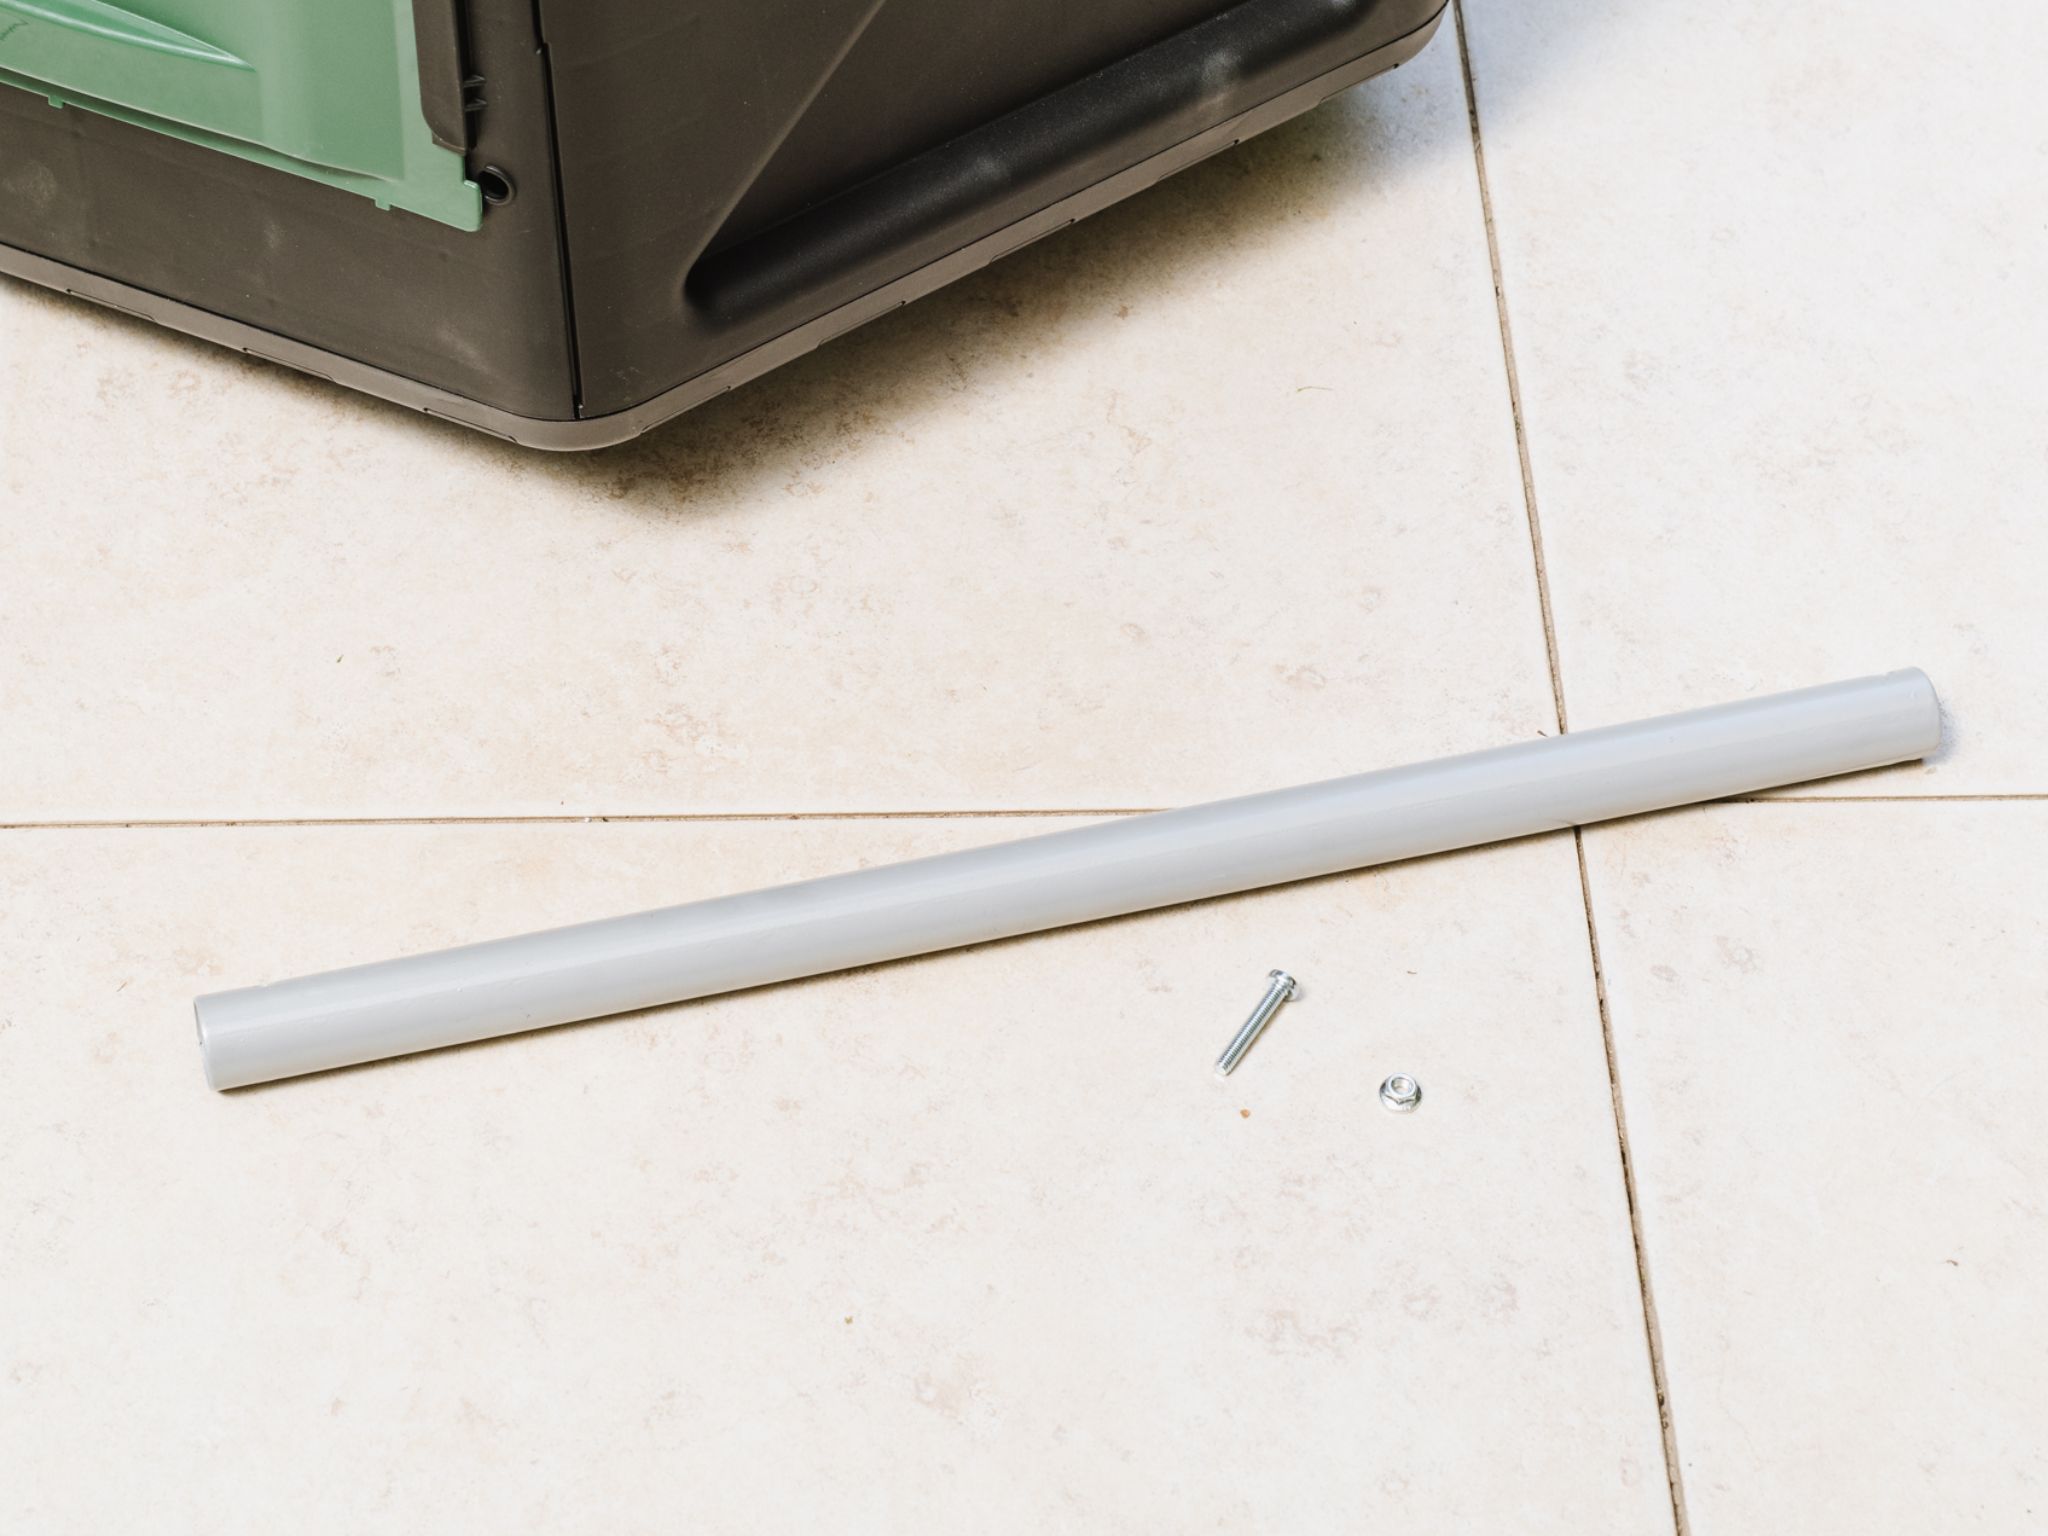
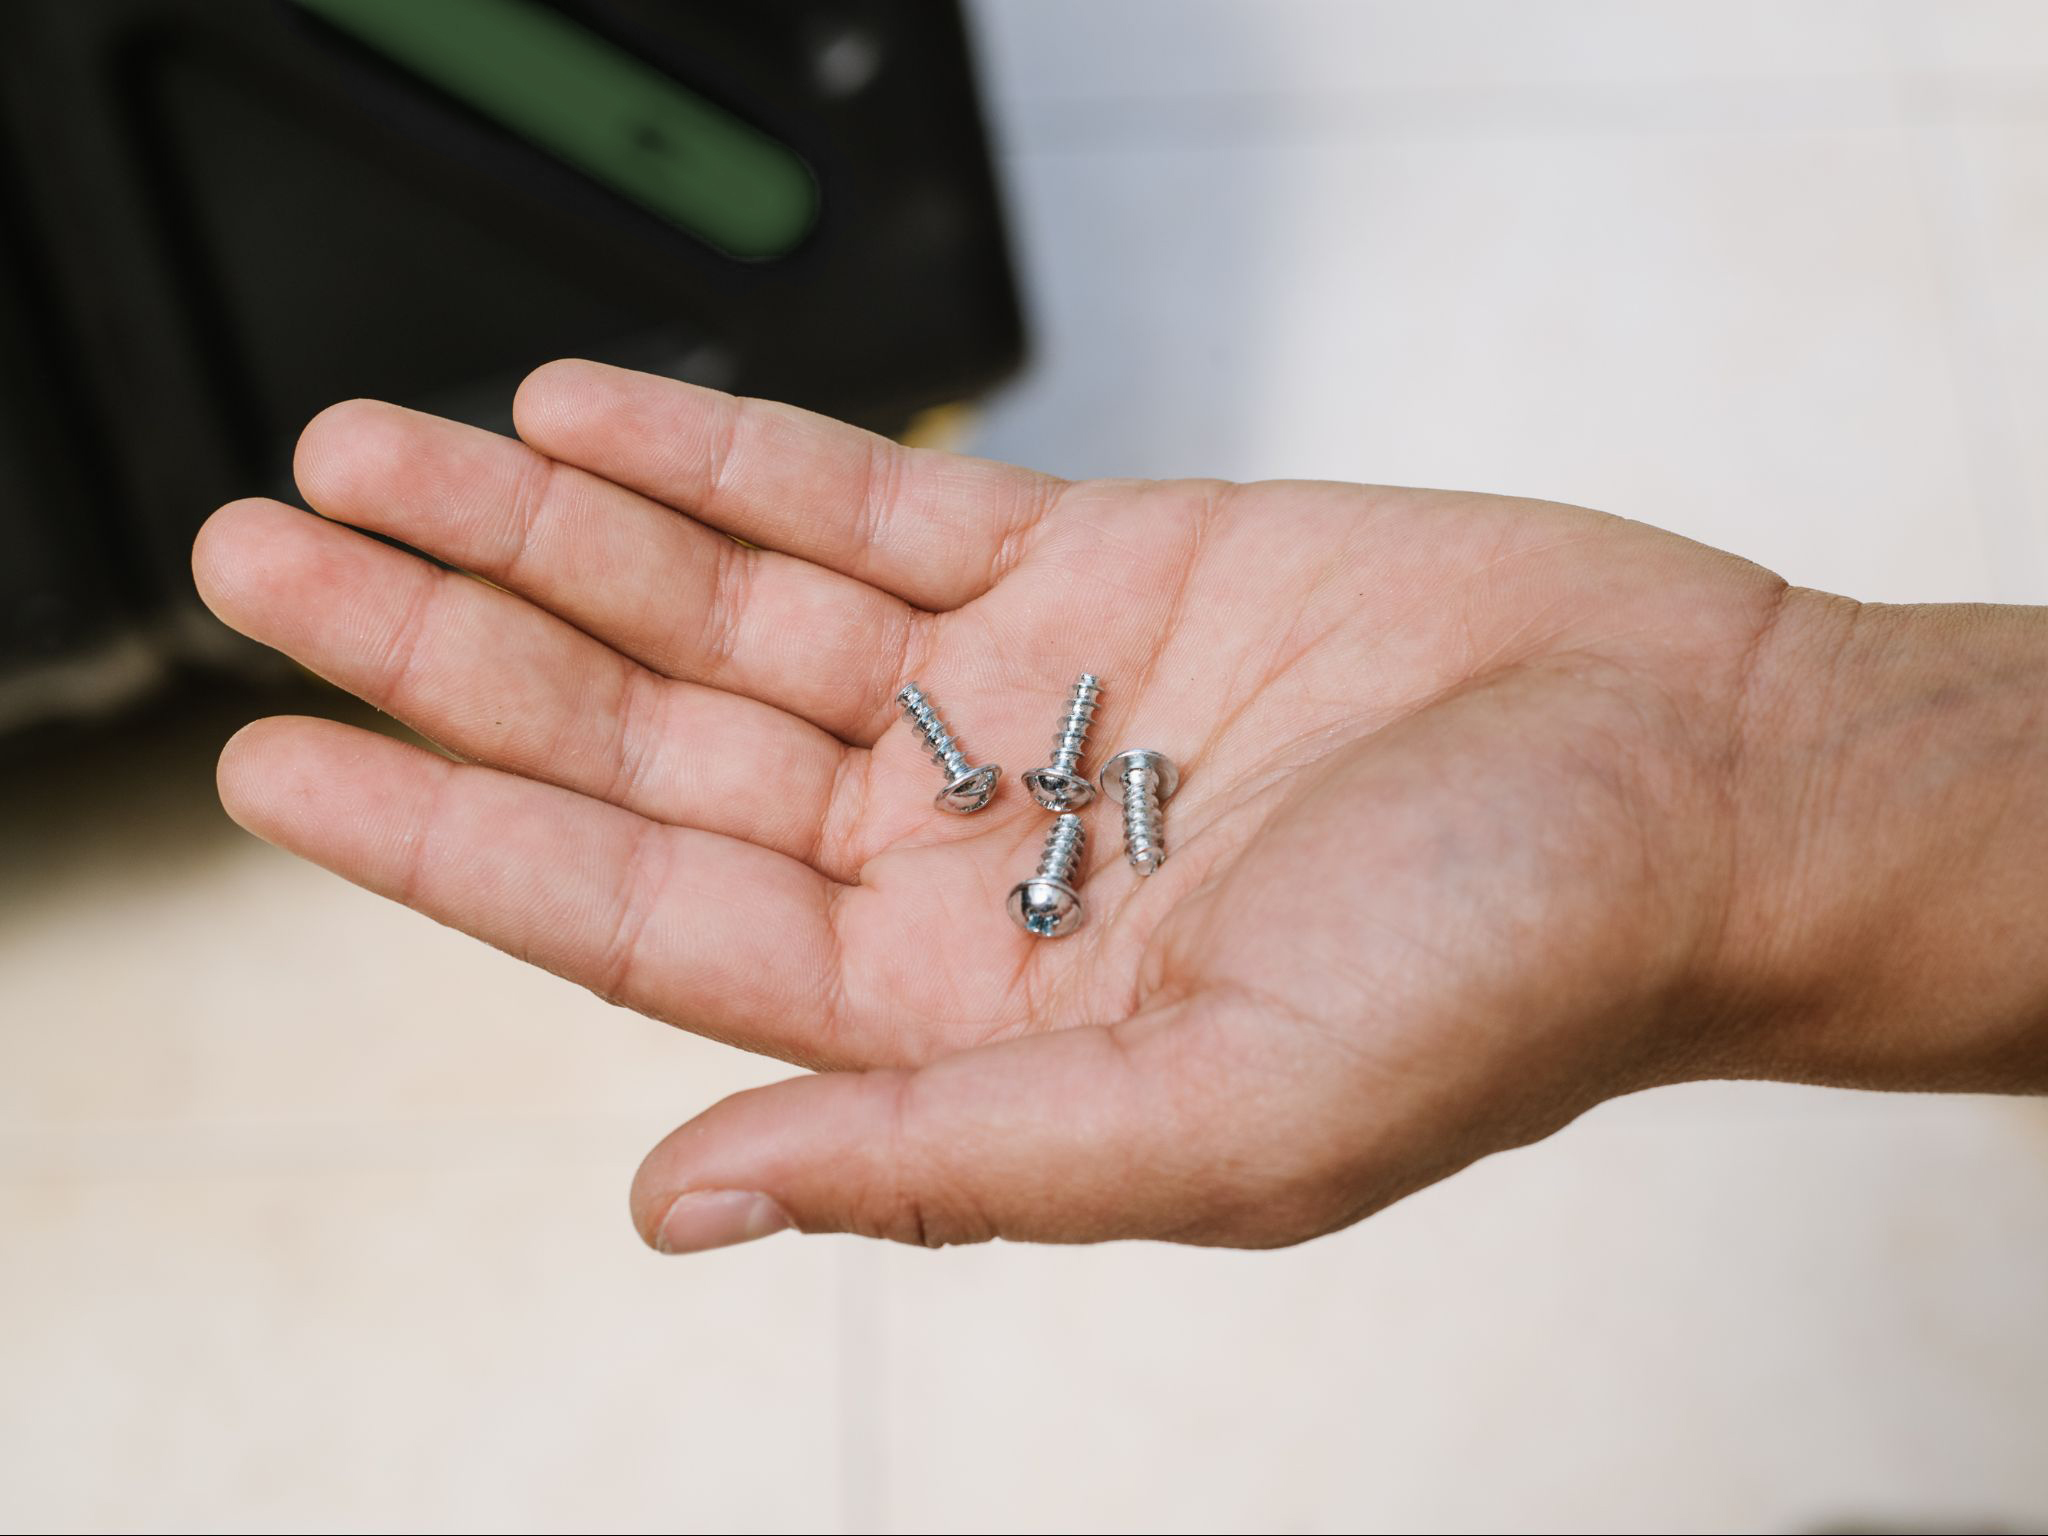
4 – A 2 – B 10 – C 1 – D1 1 – D2 2 – E1 2 – E2 2 – F 2 – G 2 – H 10 – I (color may vary into green or yellow) 12 – J 2 – K 2- L 6 – M 2- N
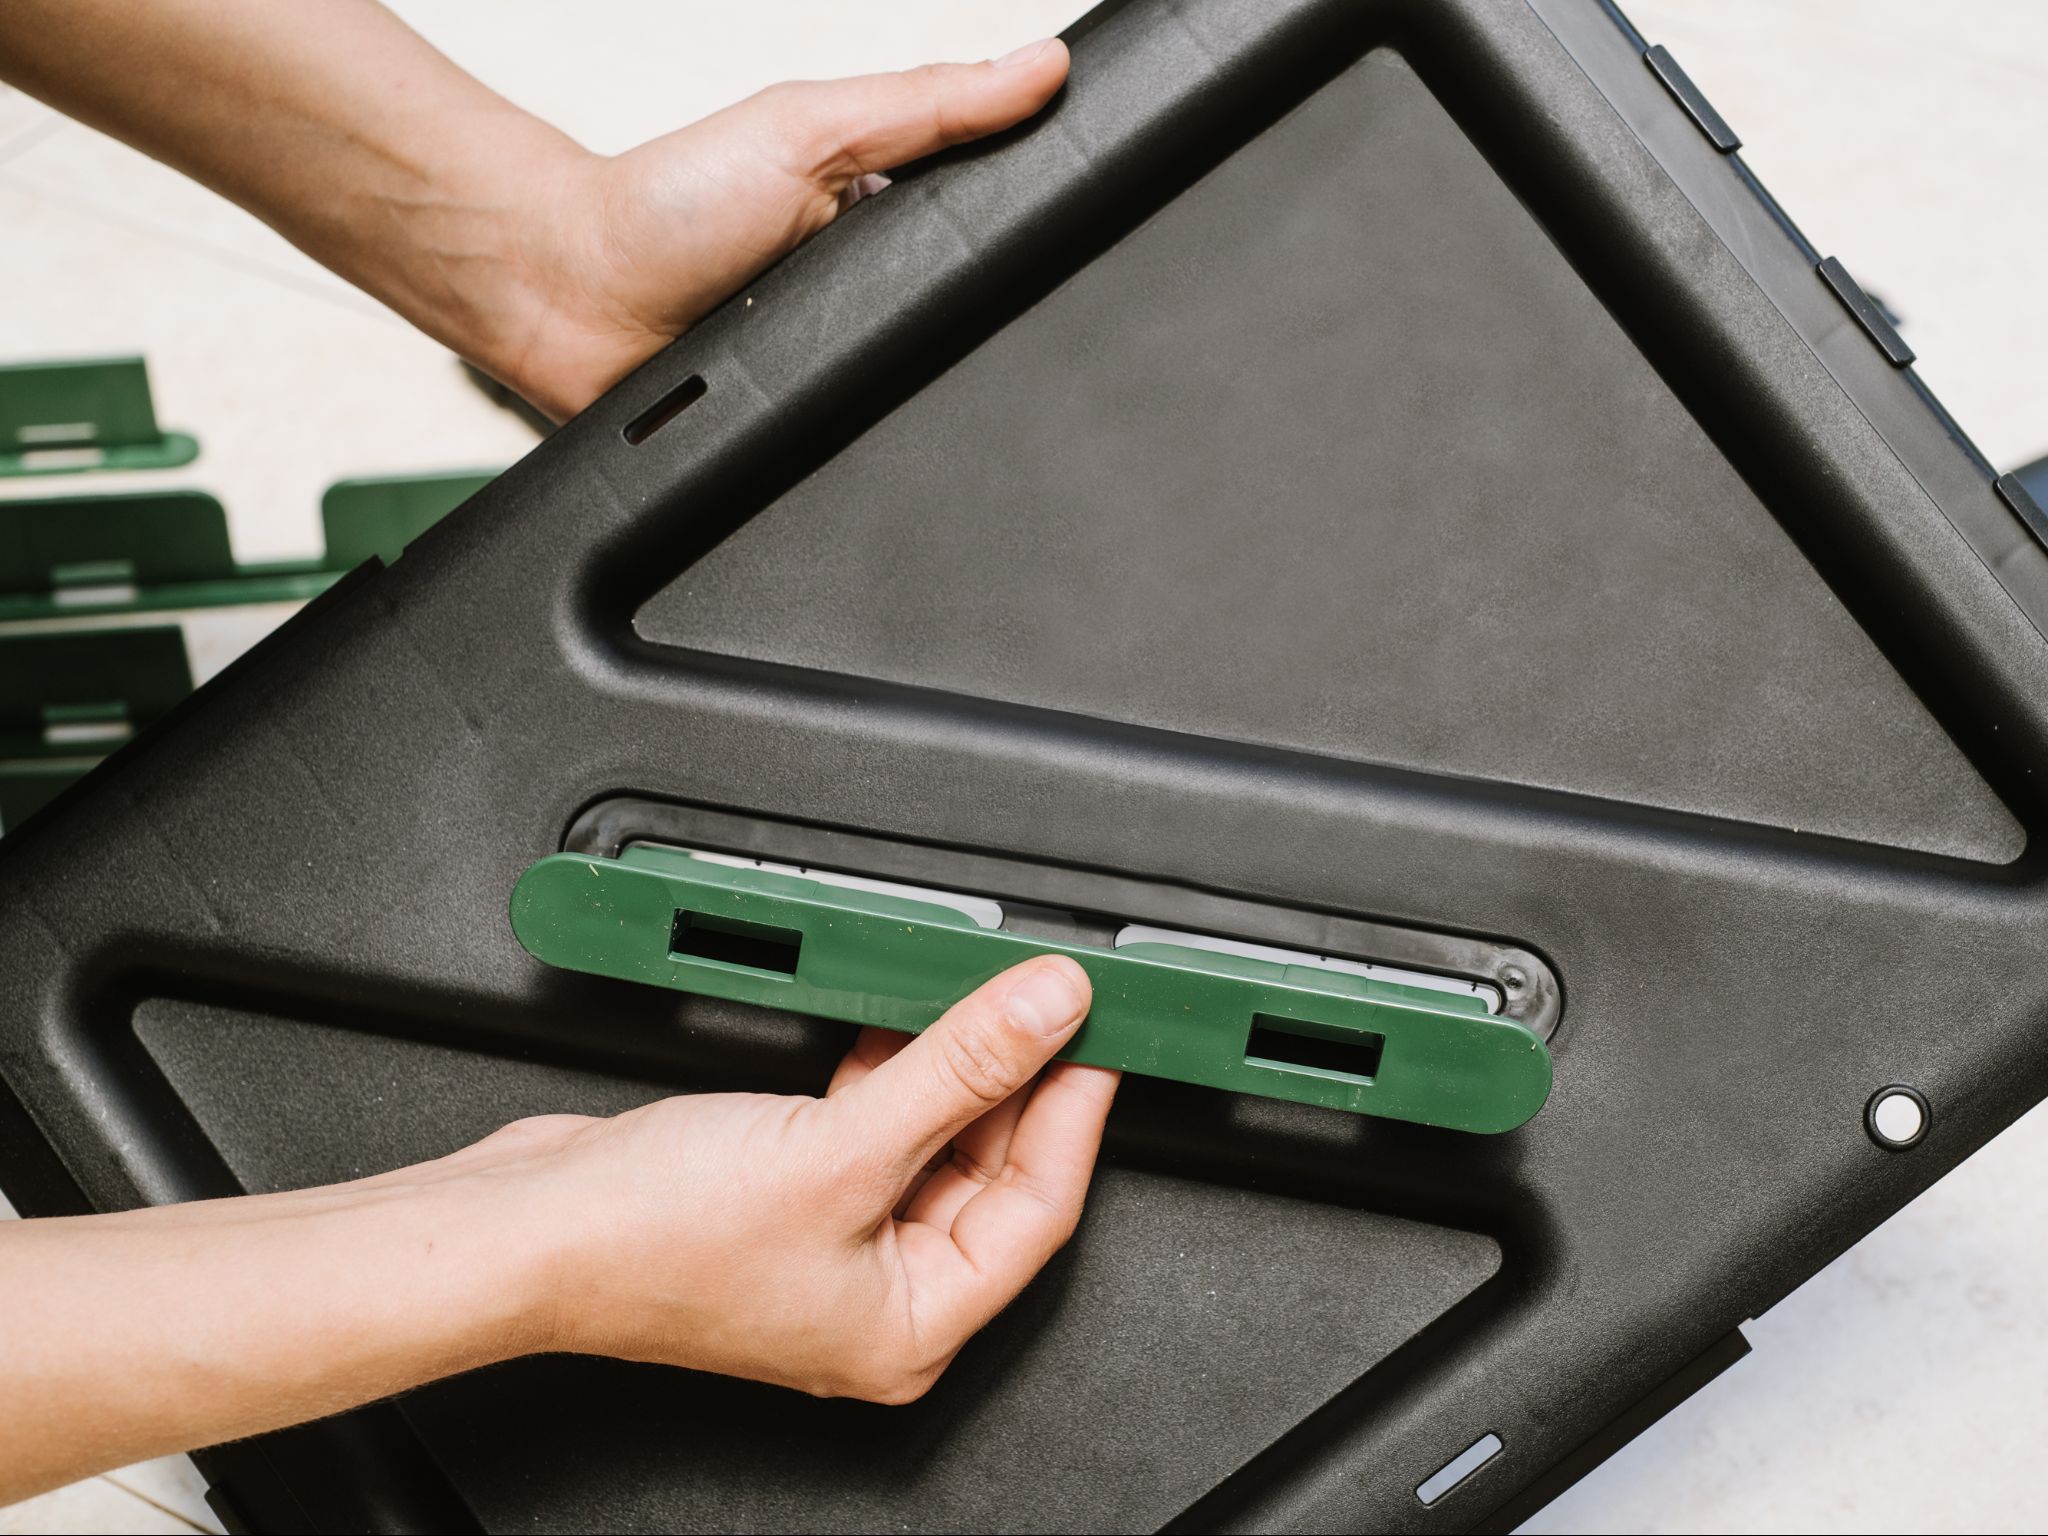
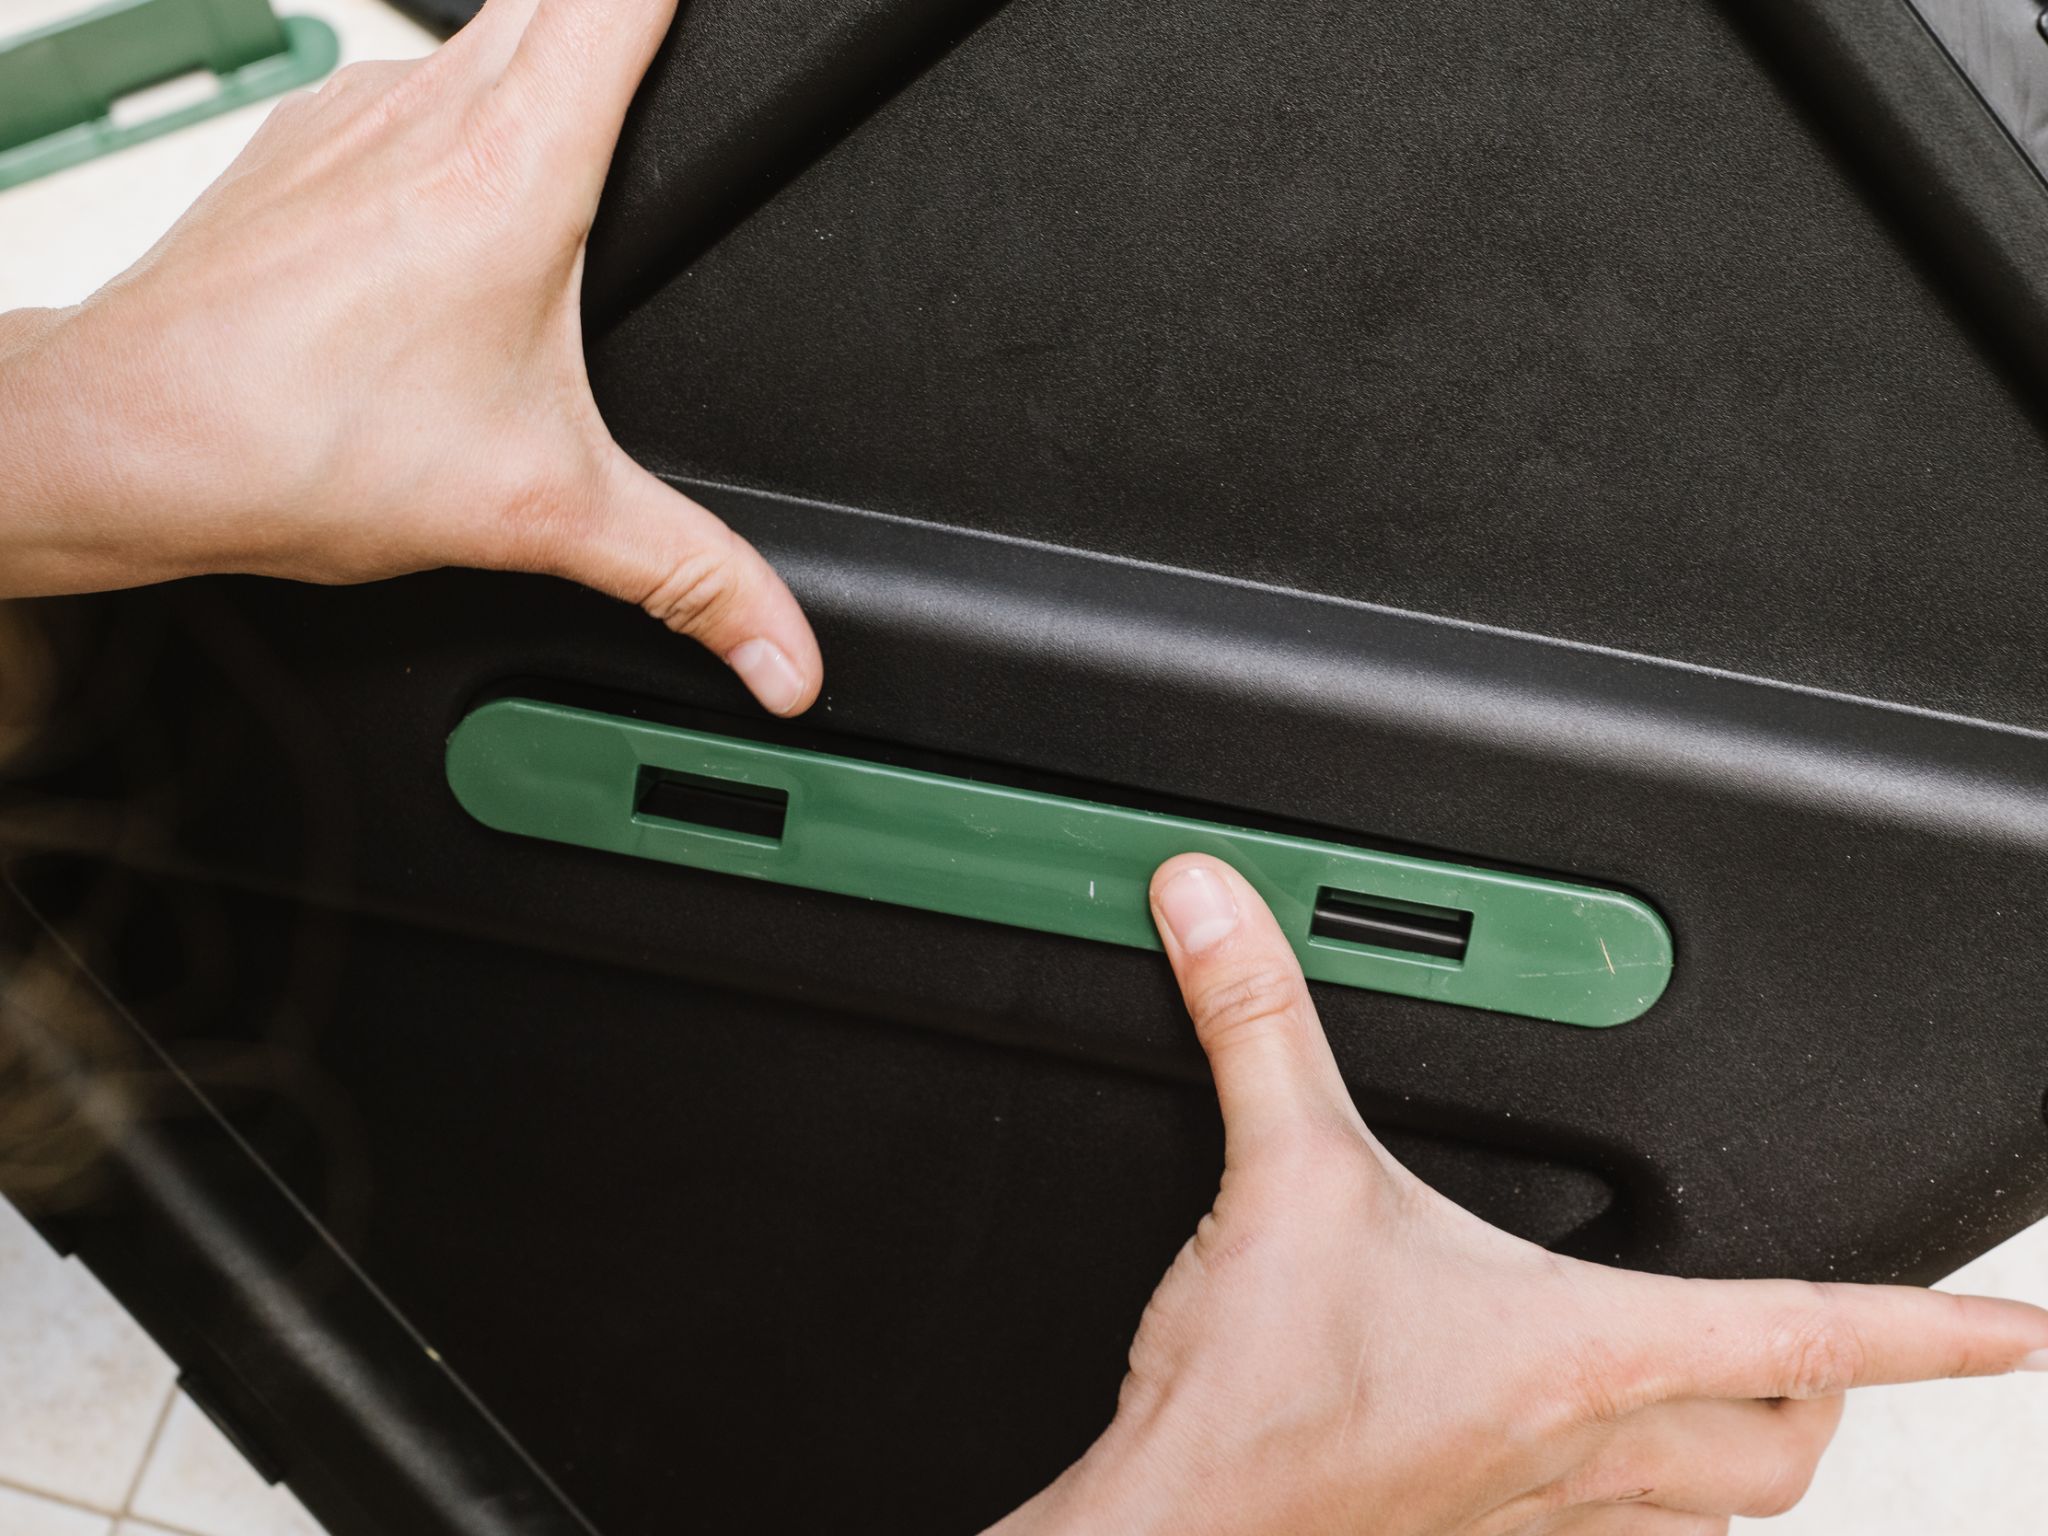
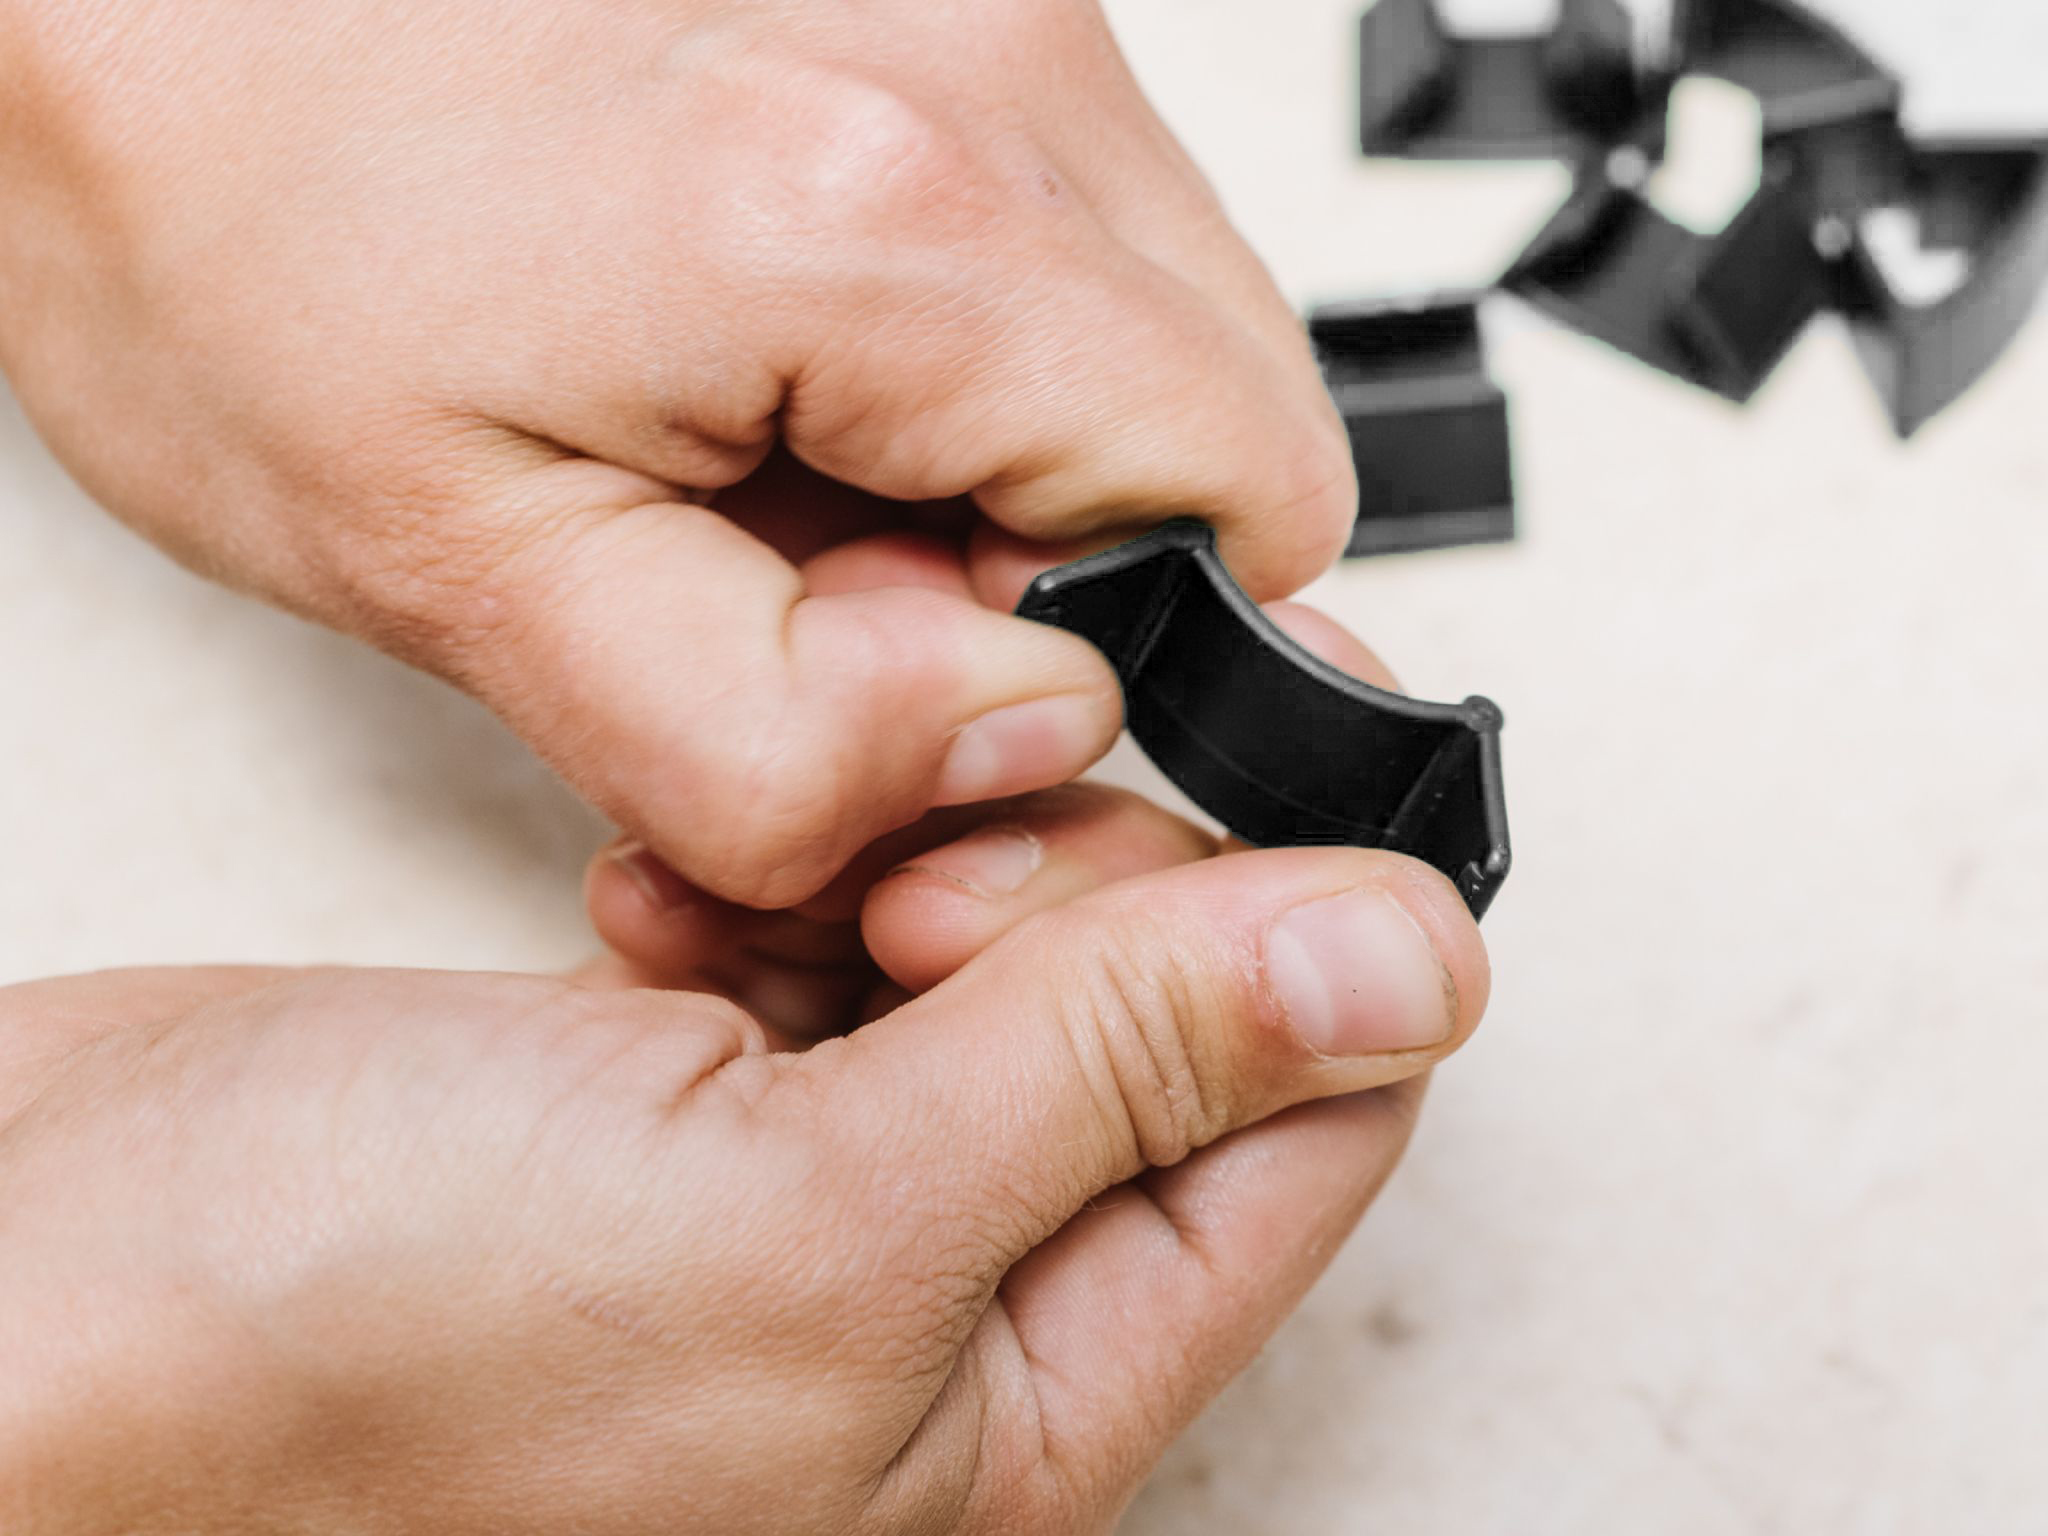
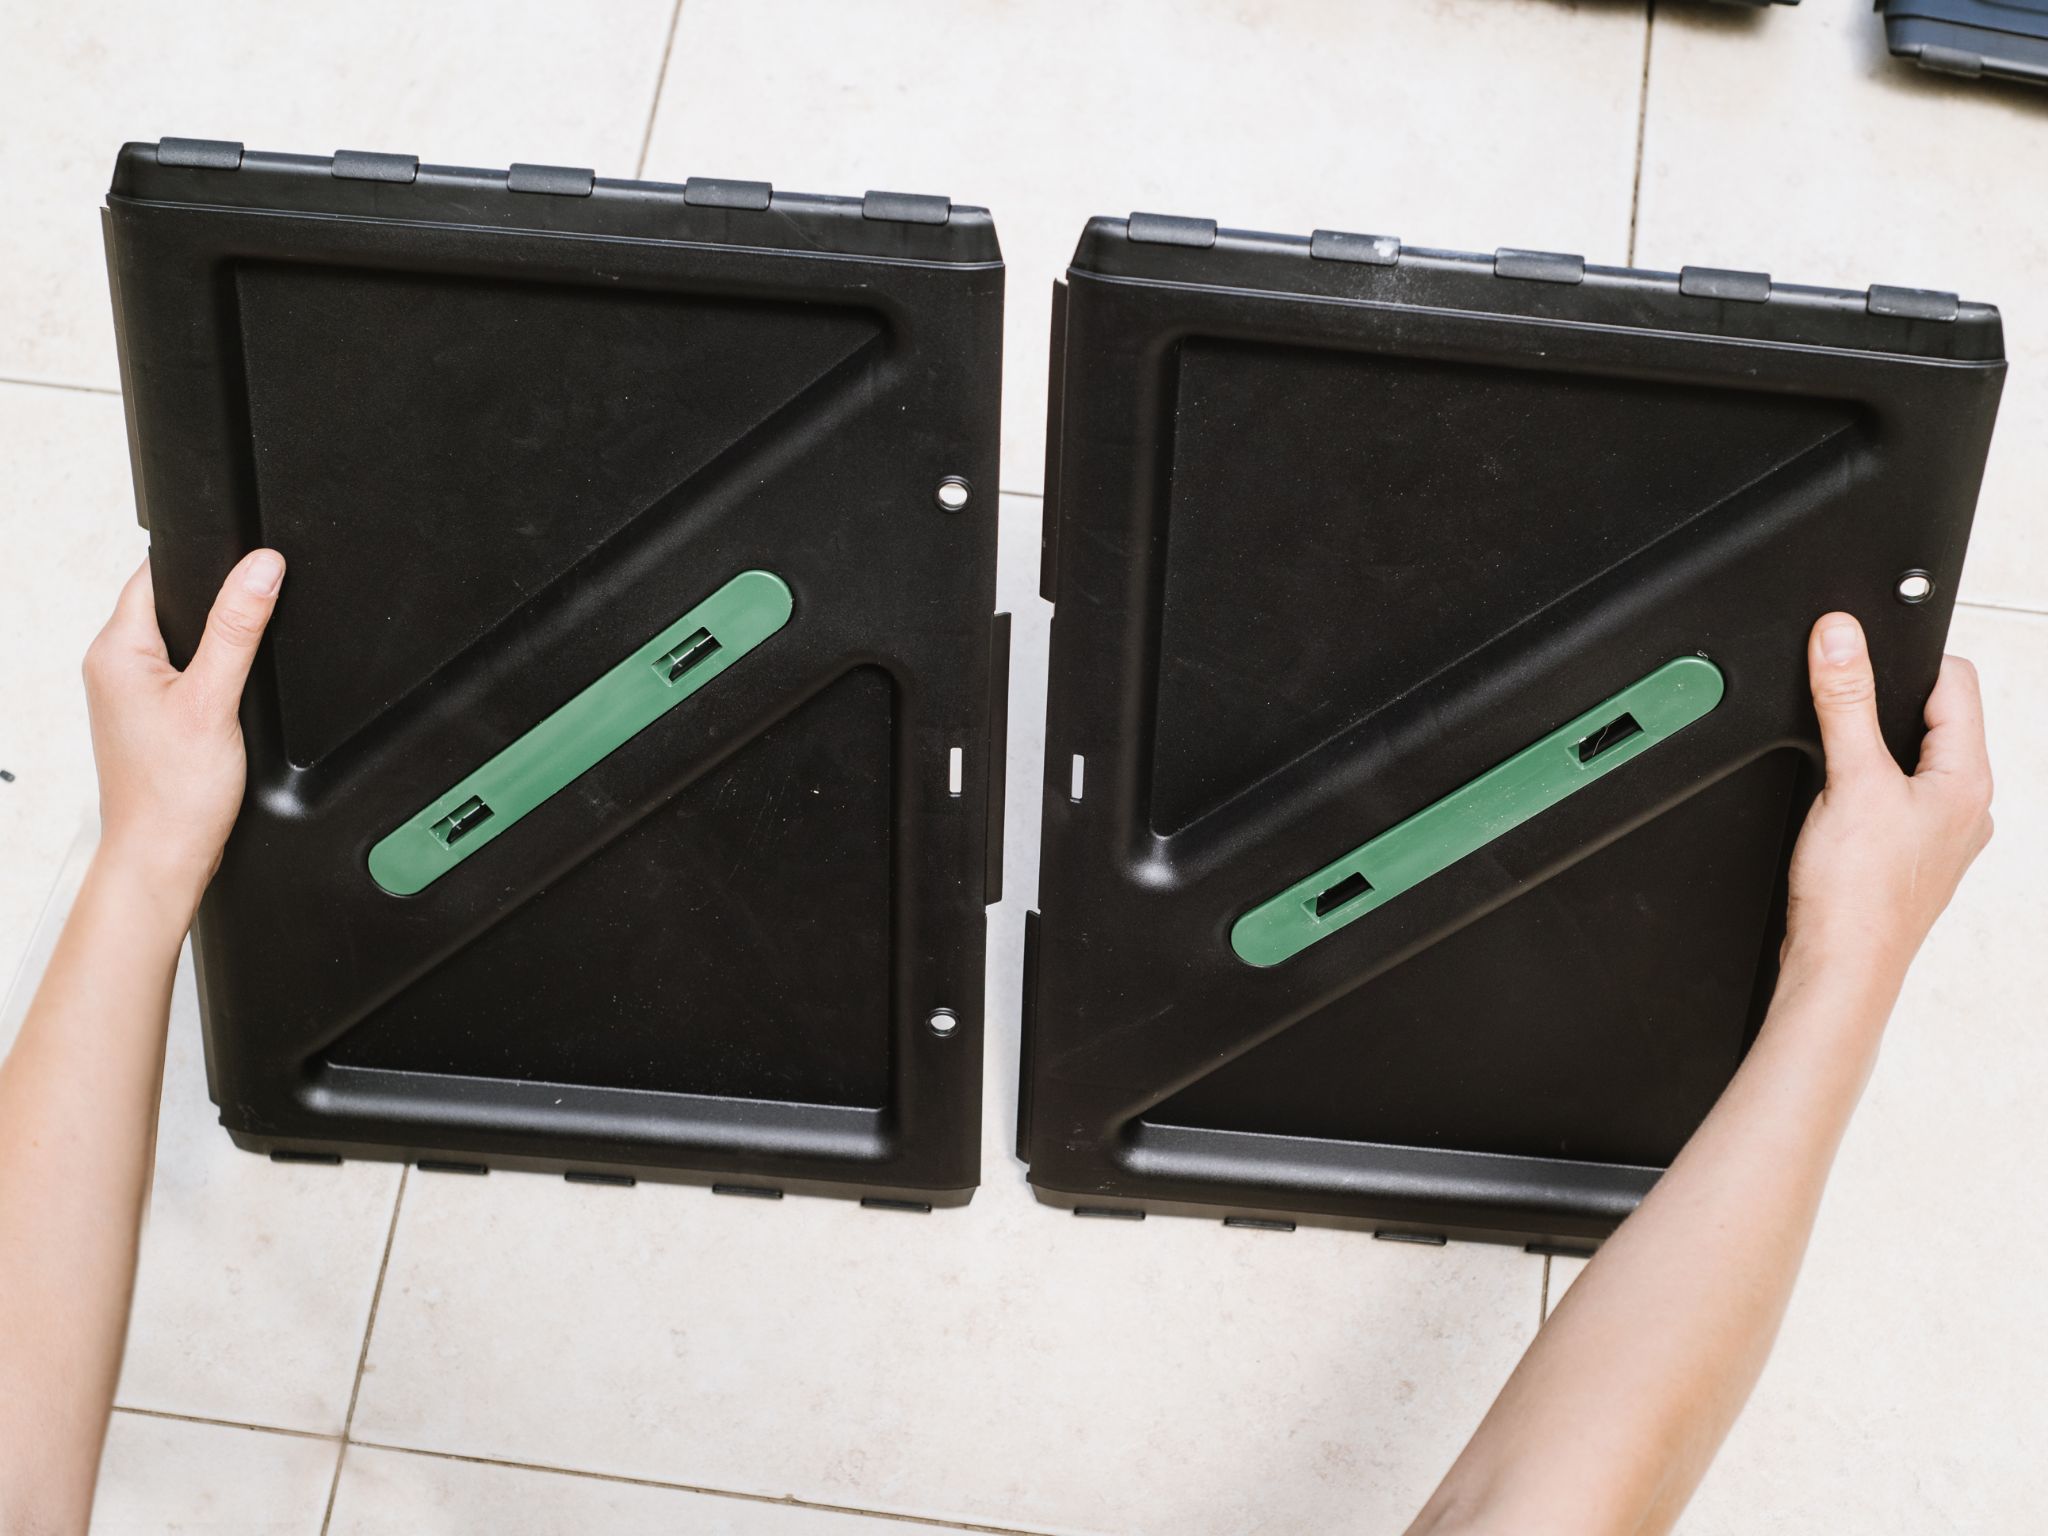
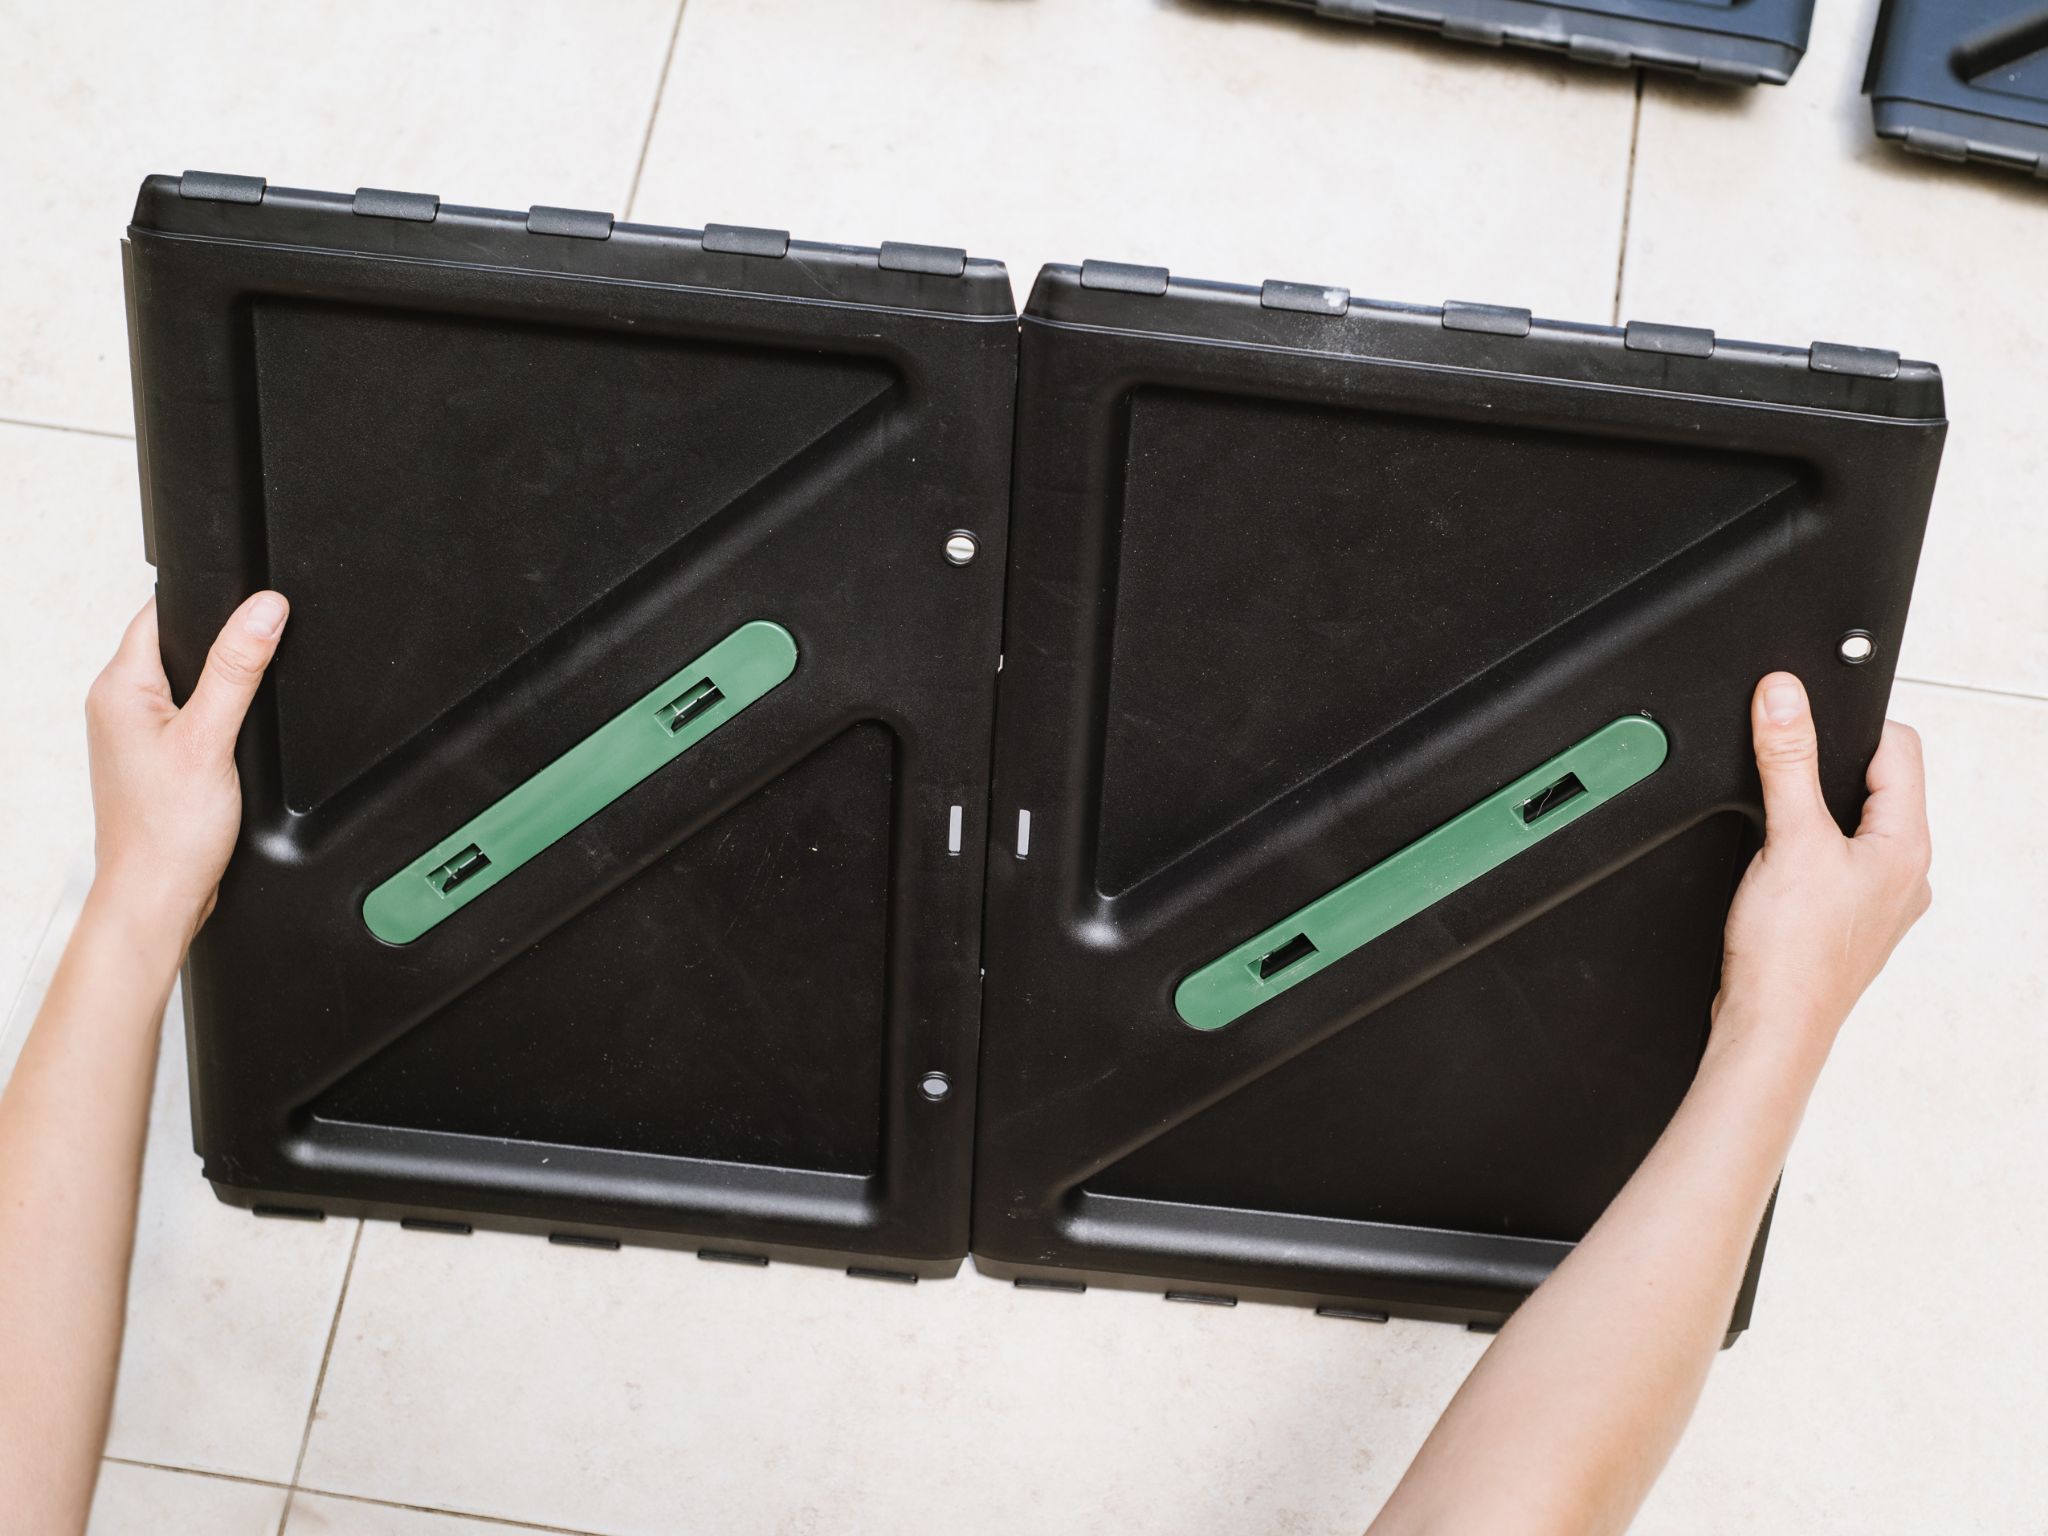
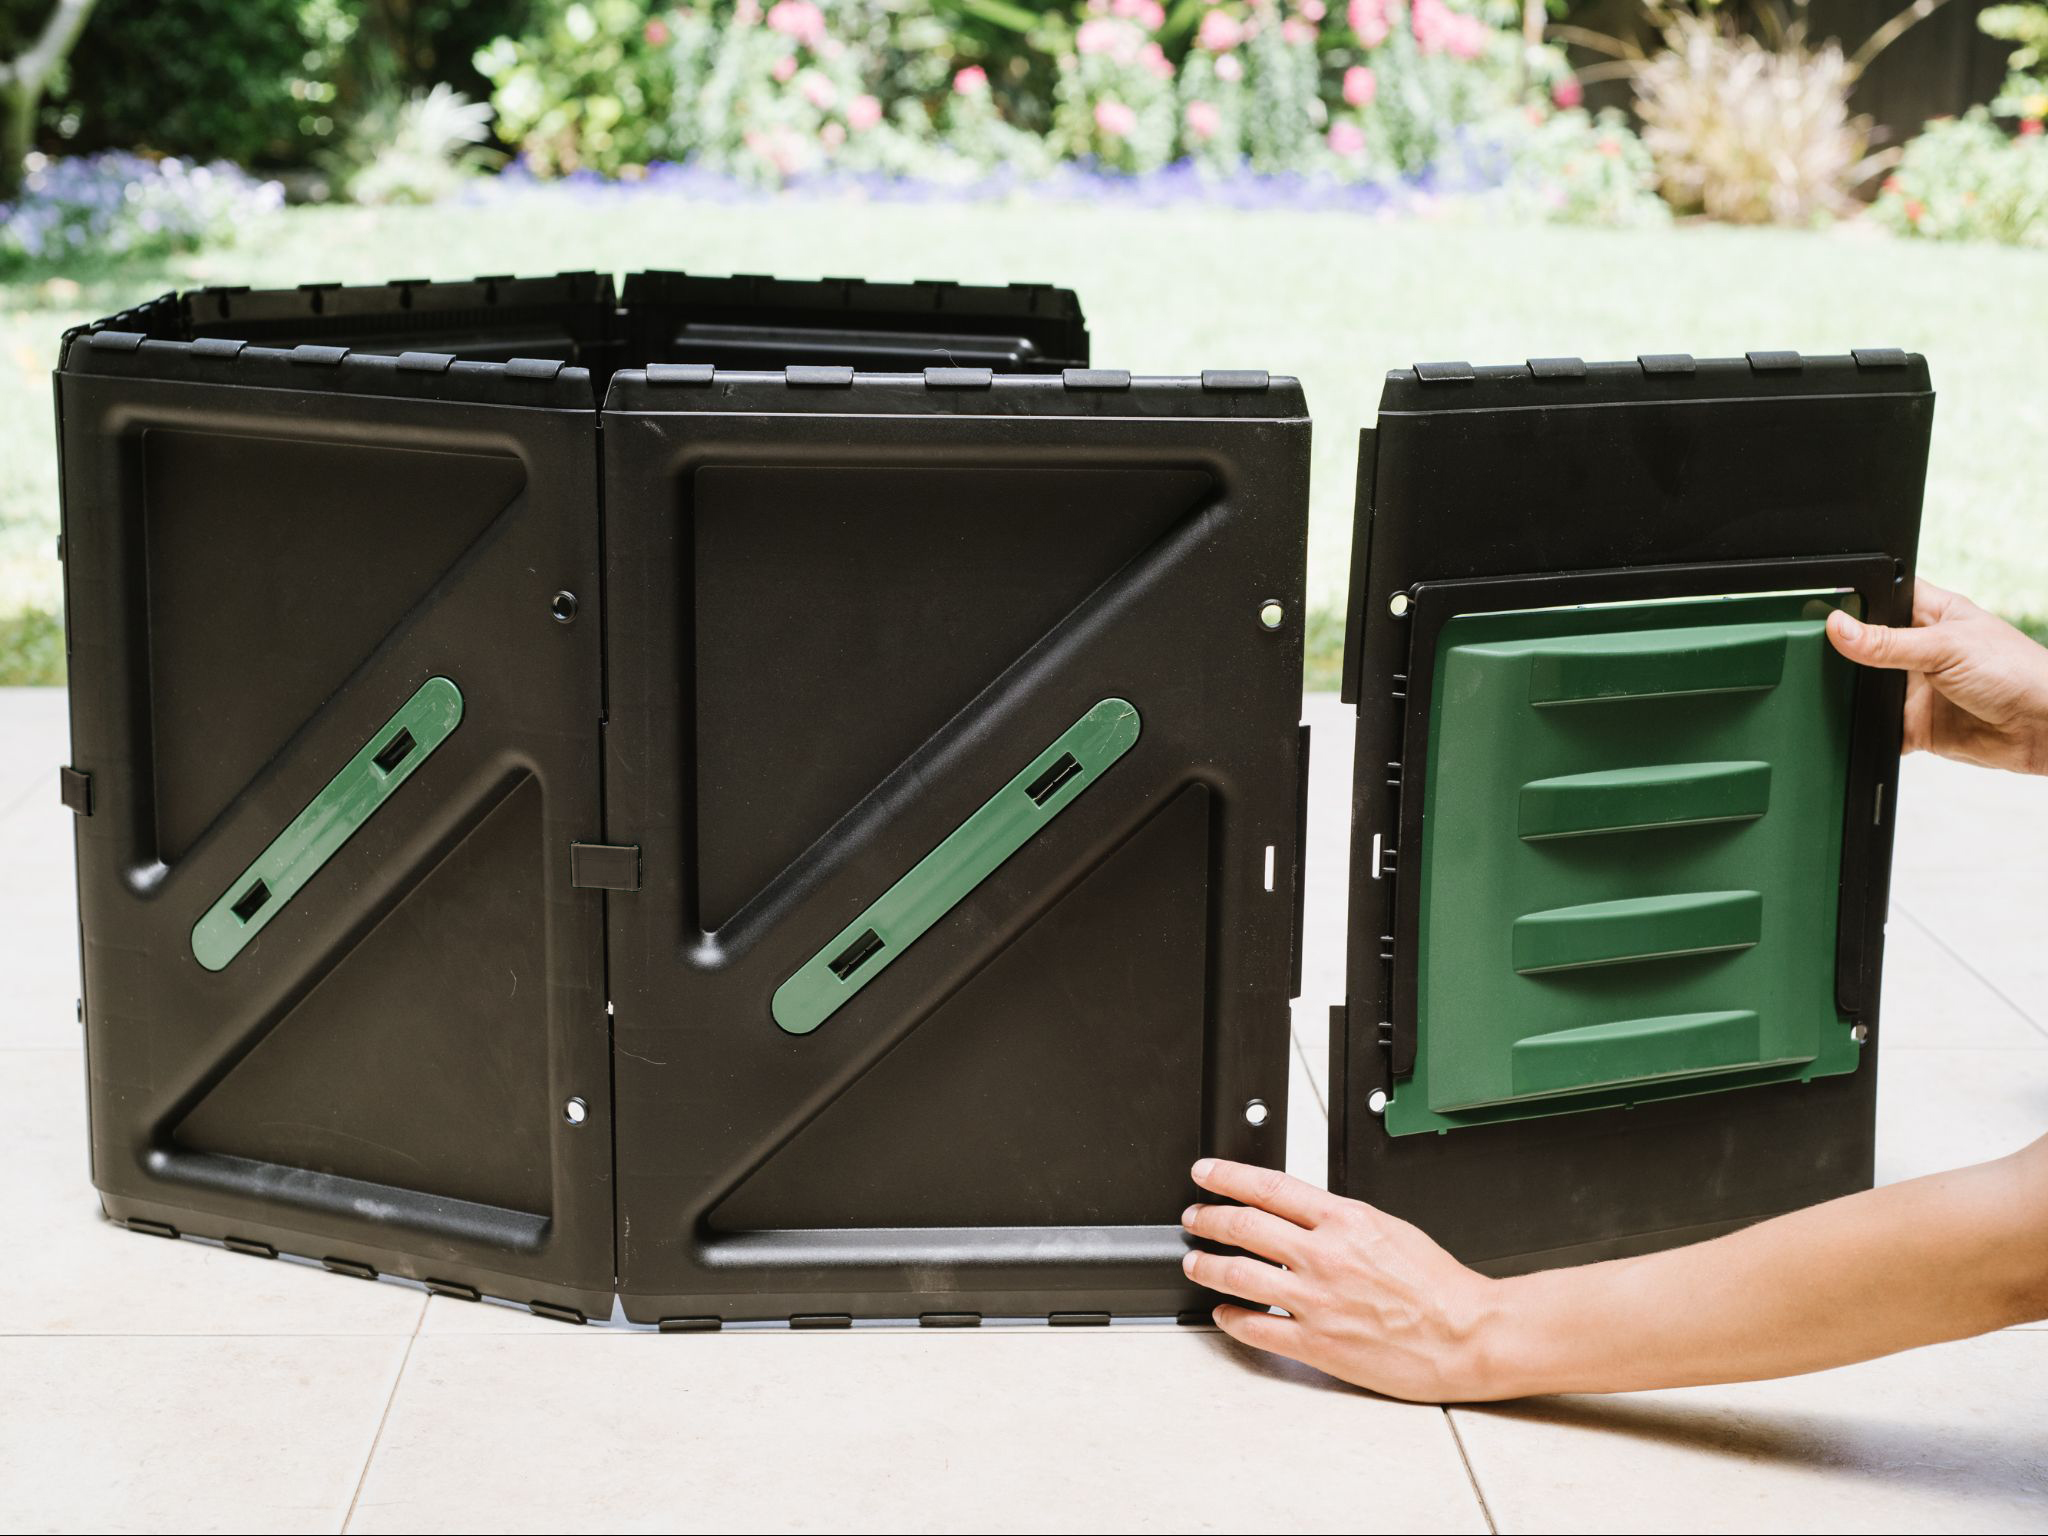
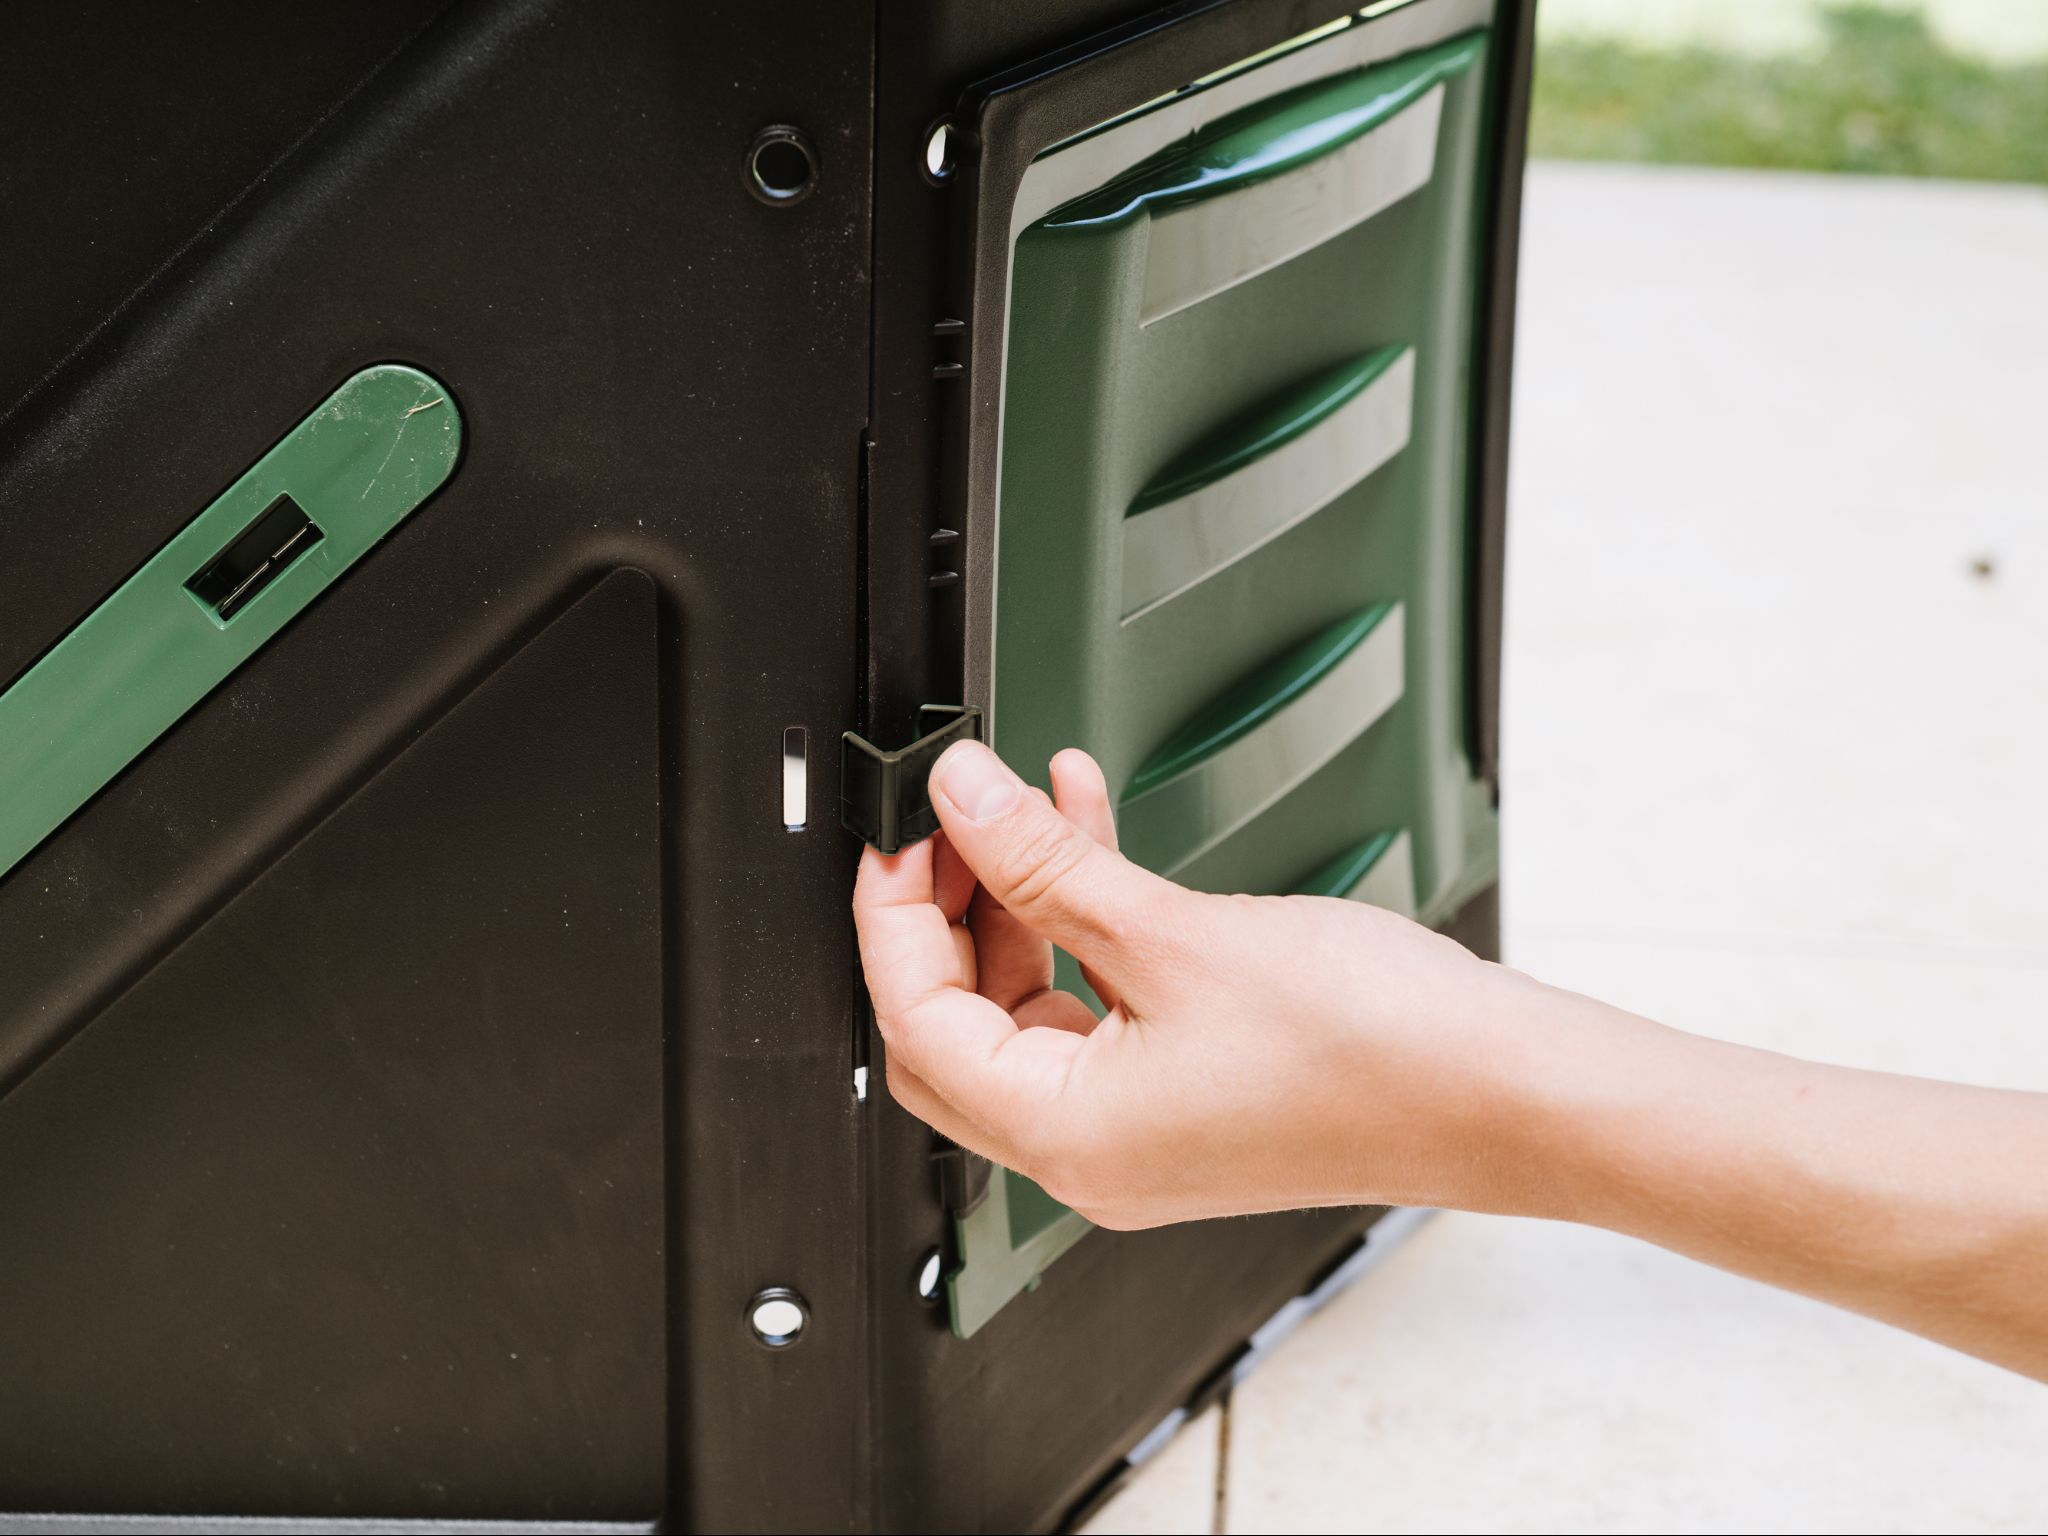
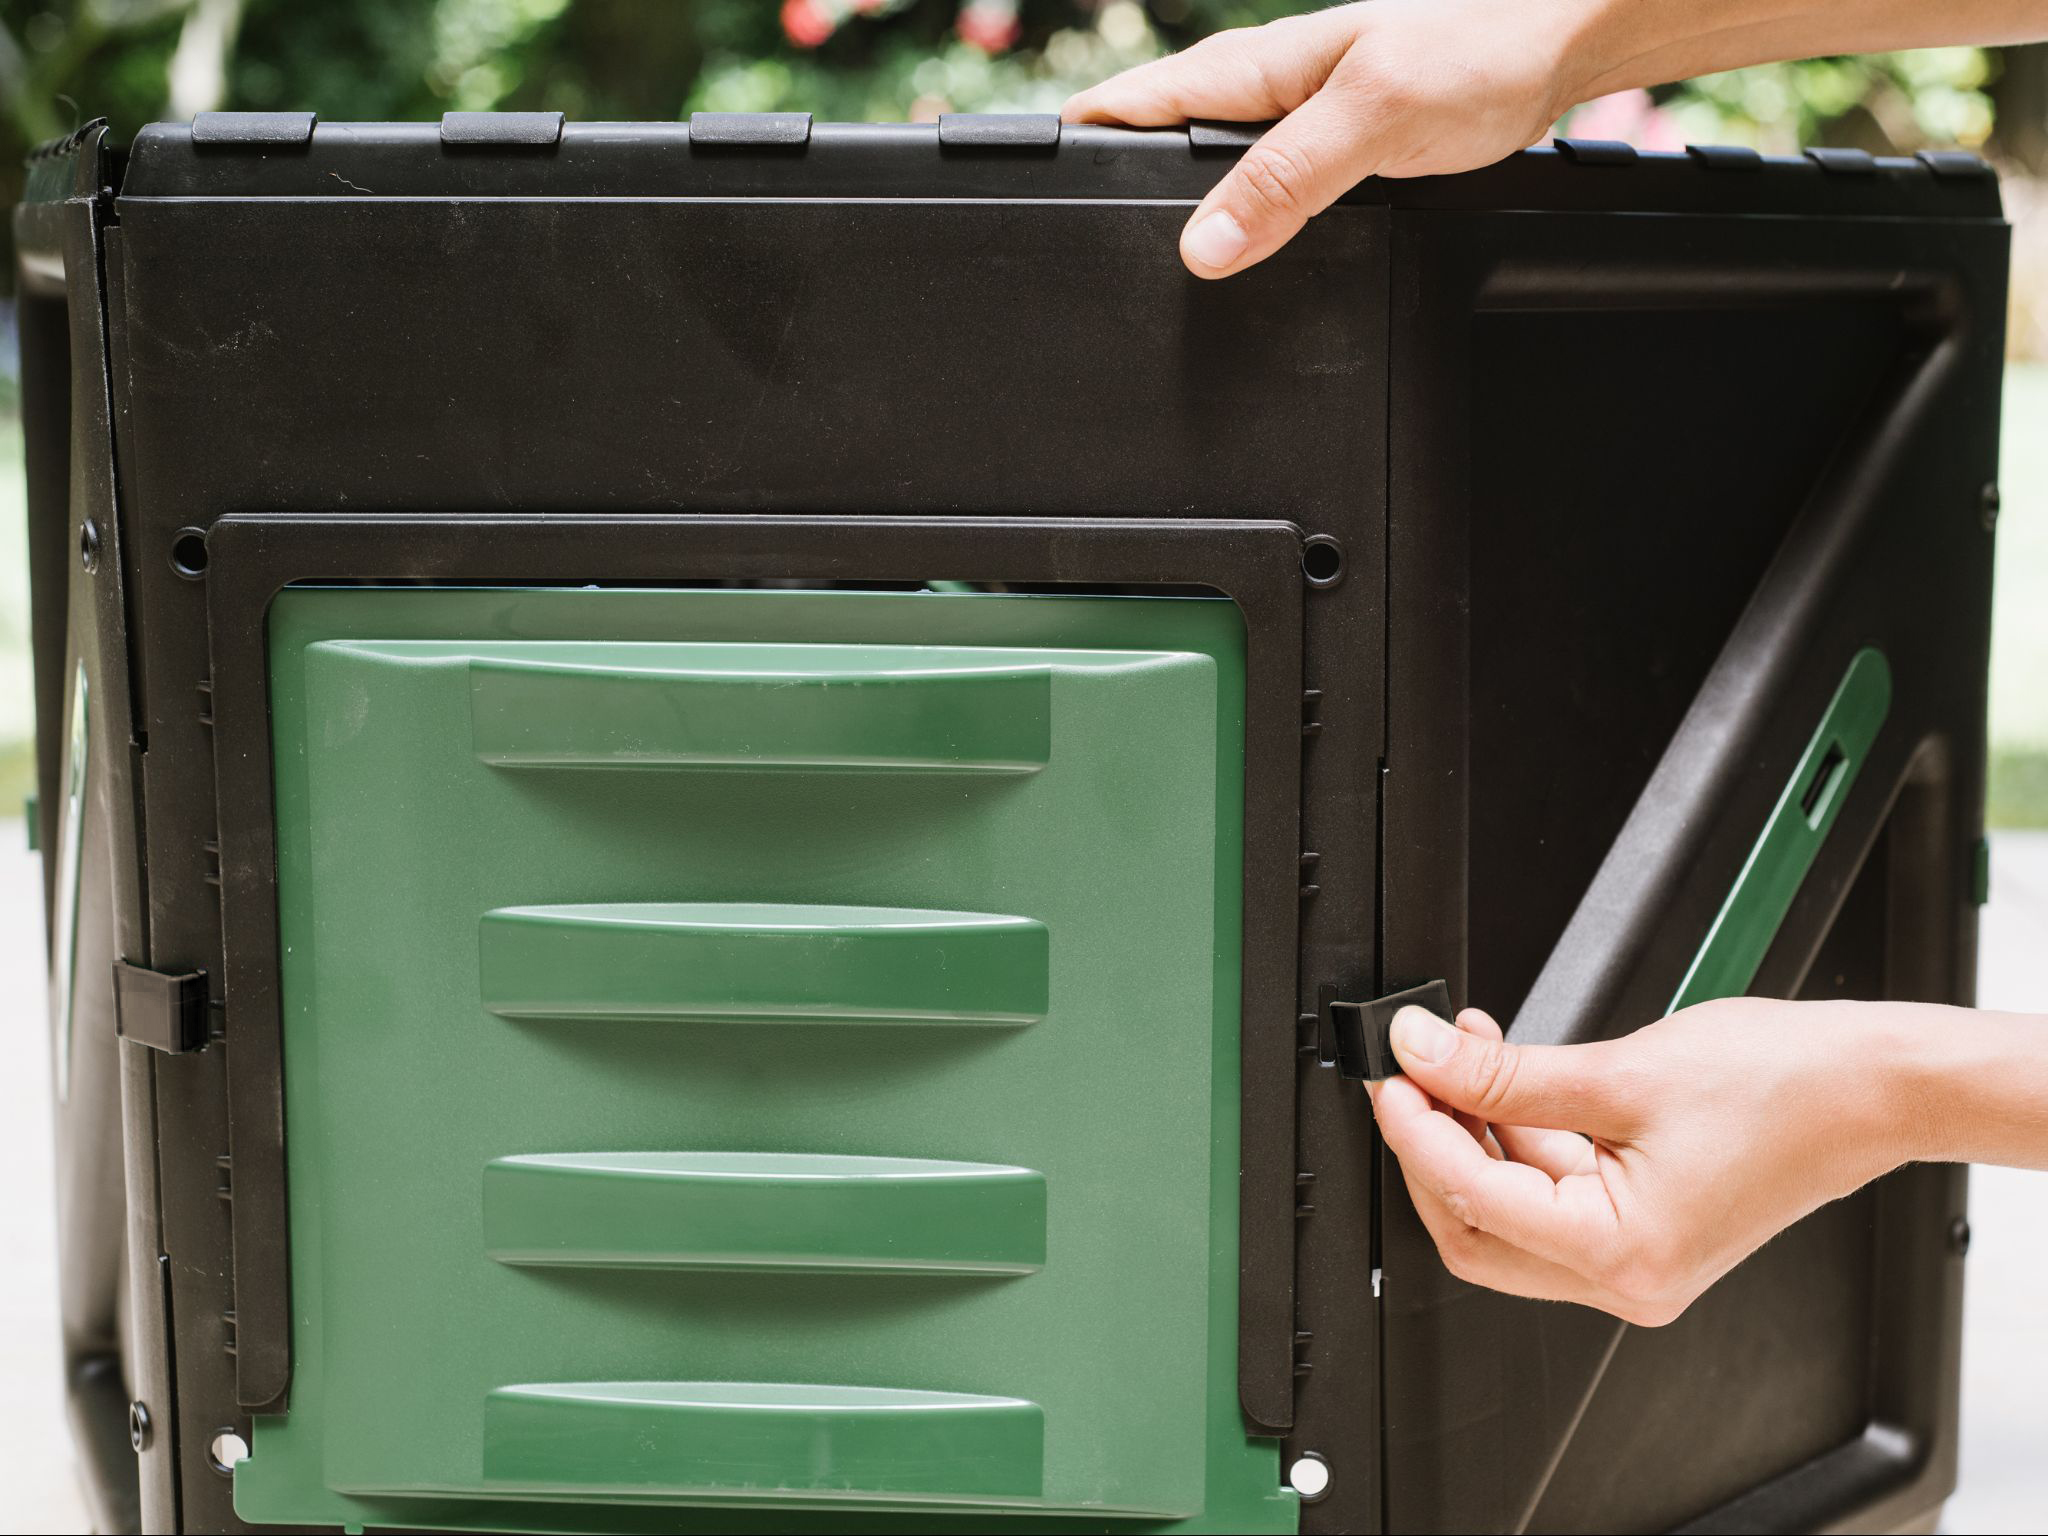
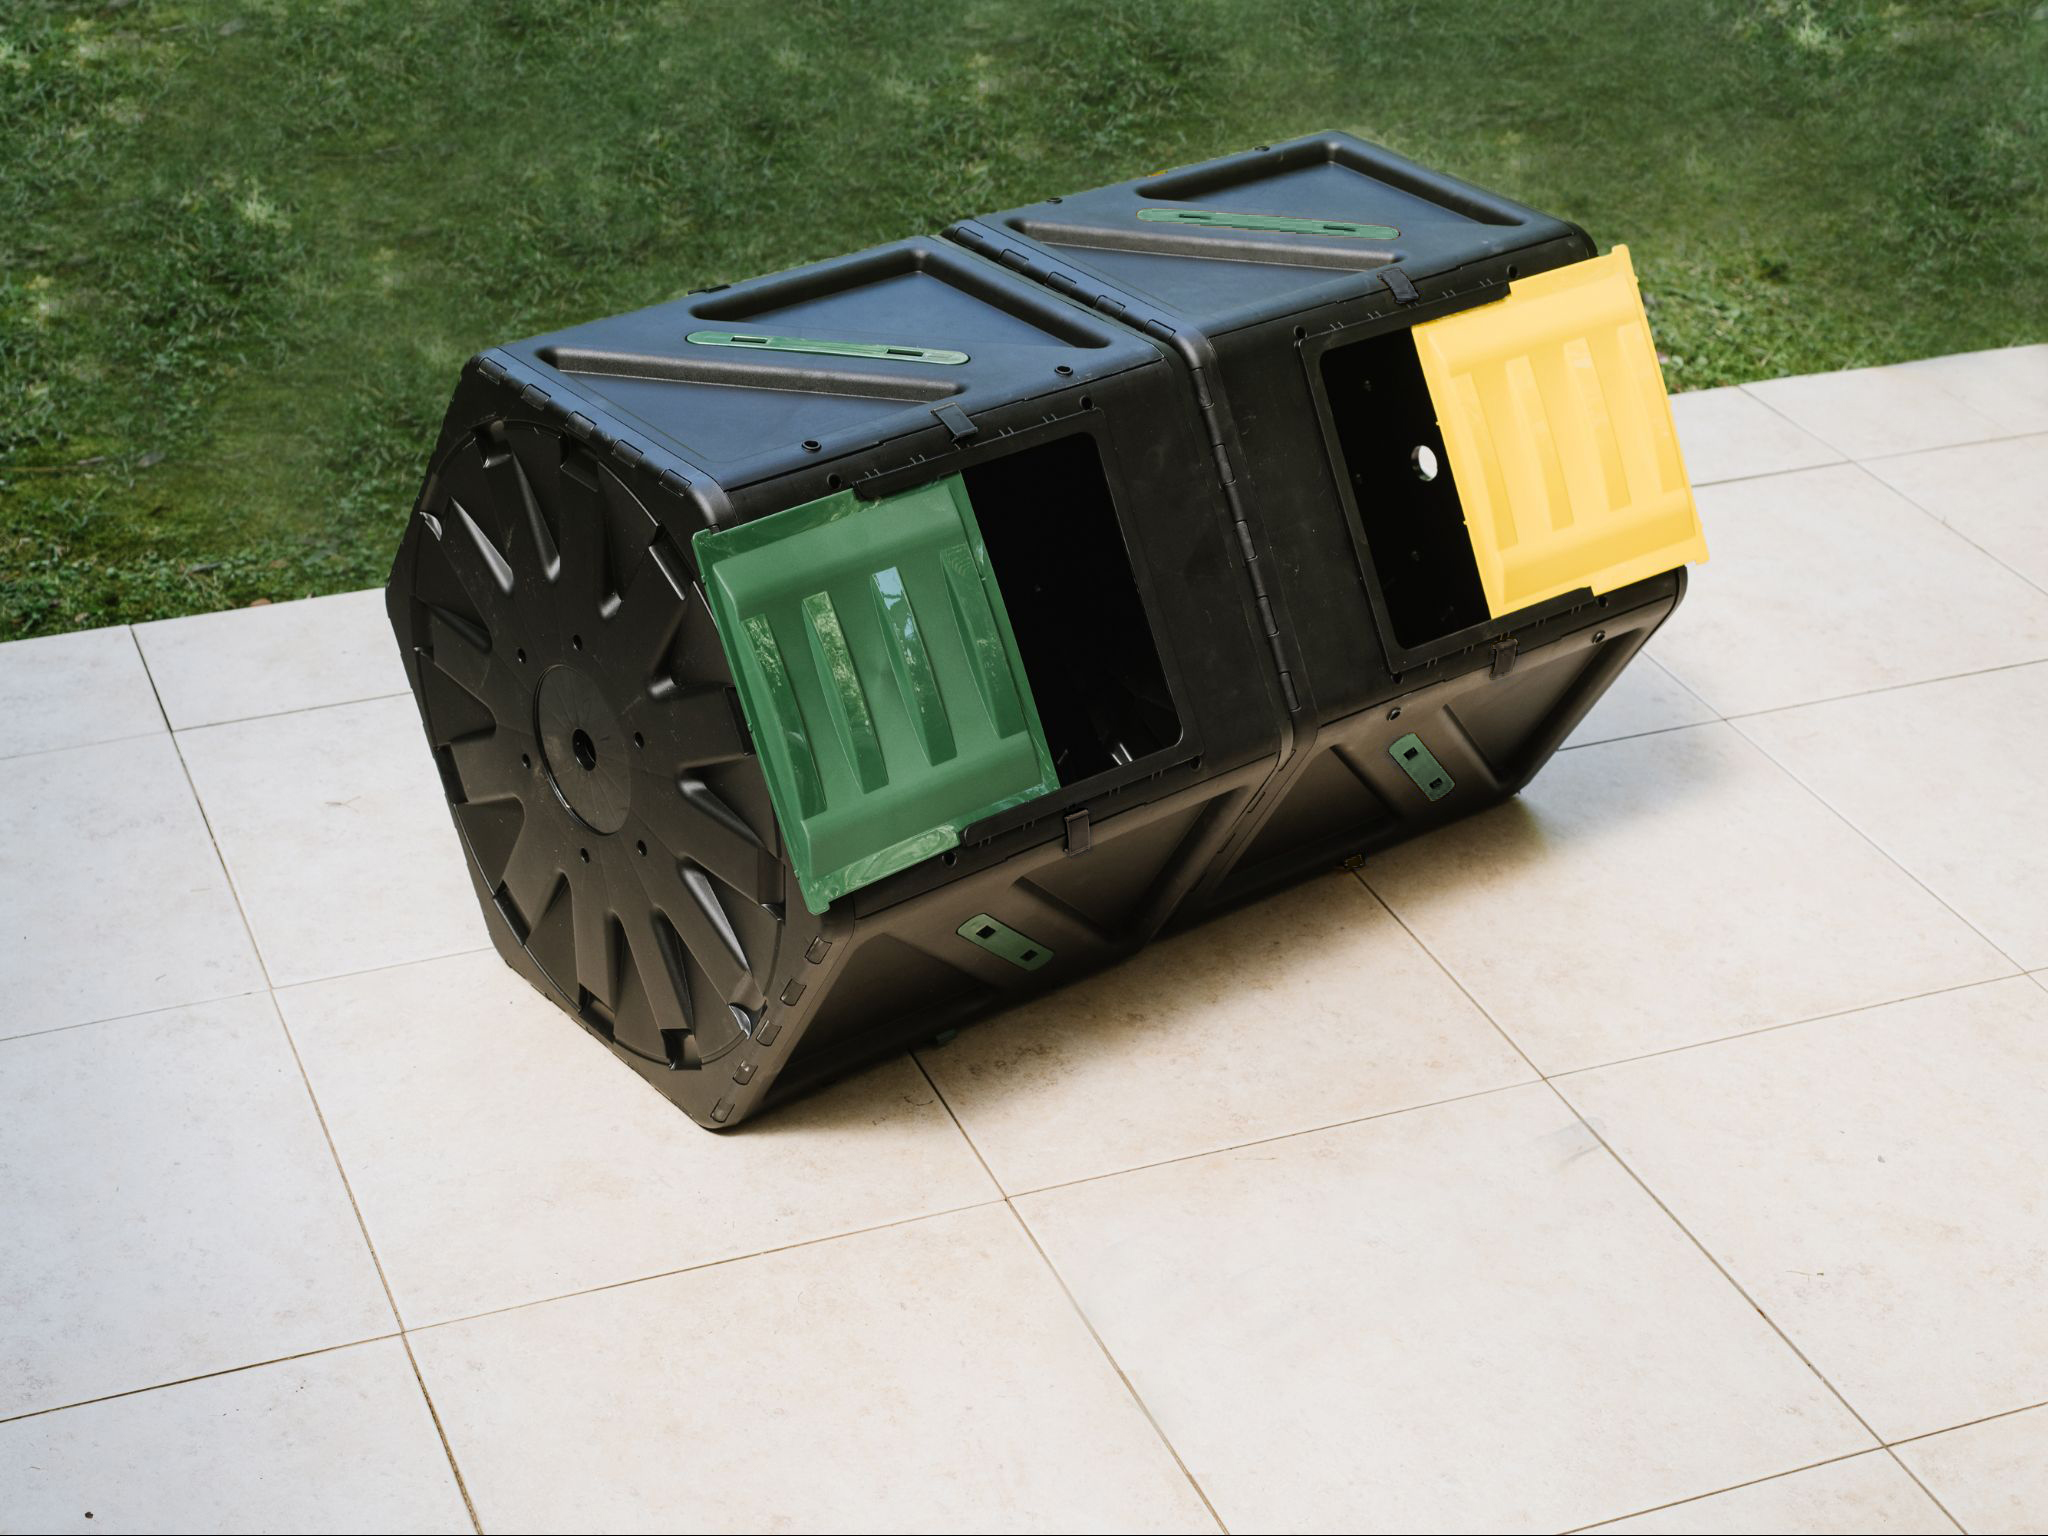
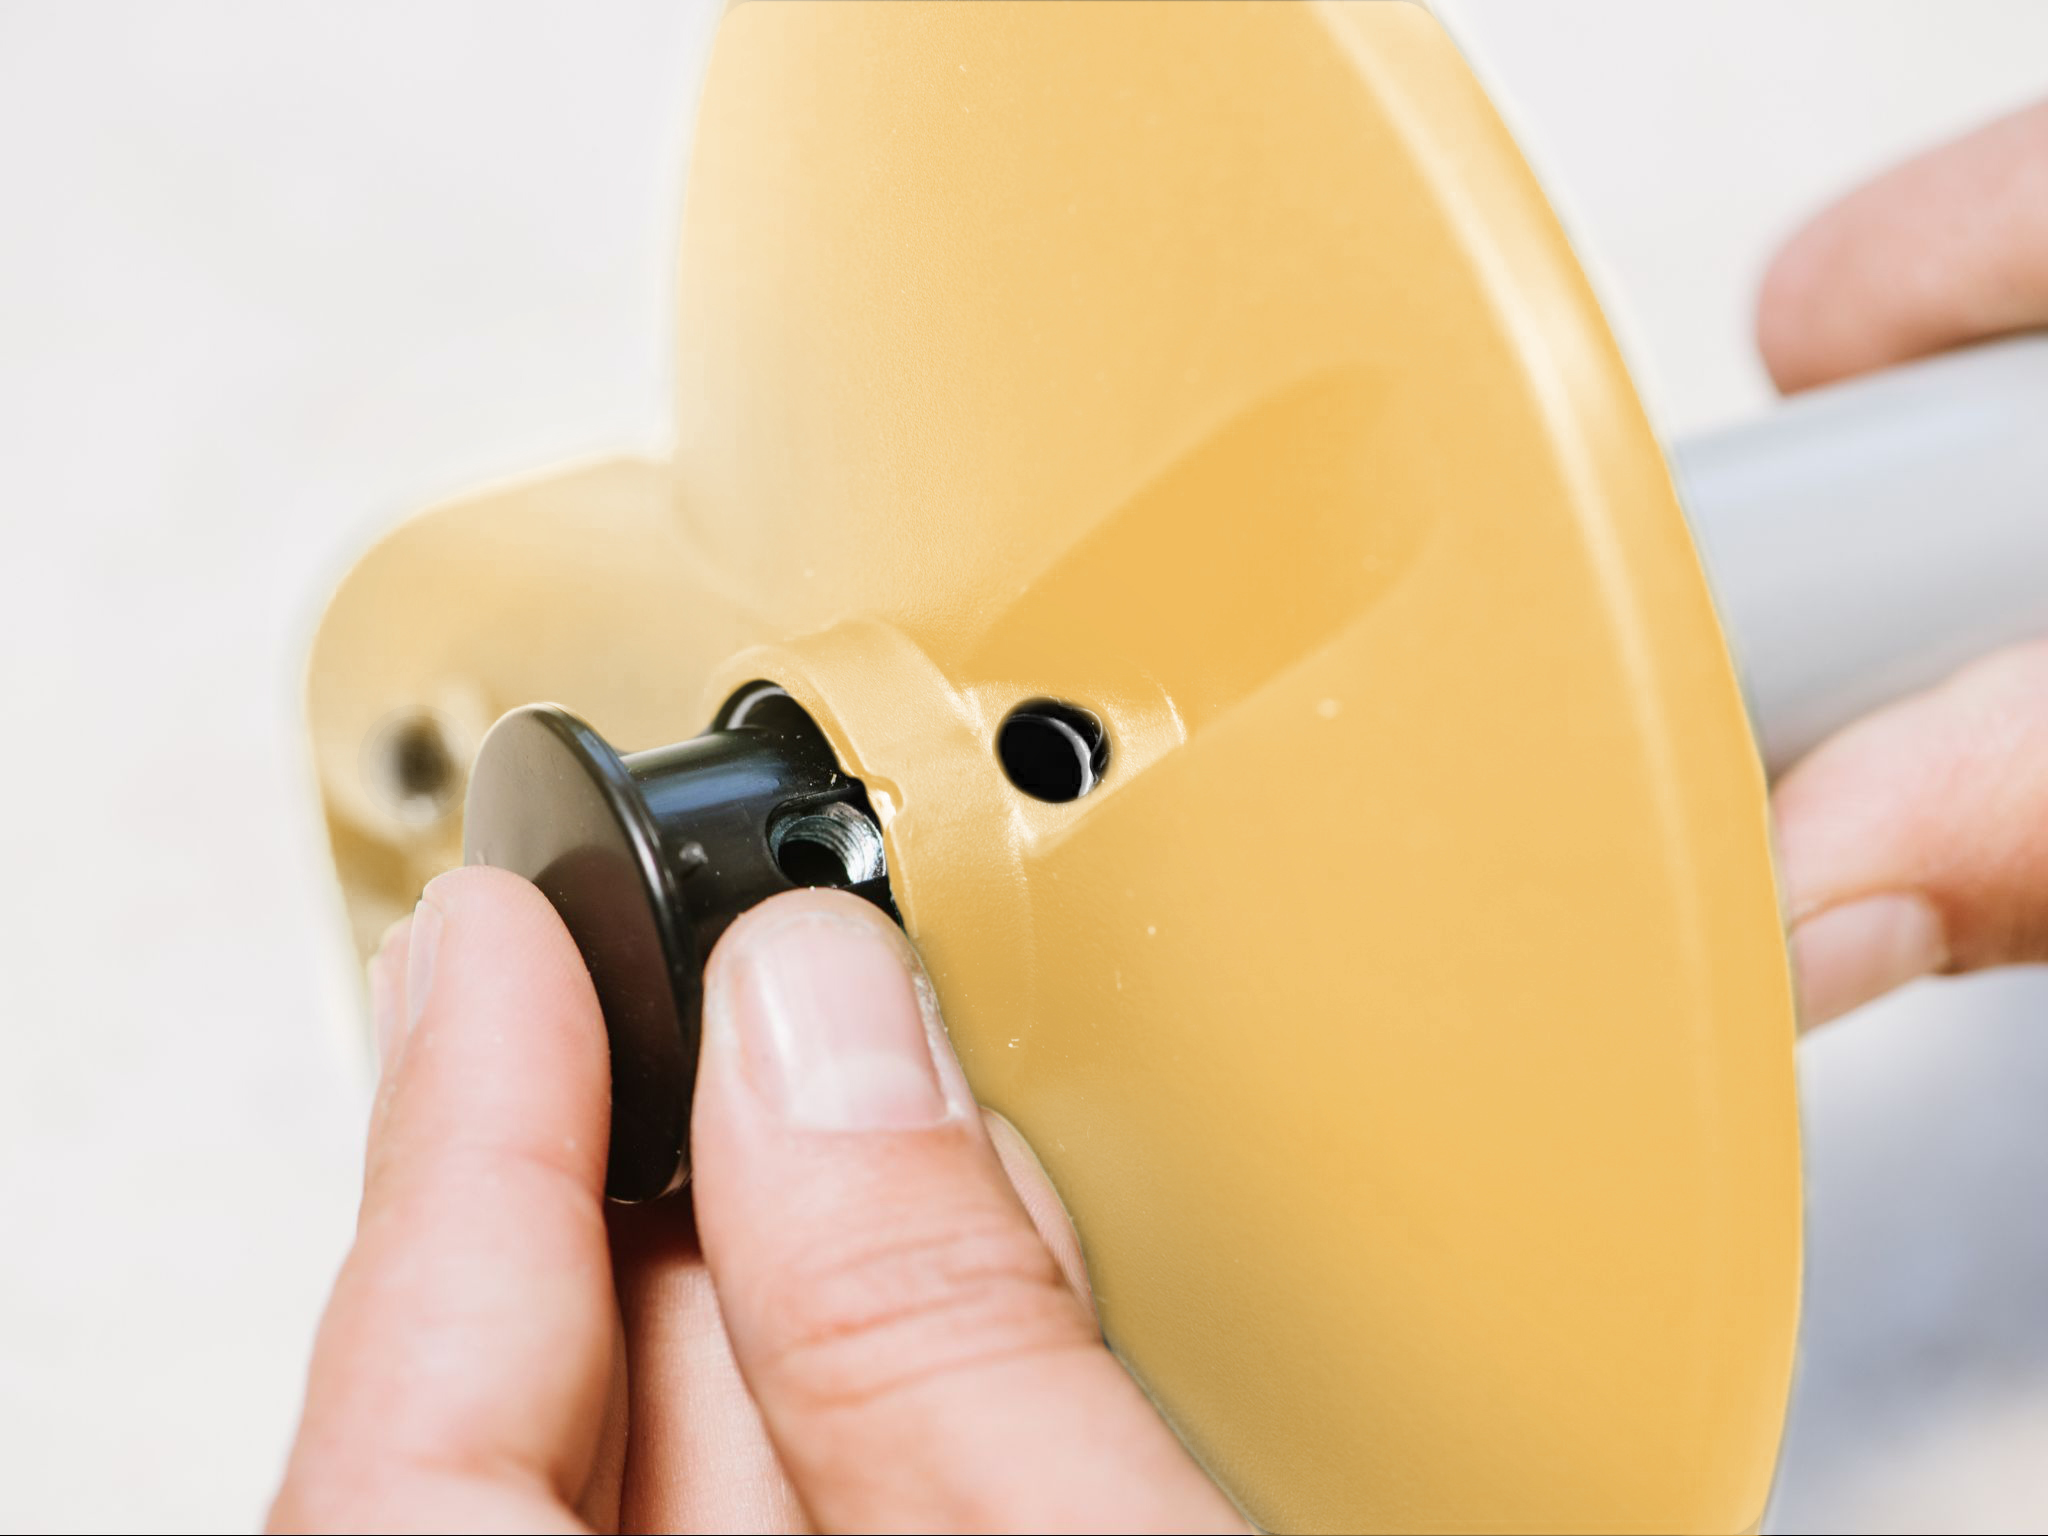
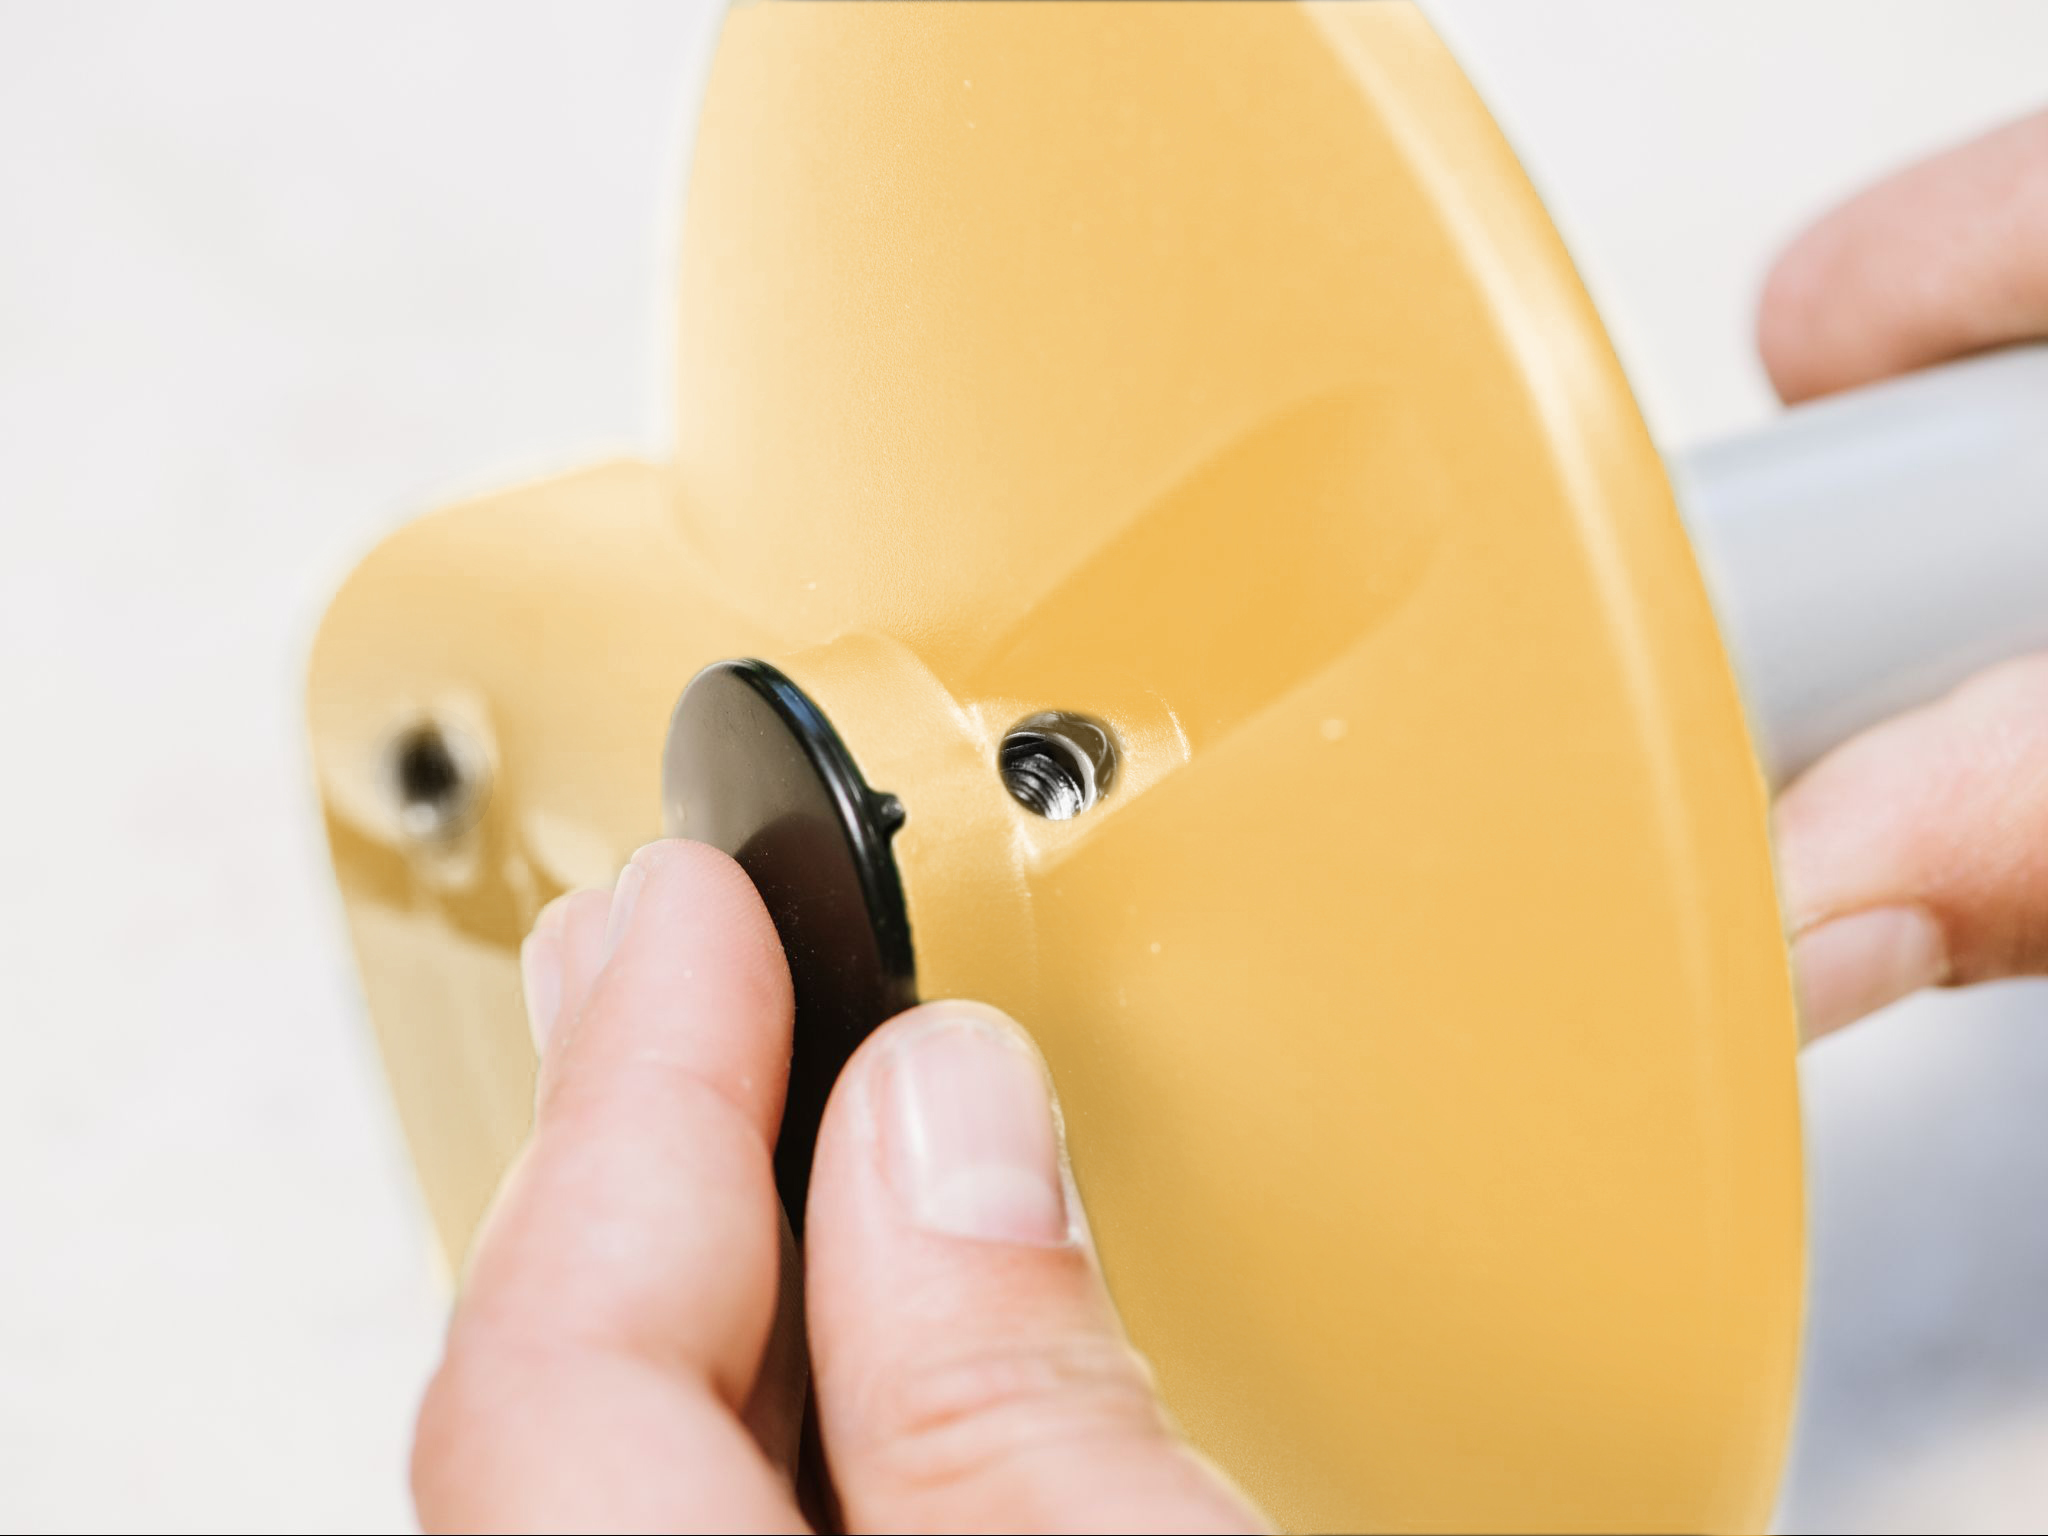
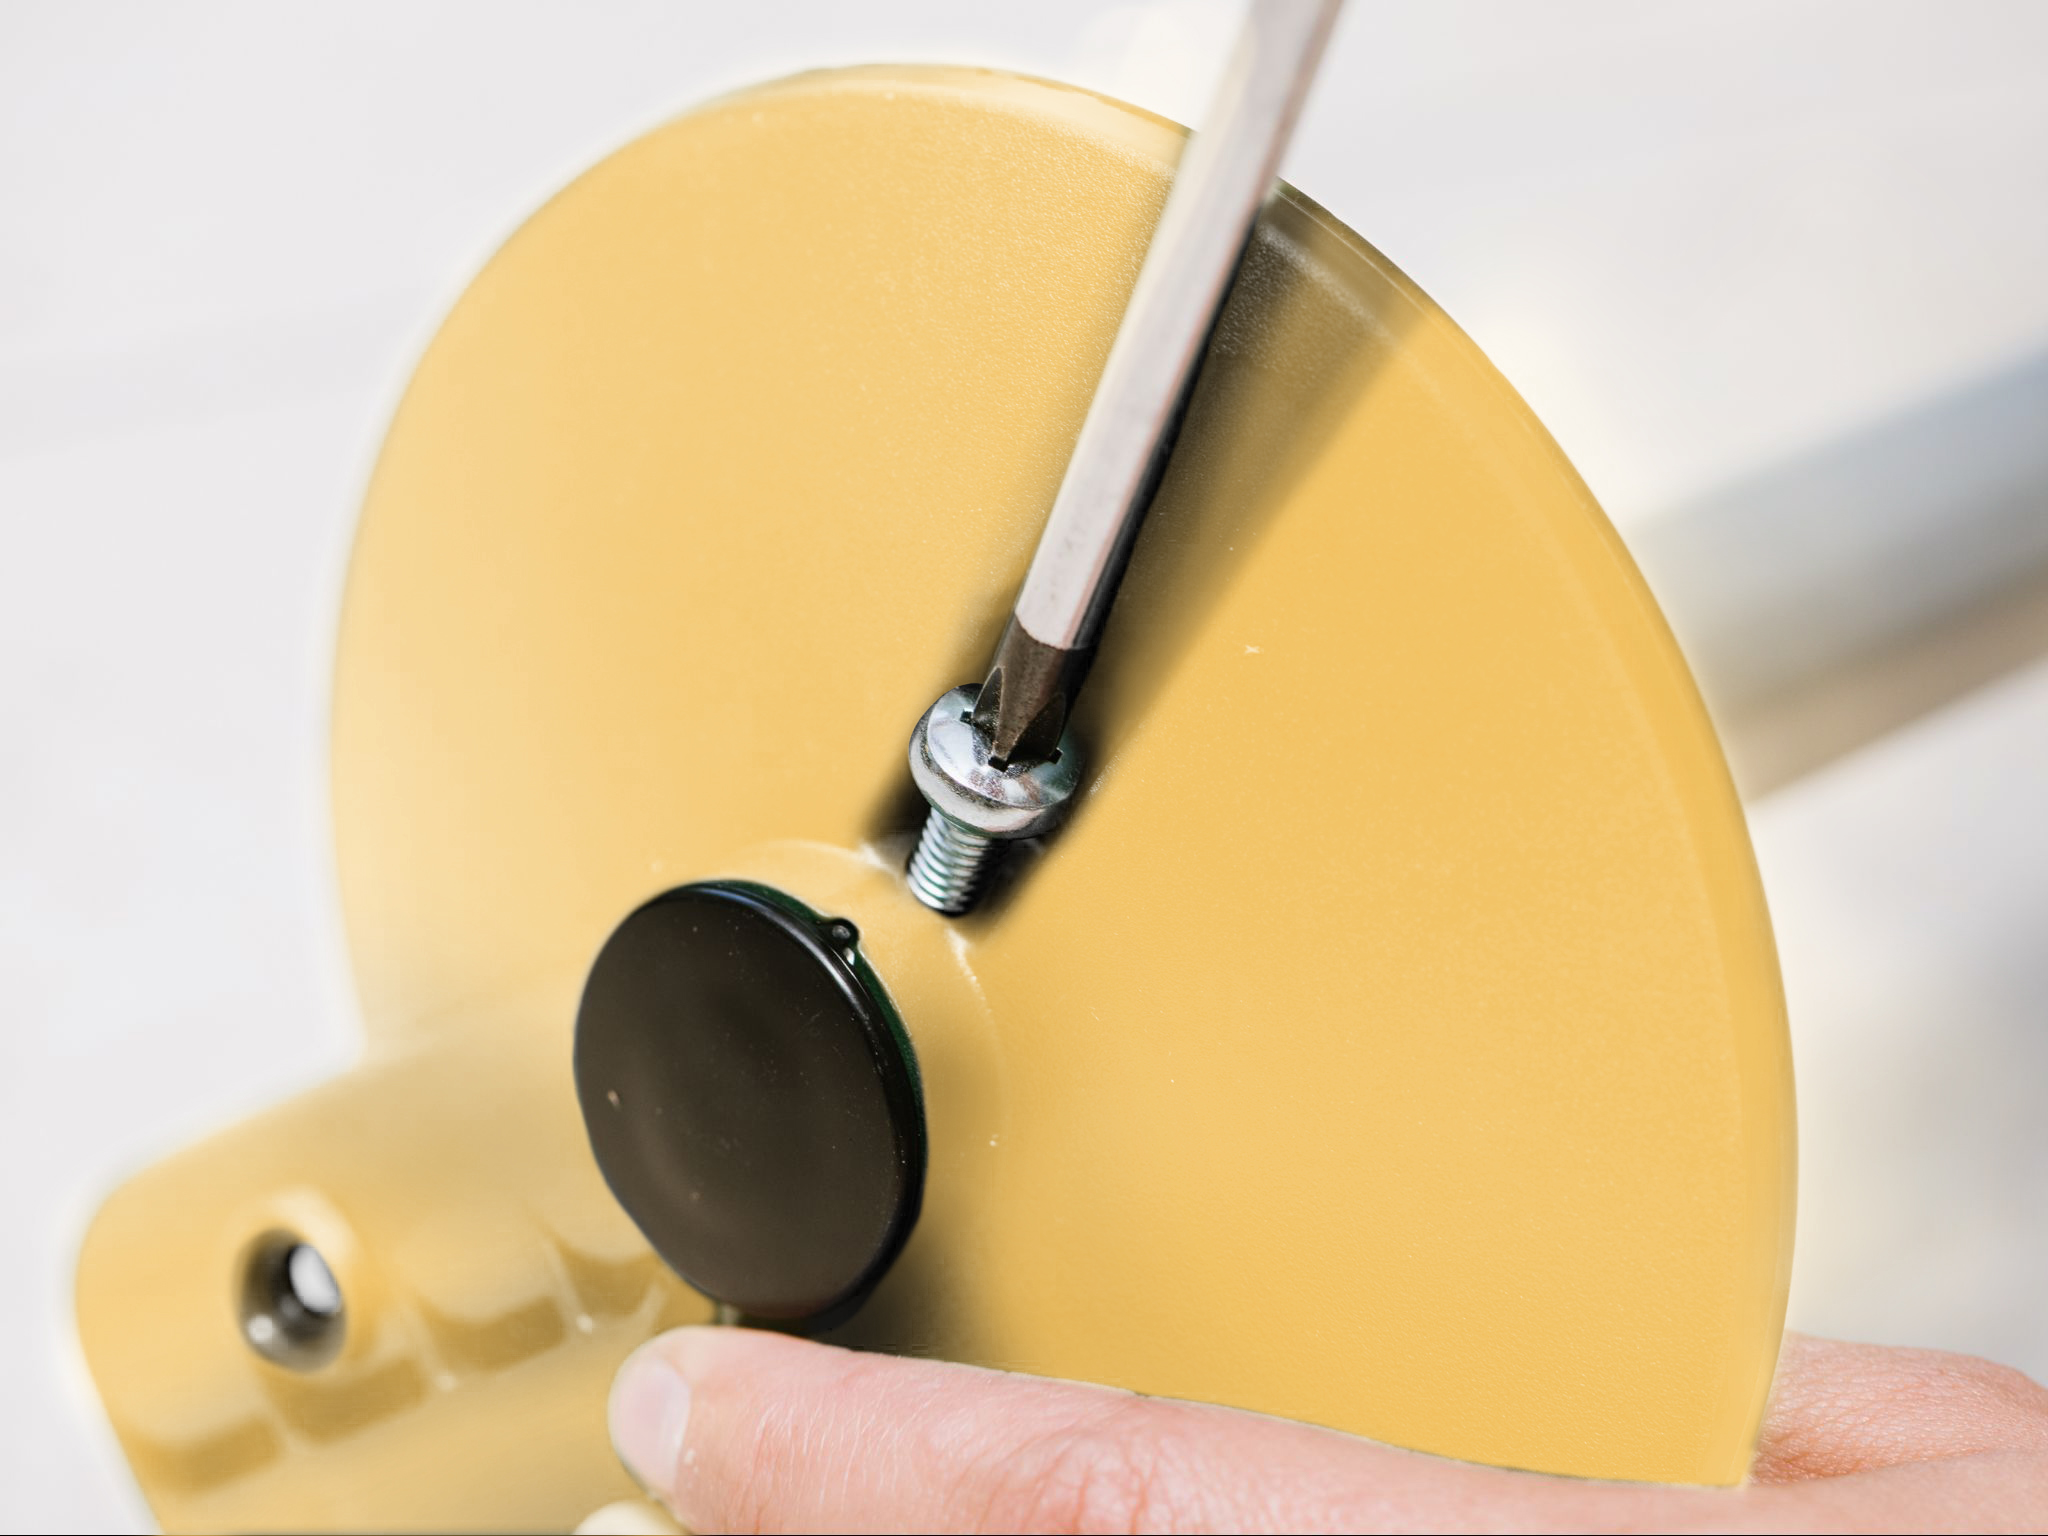
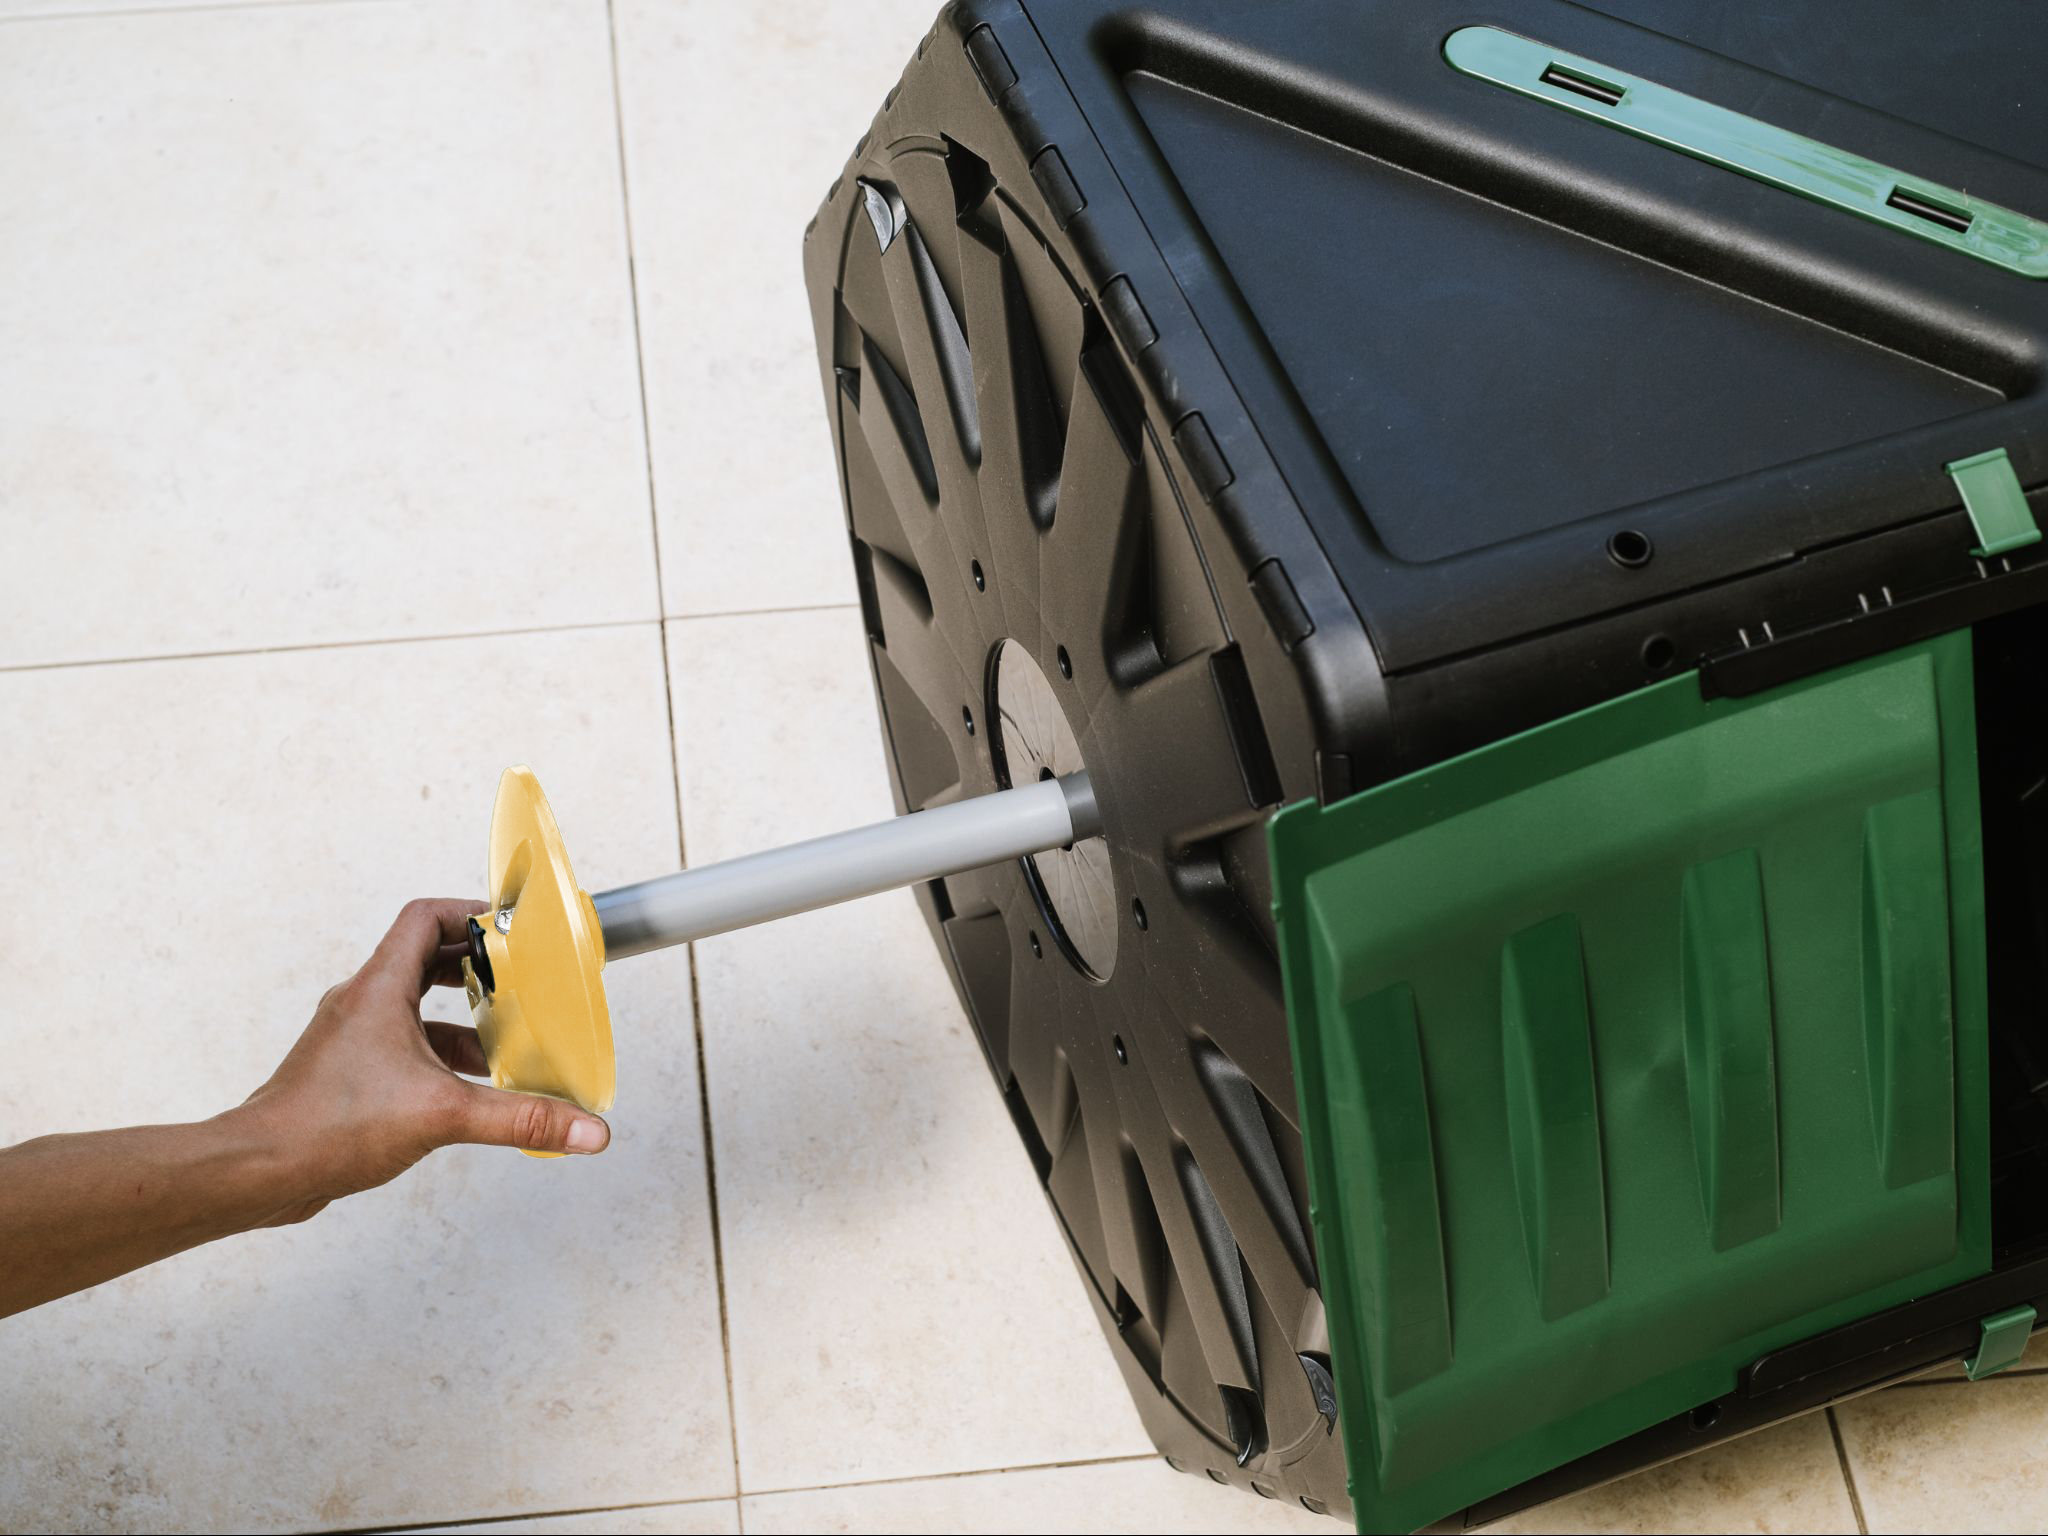
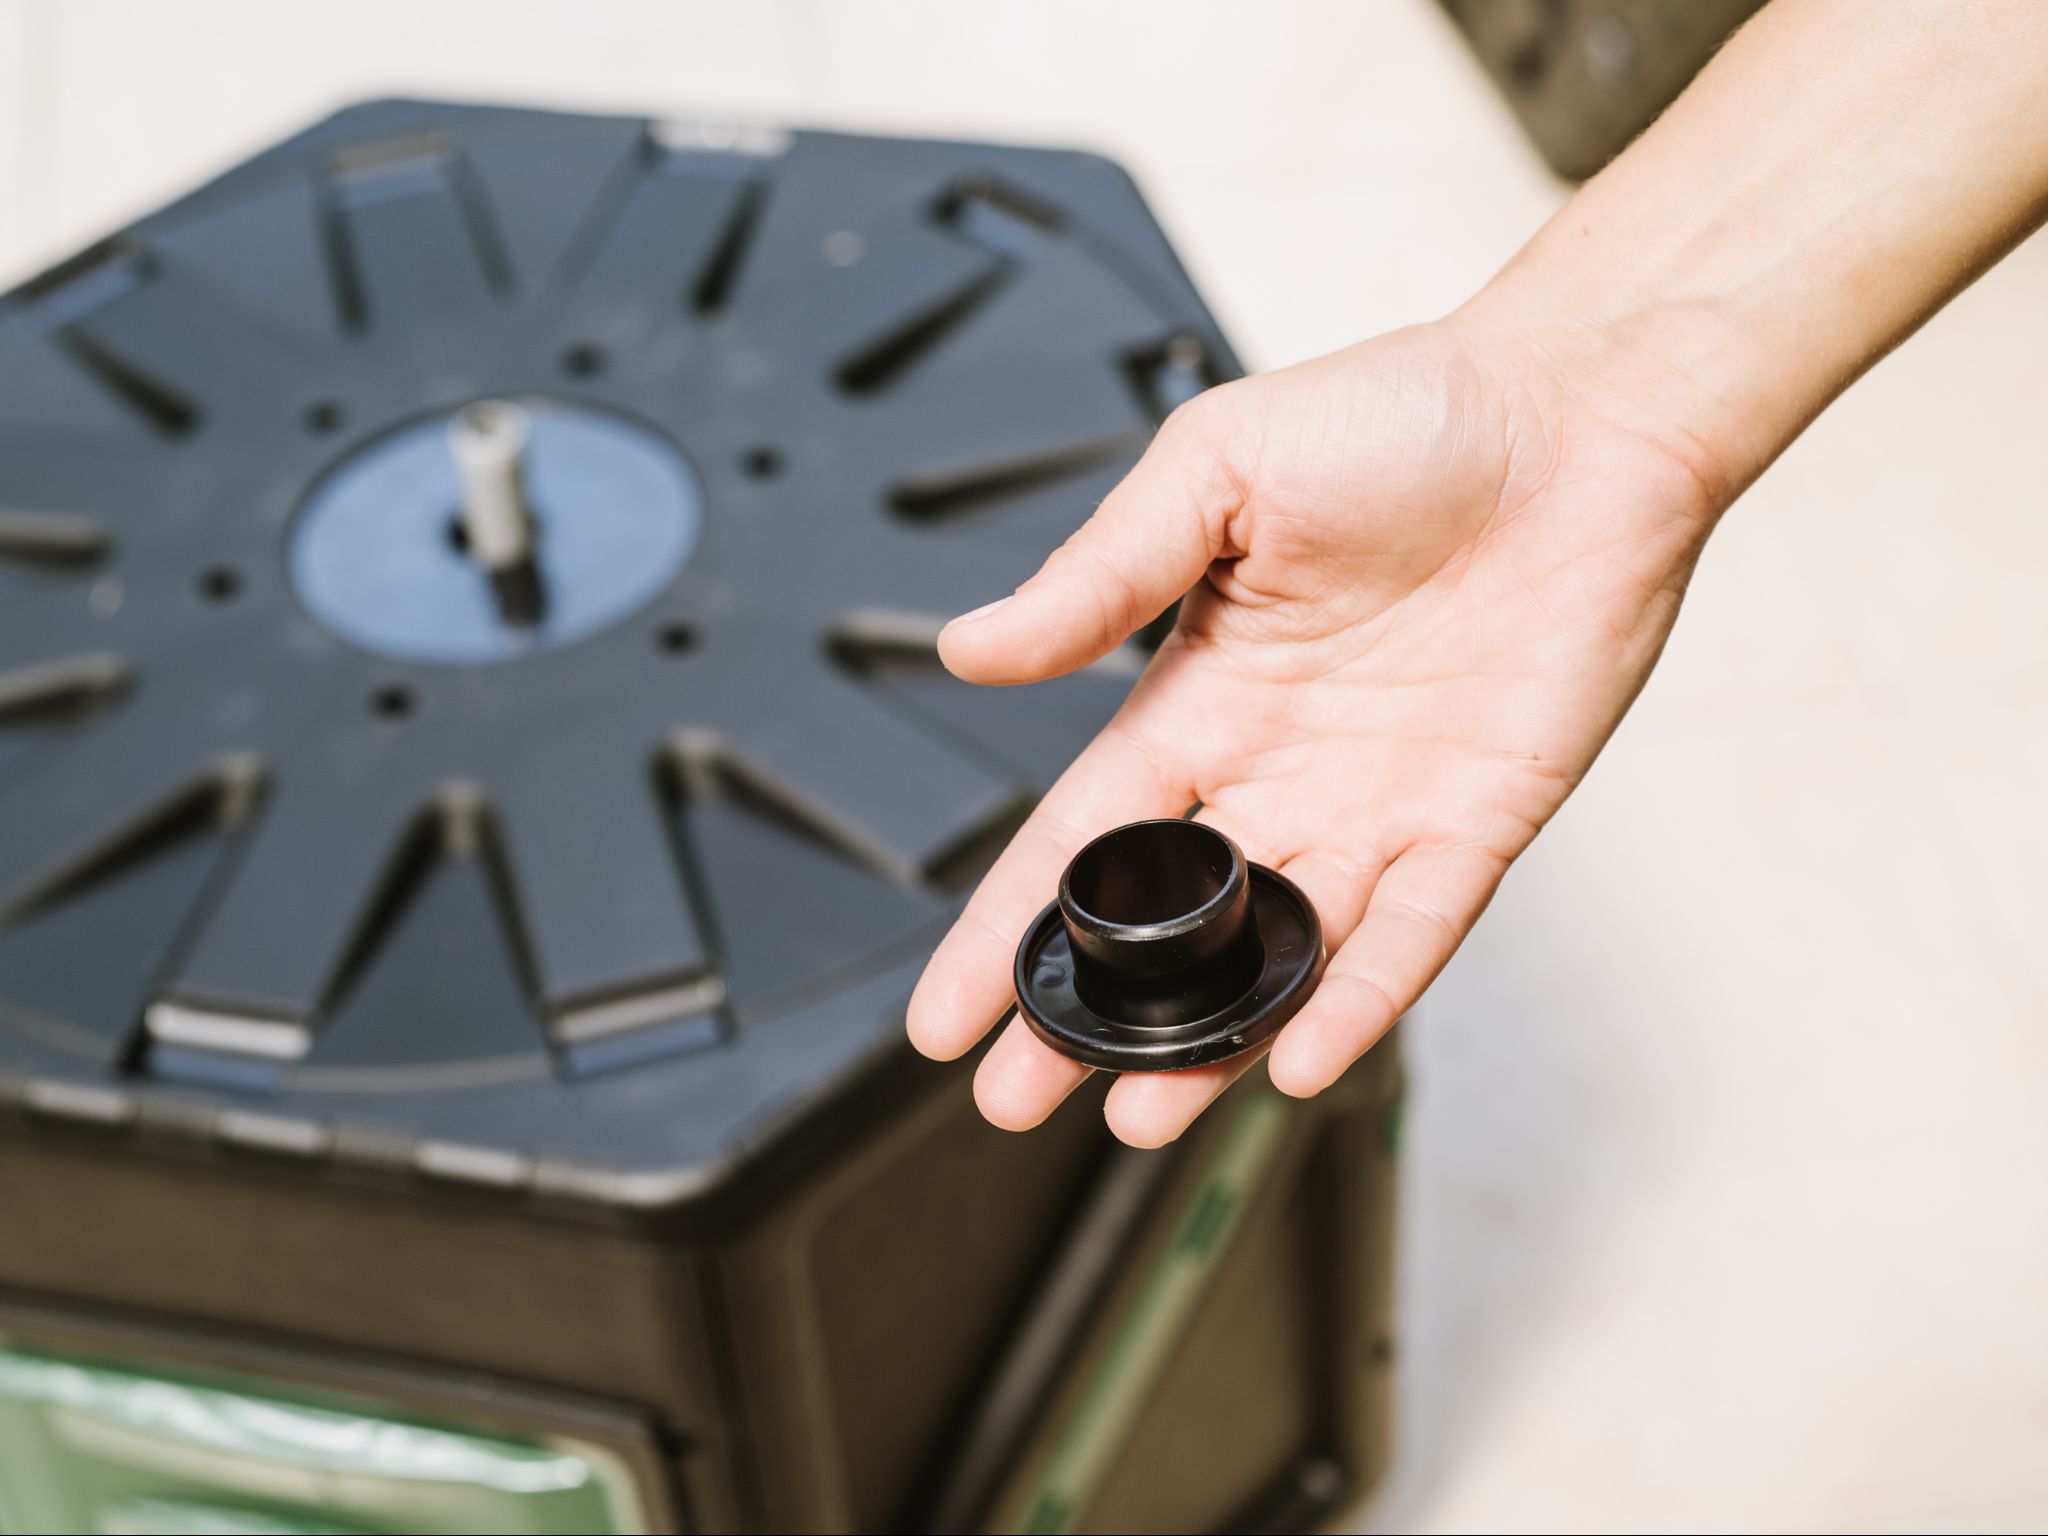
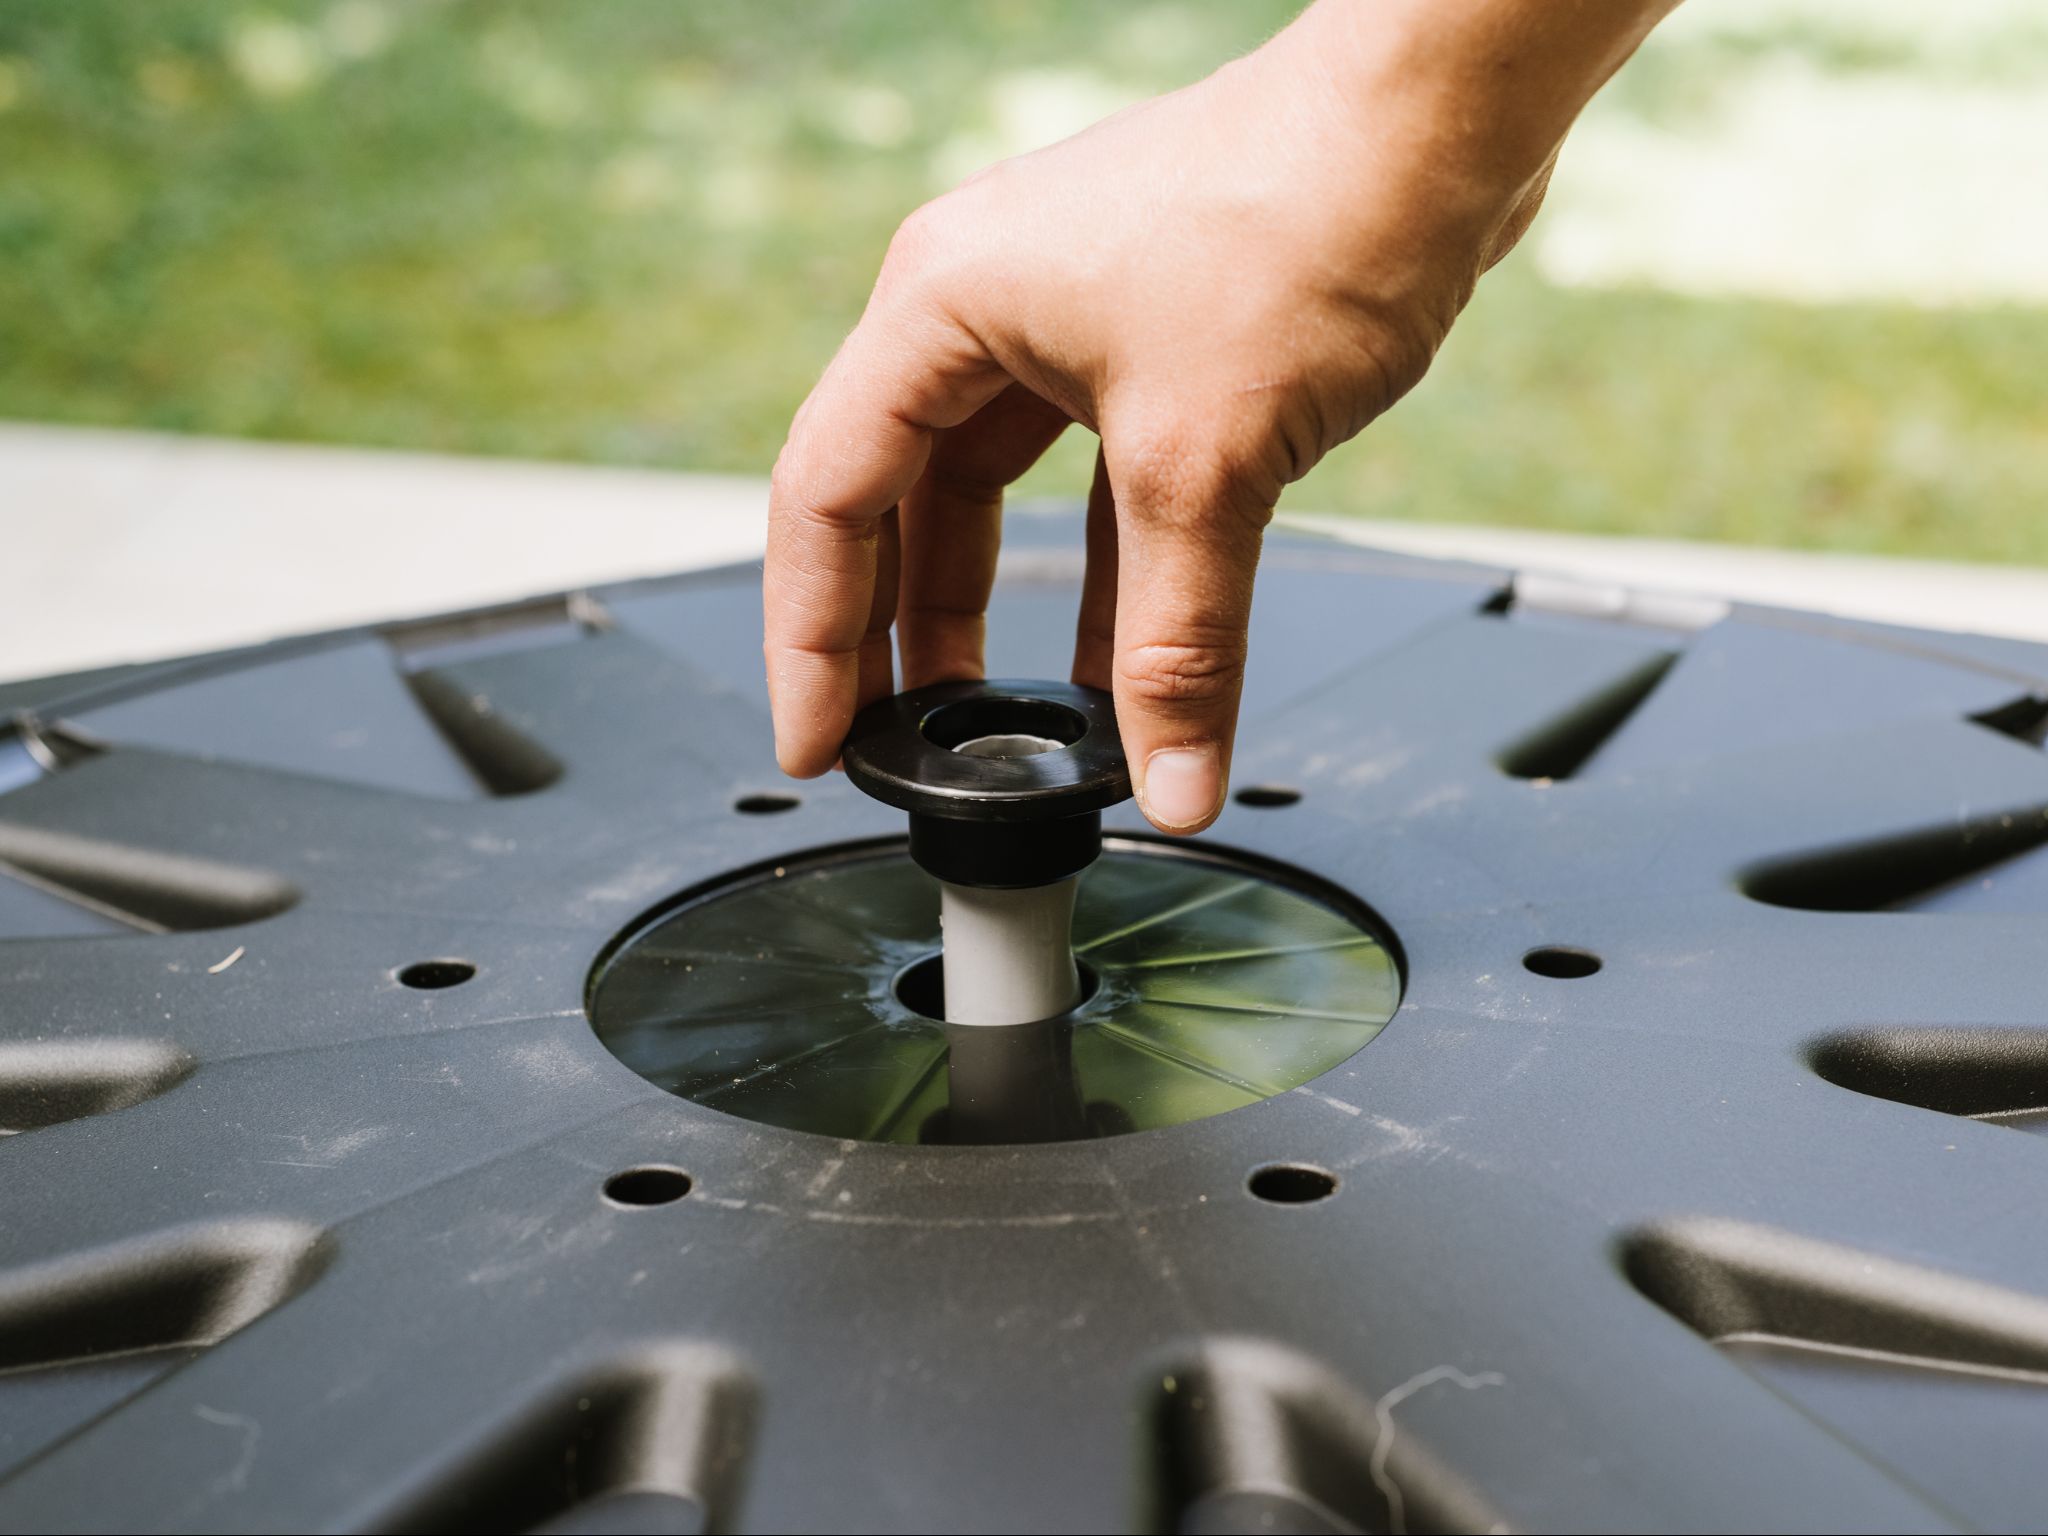
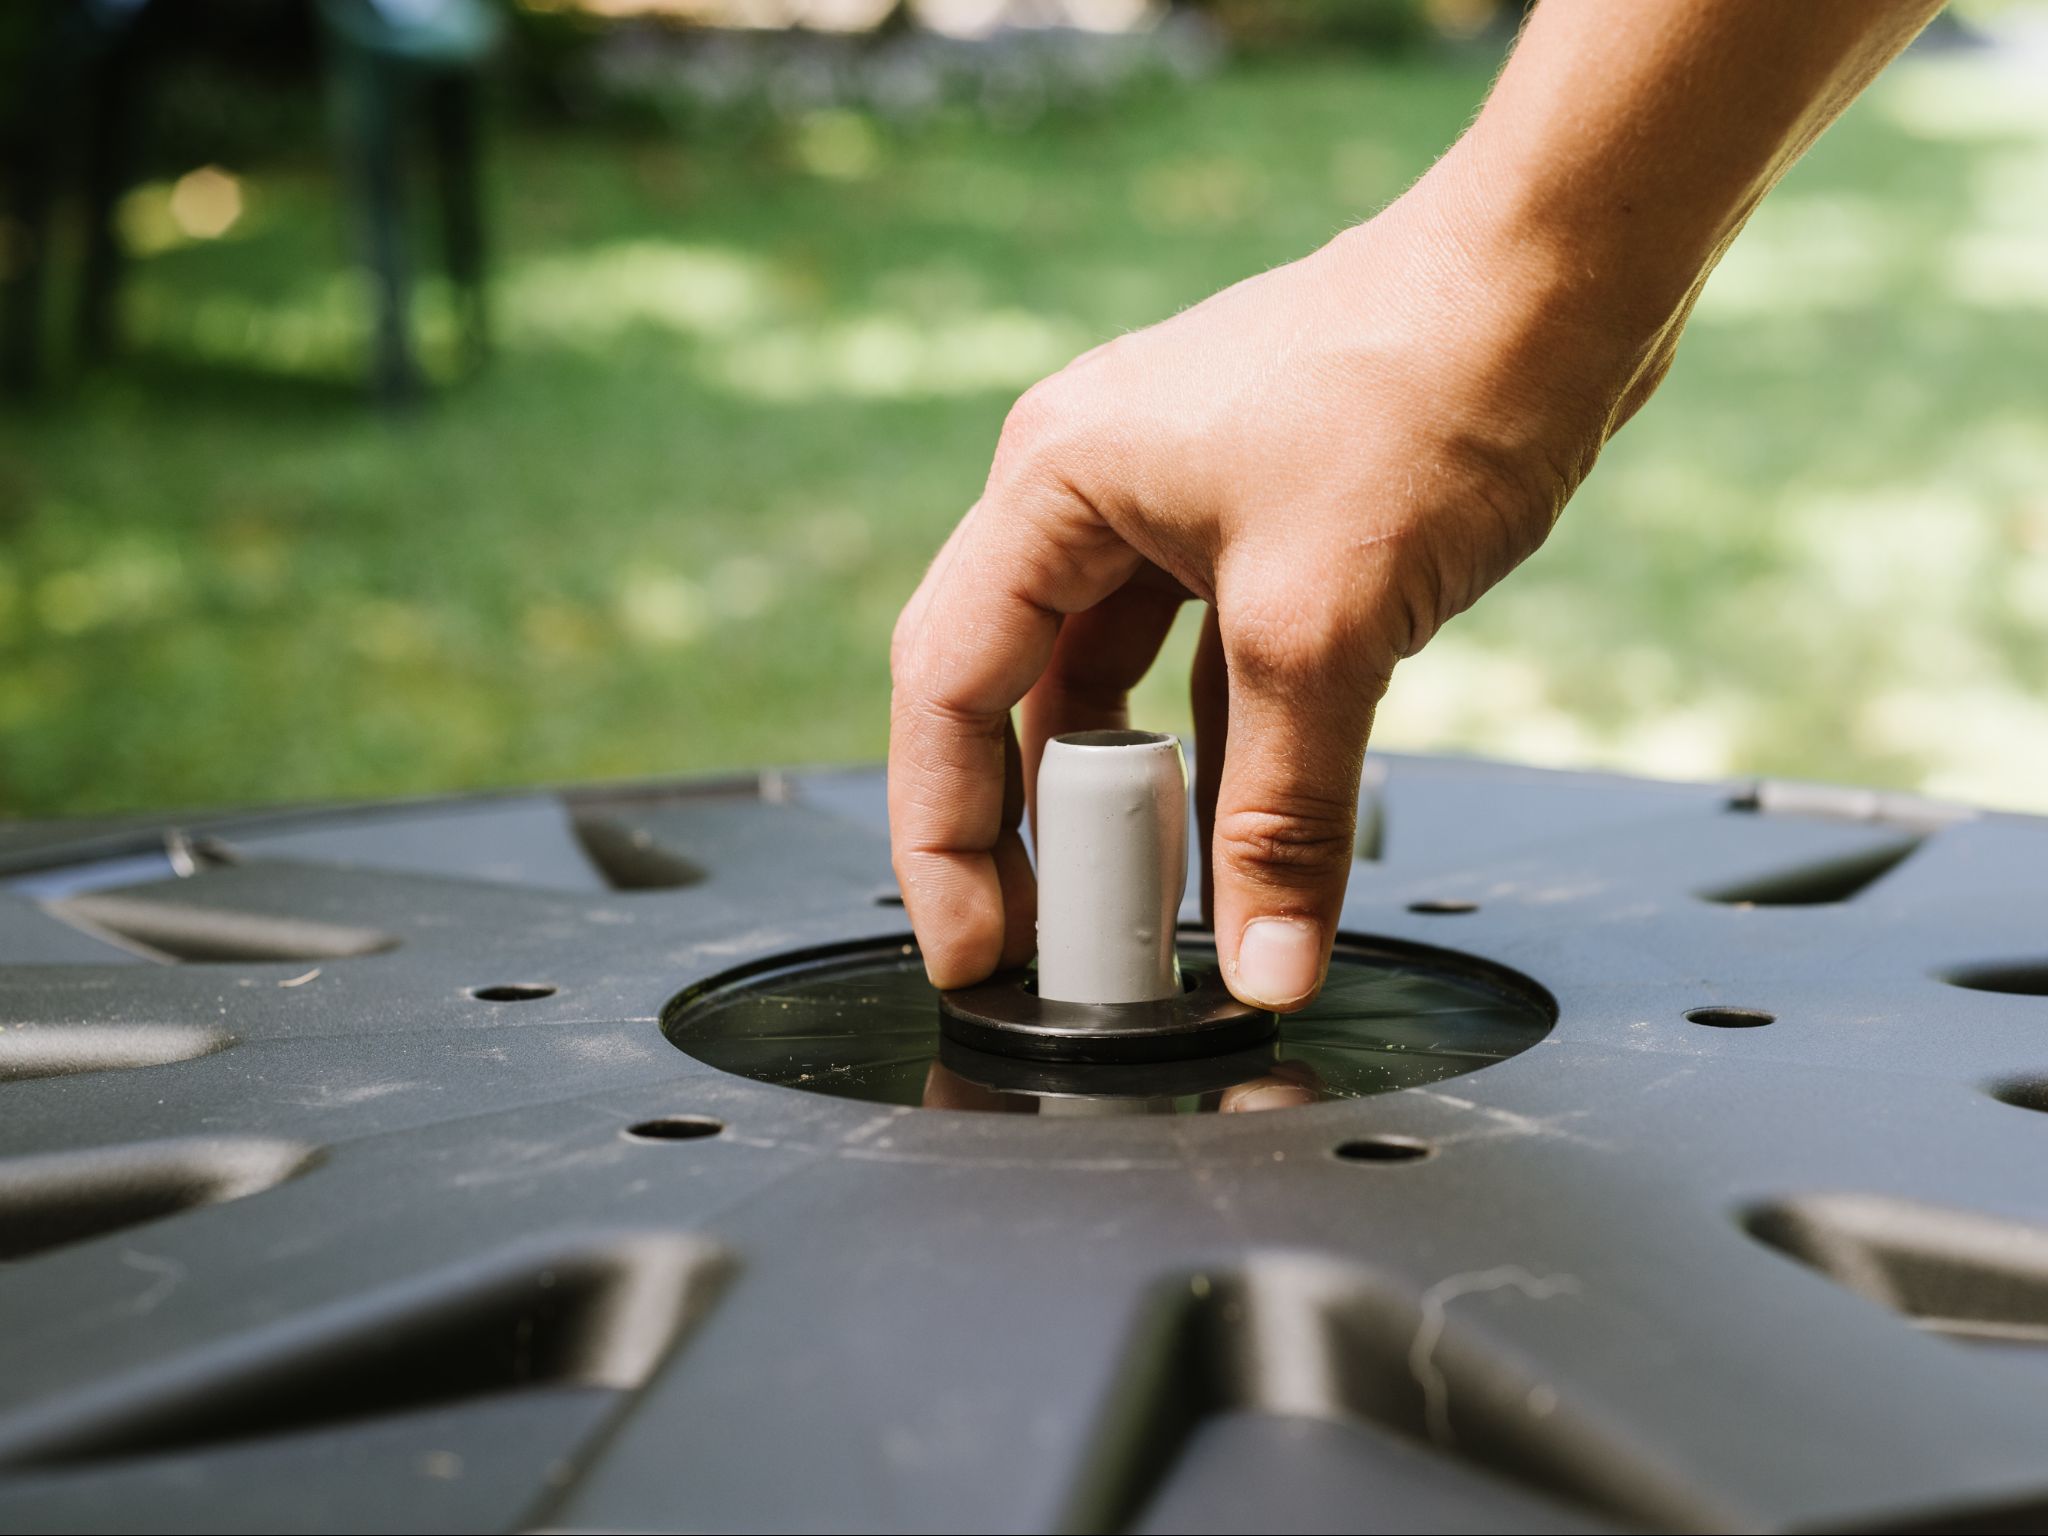
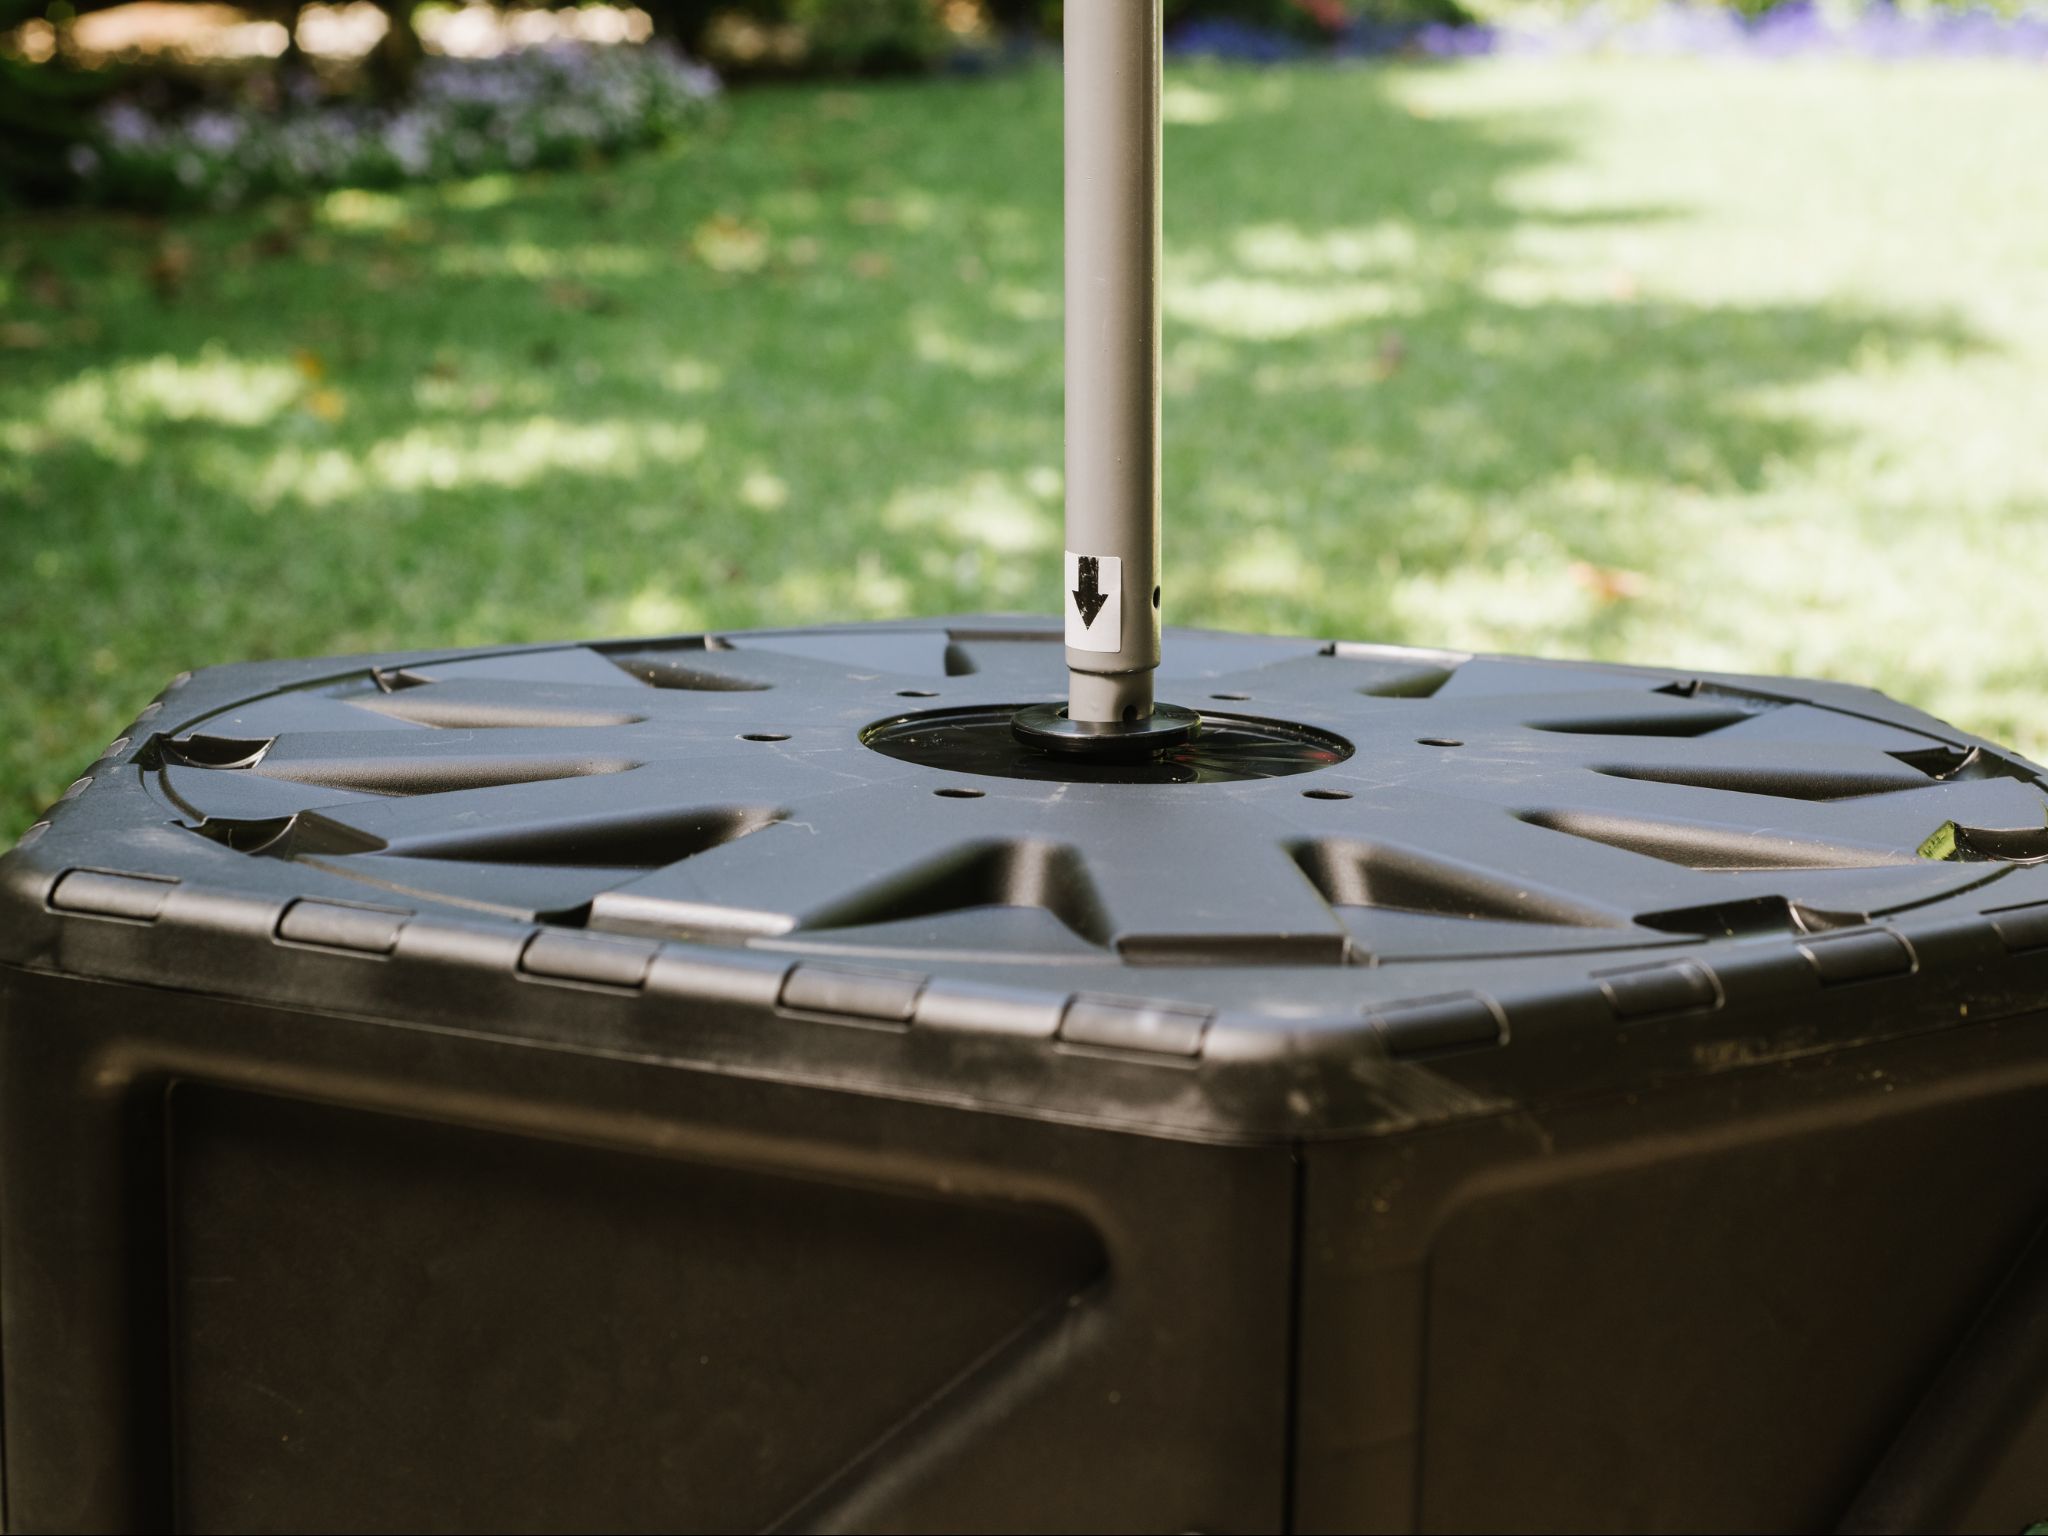
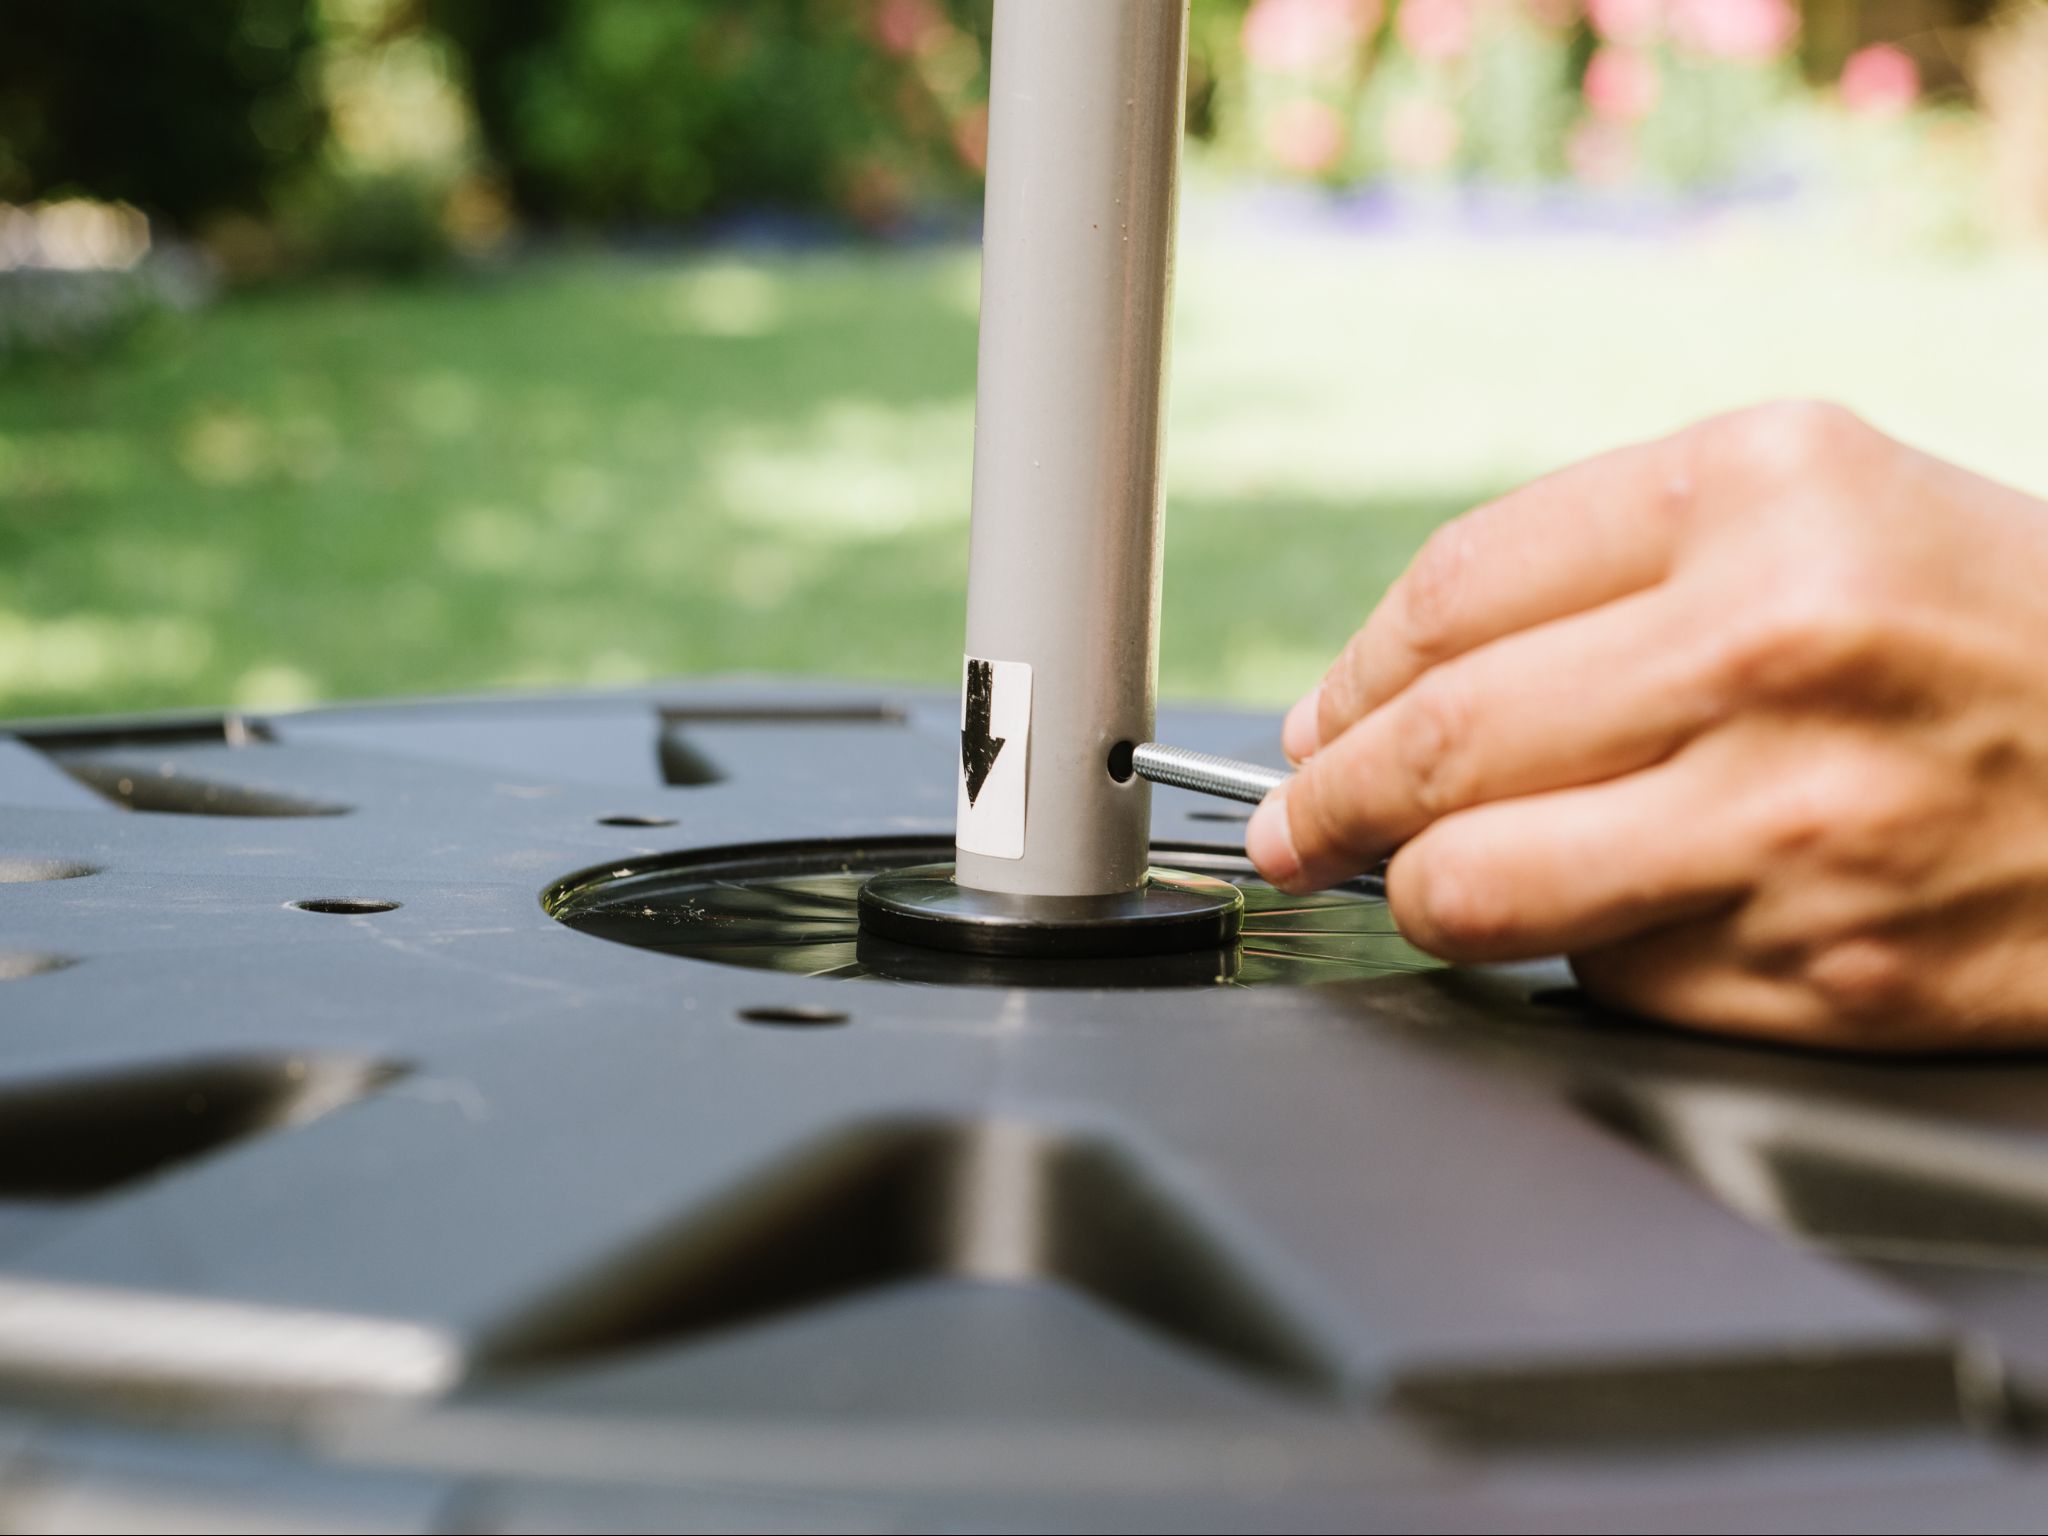
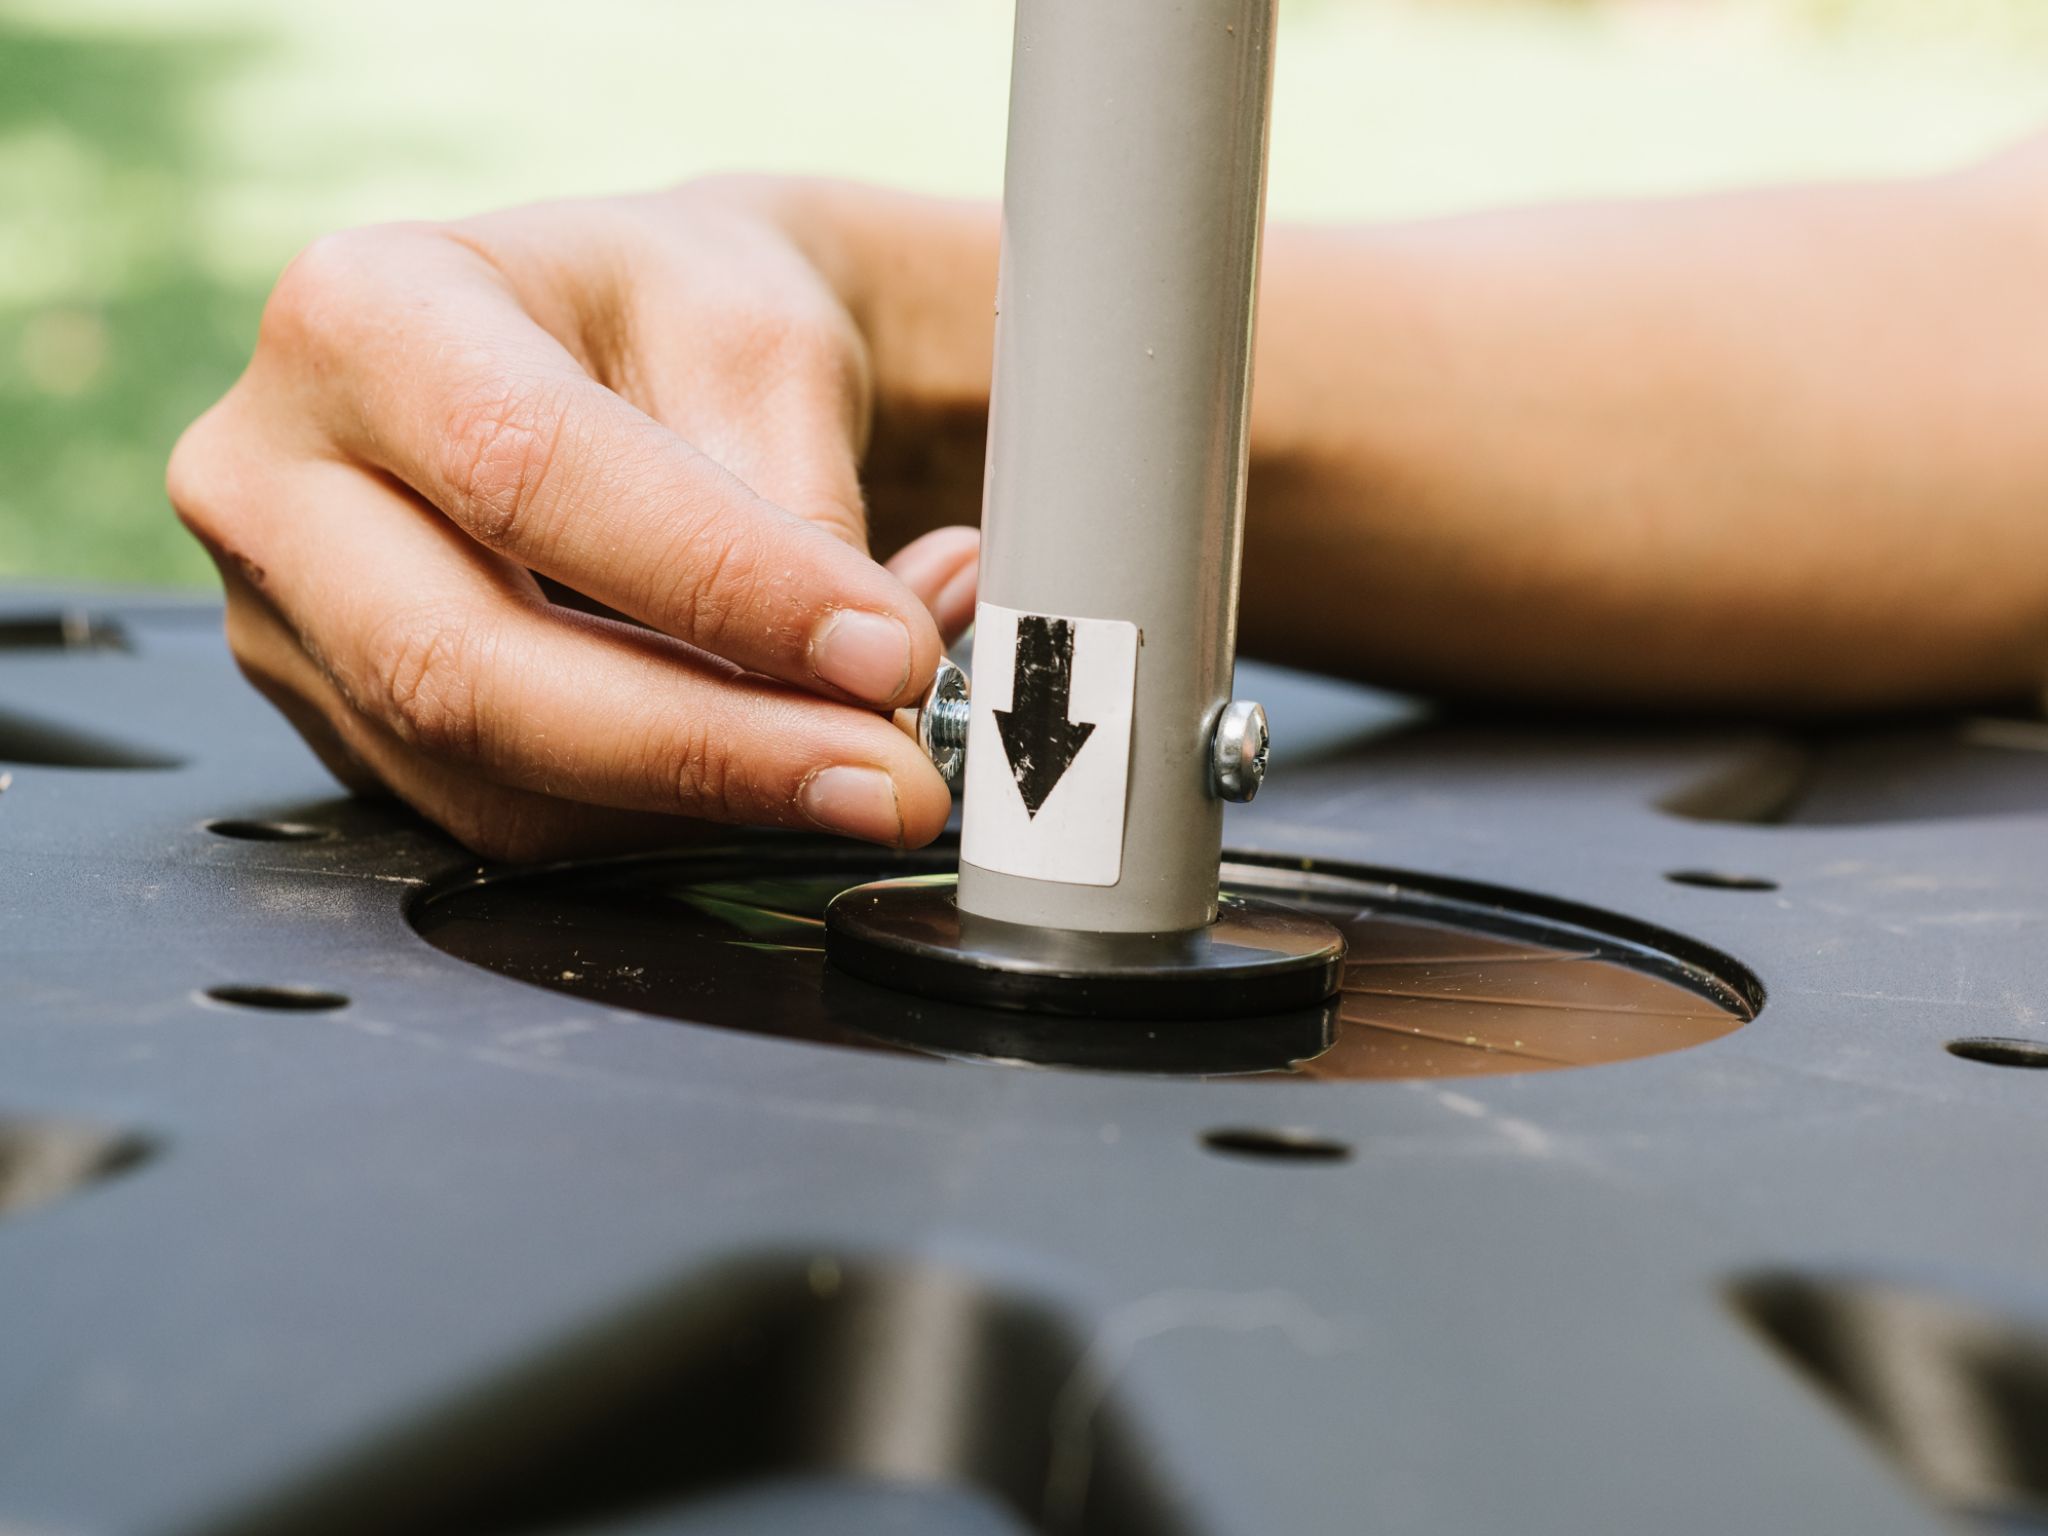
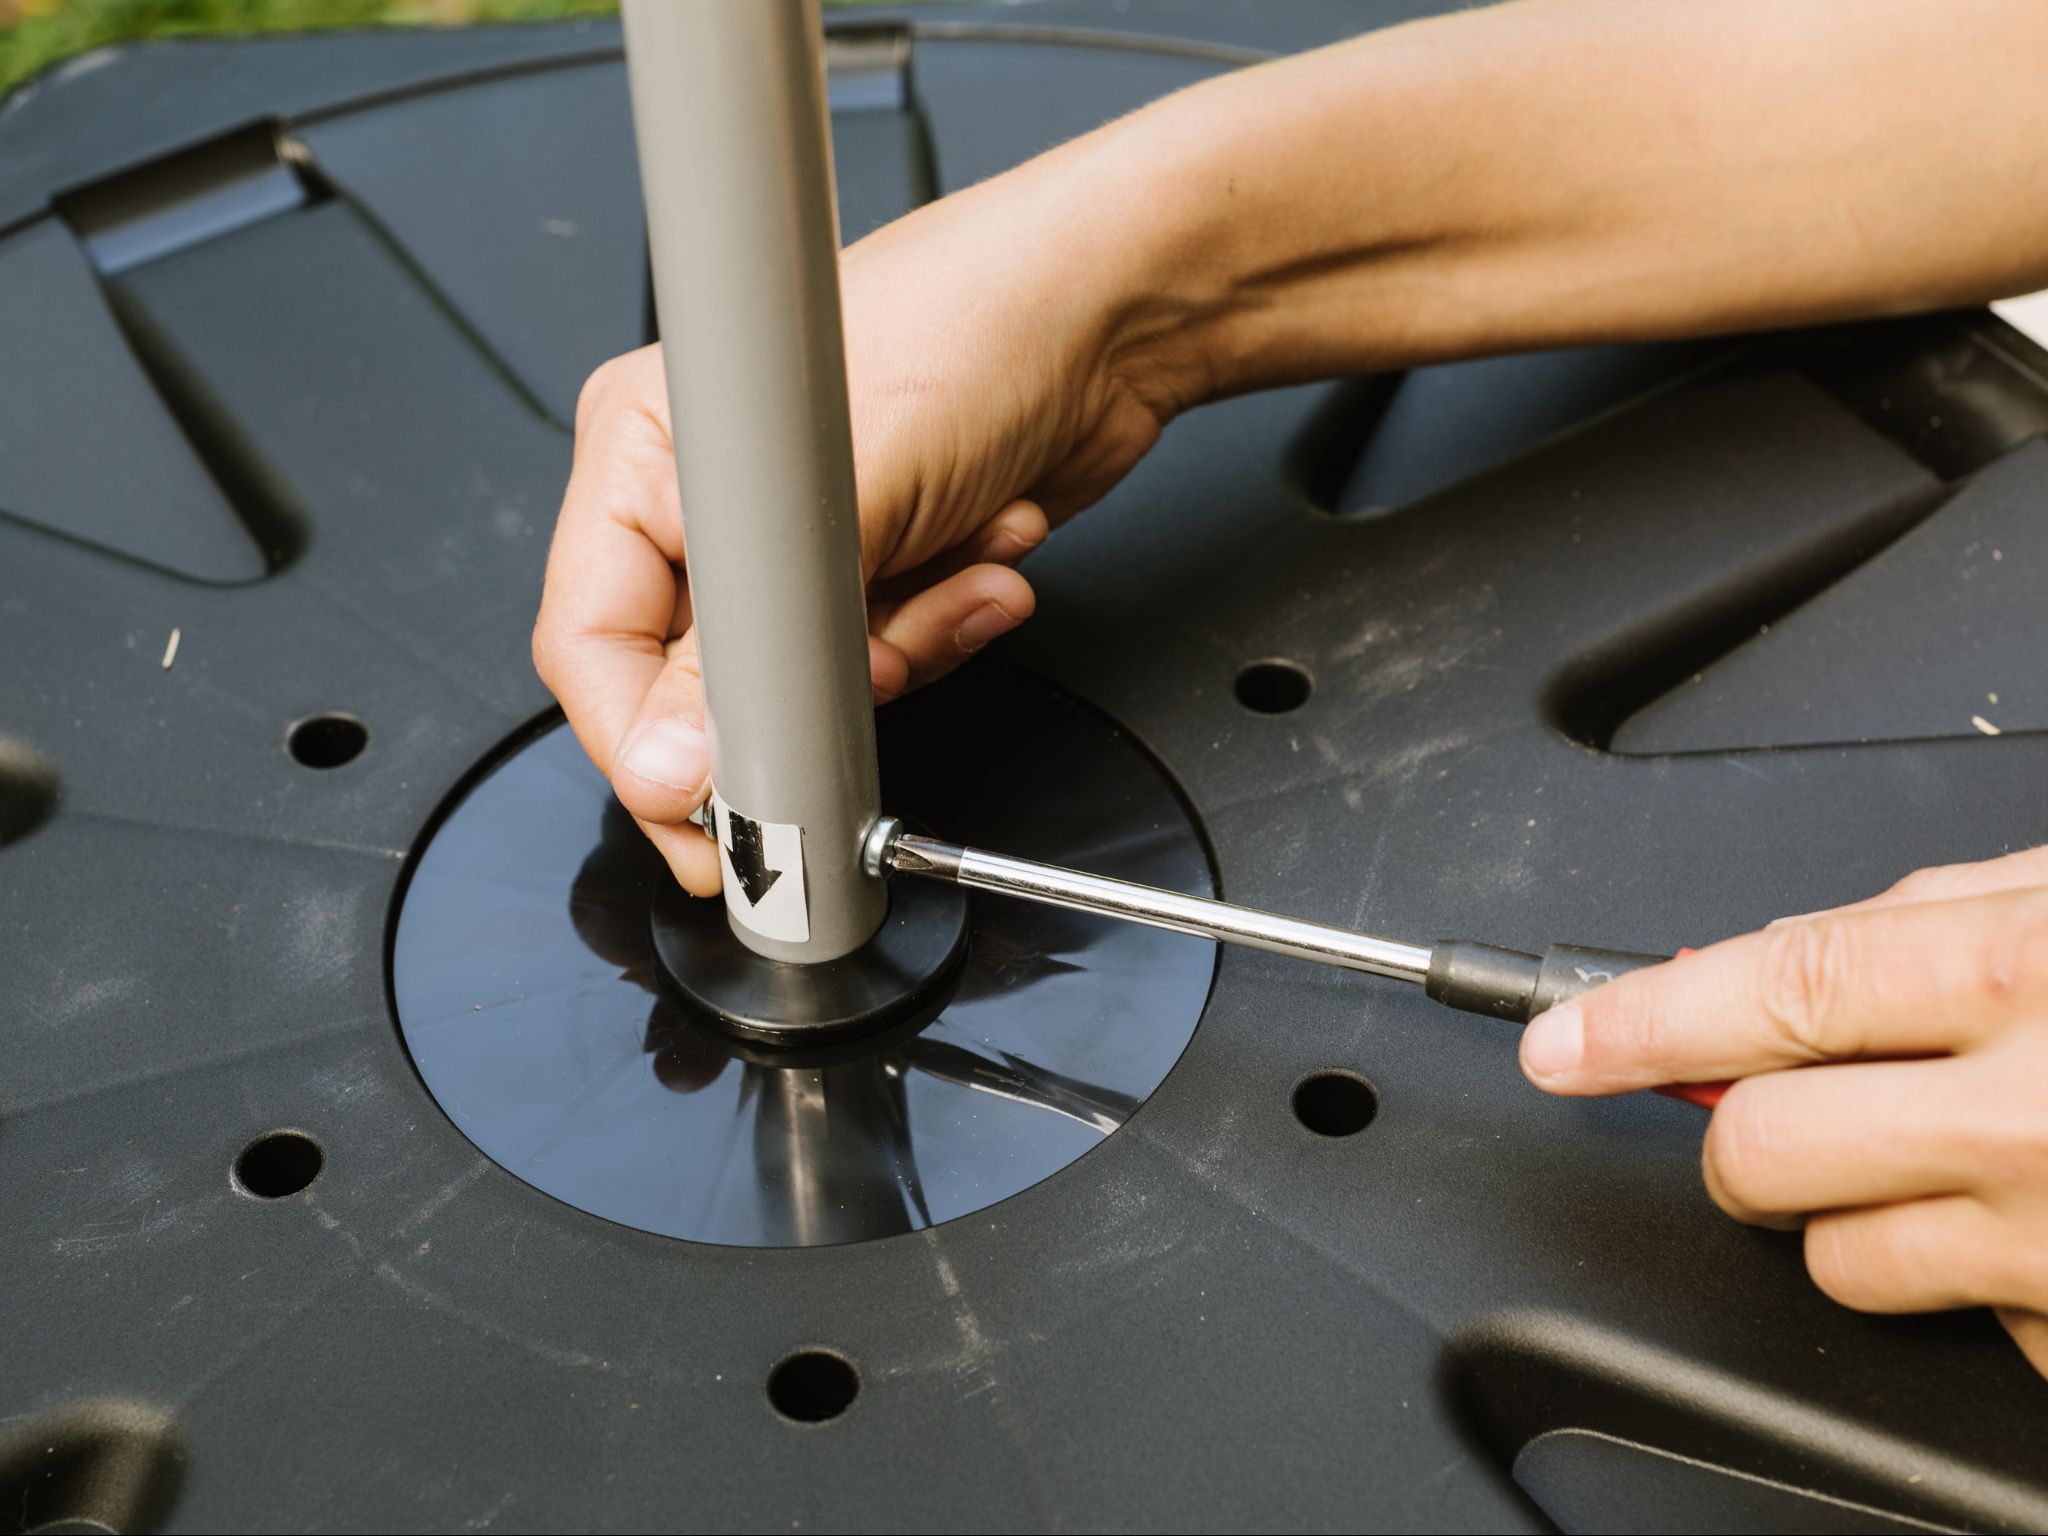
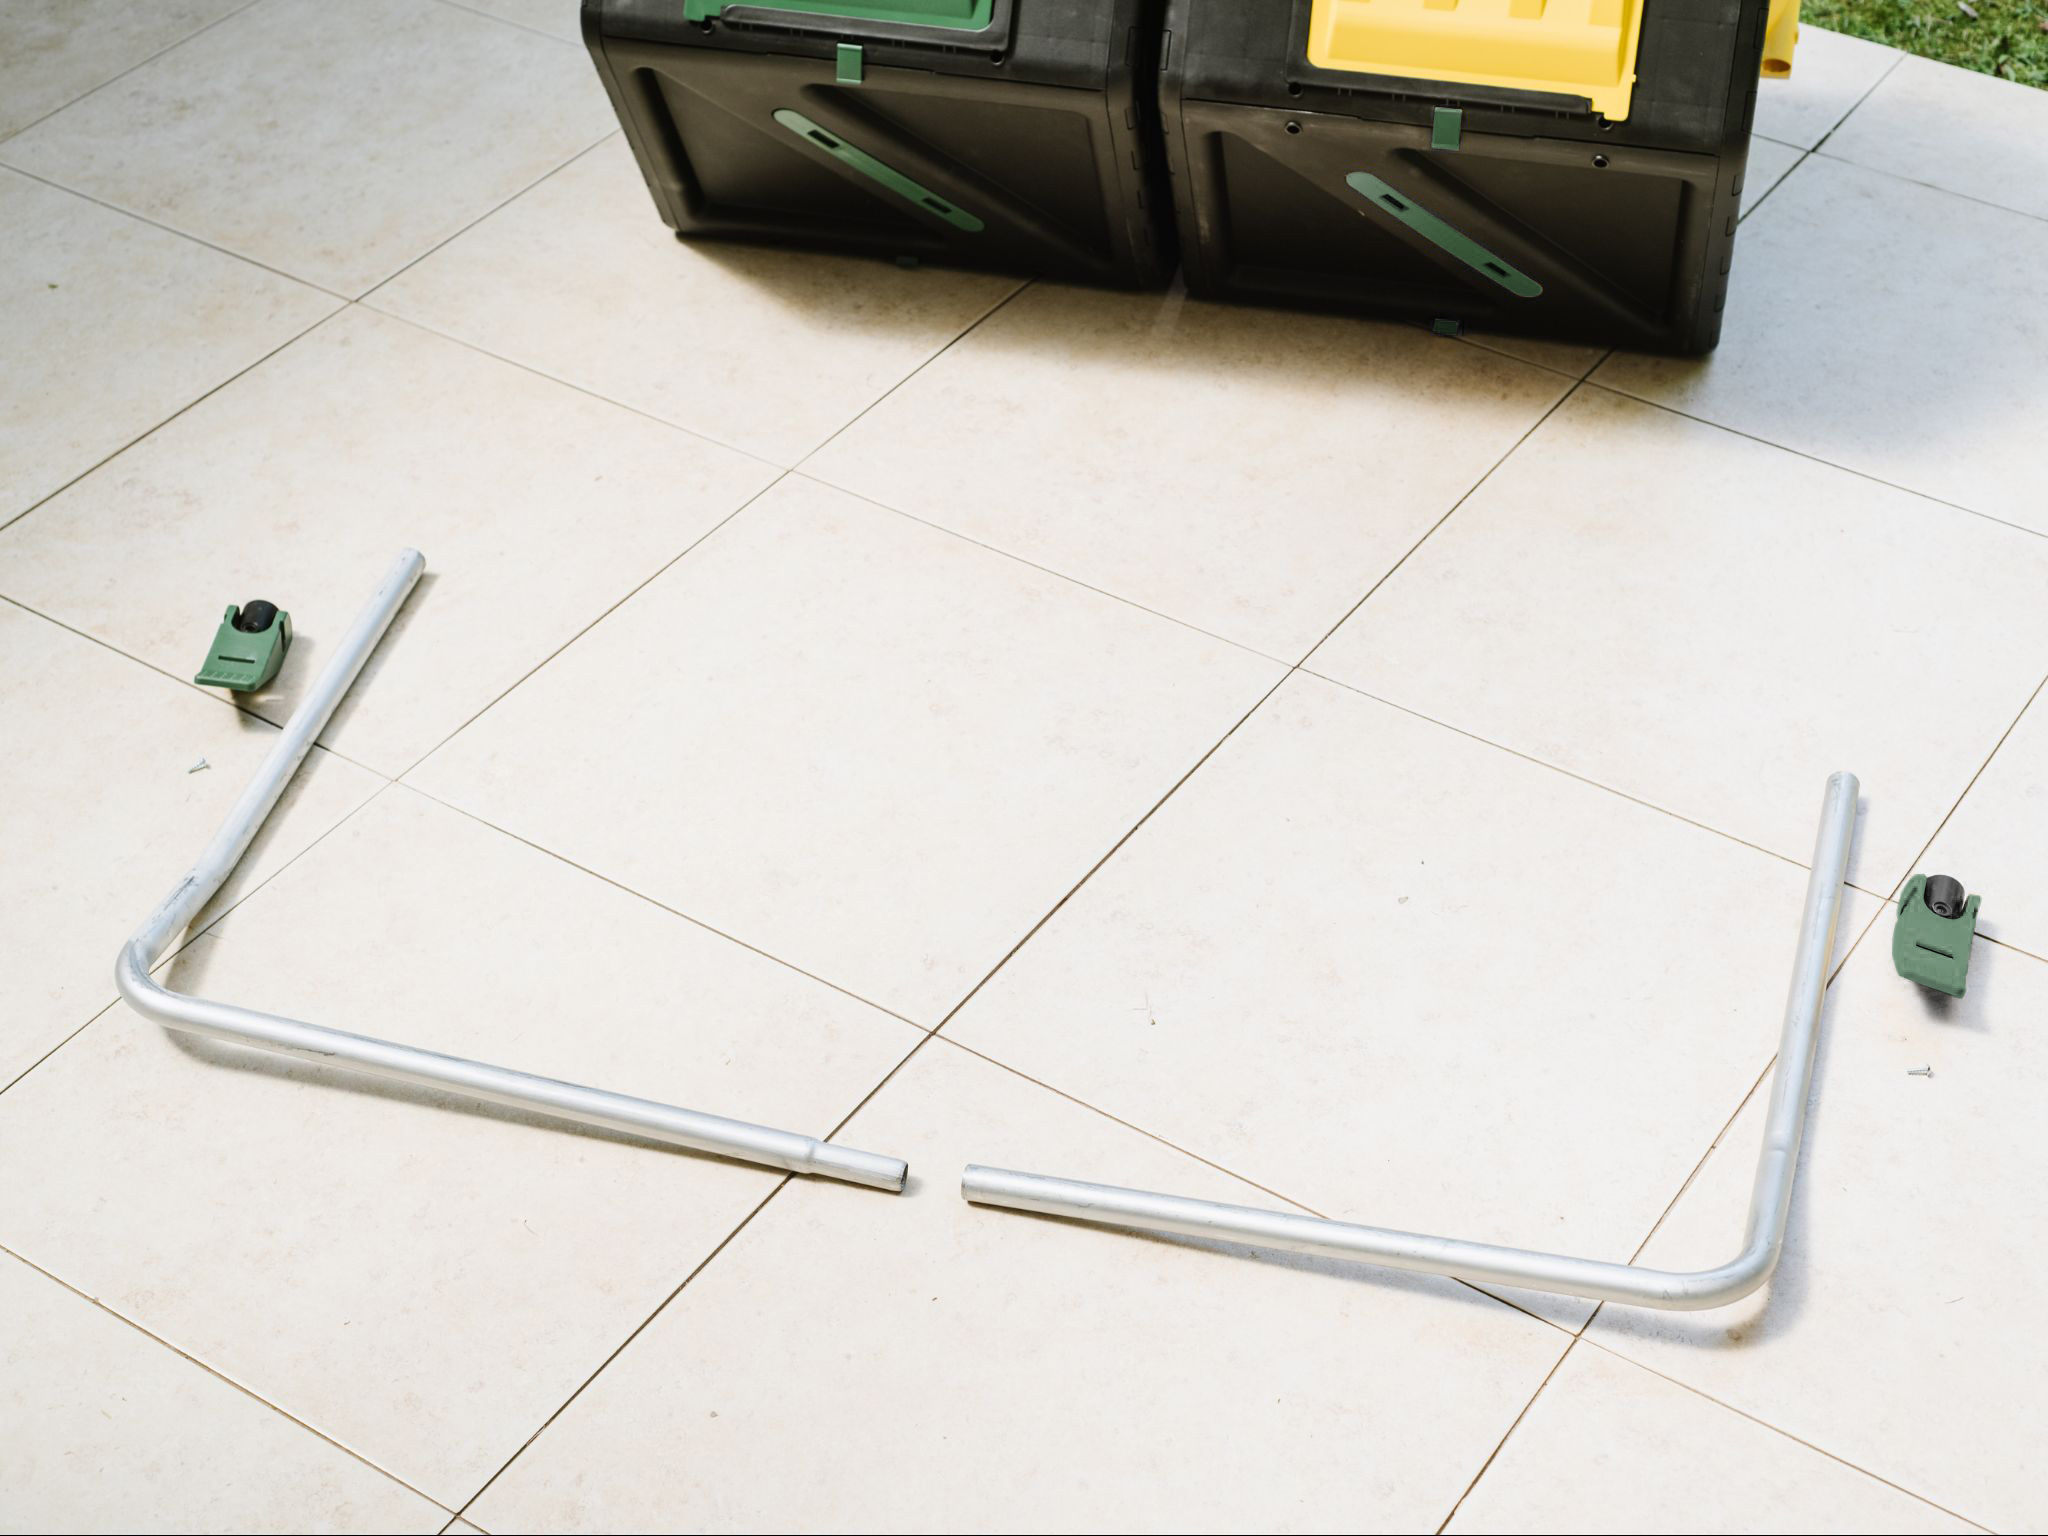
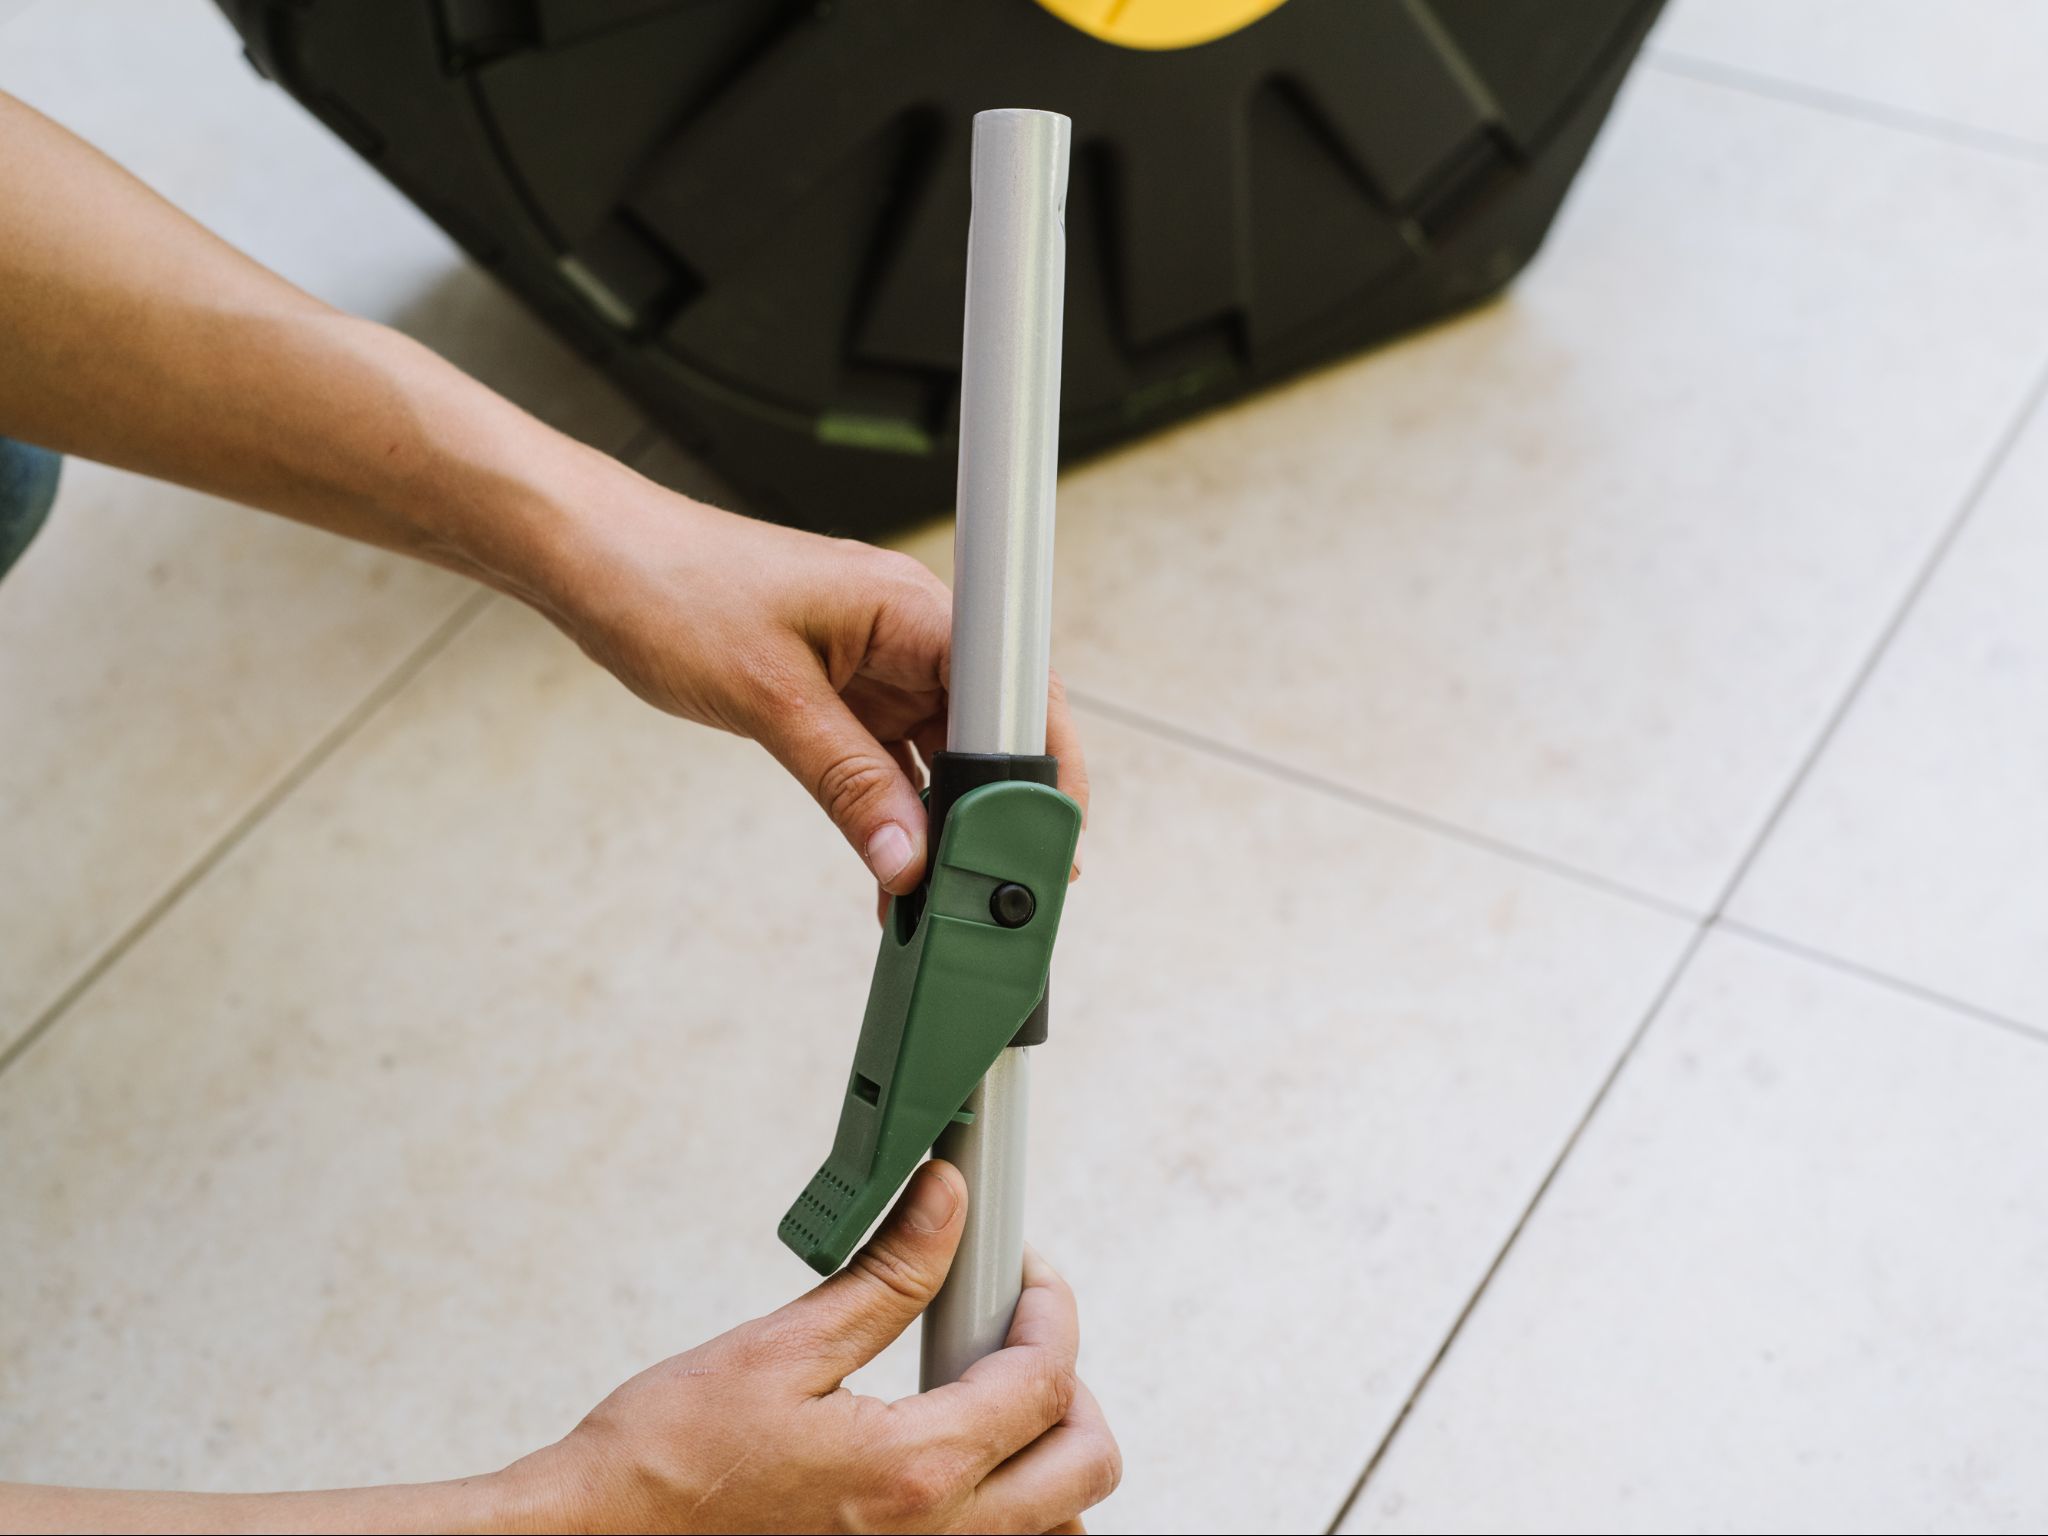
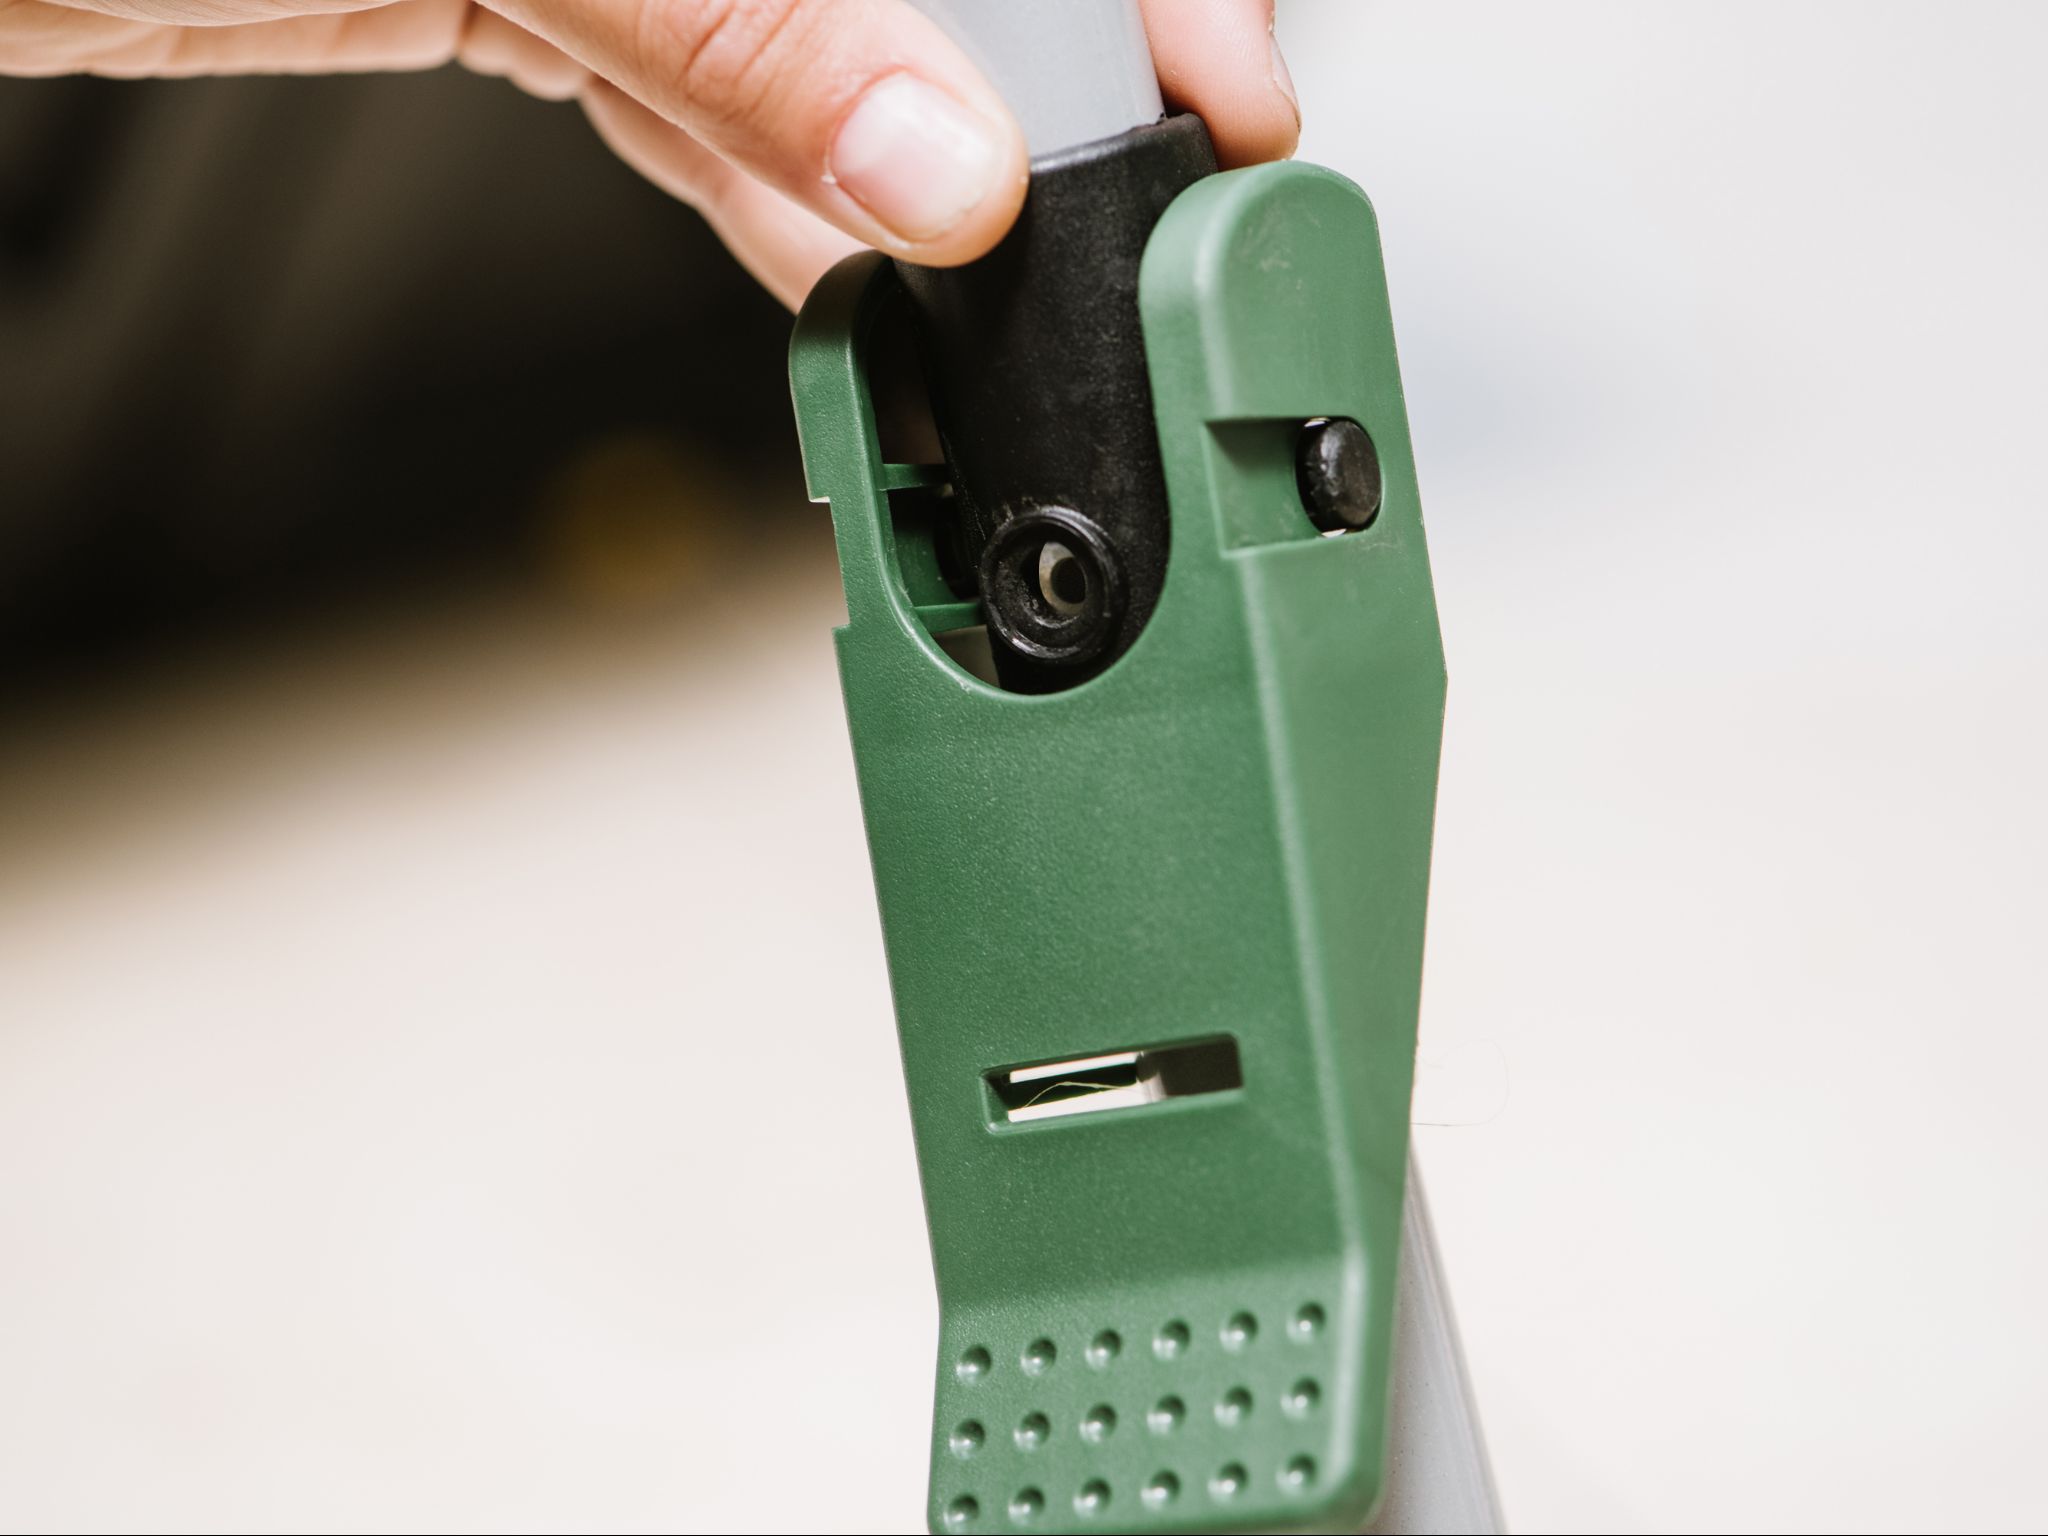
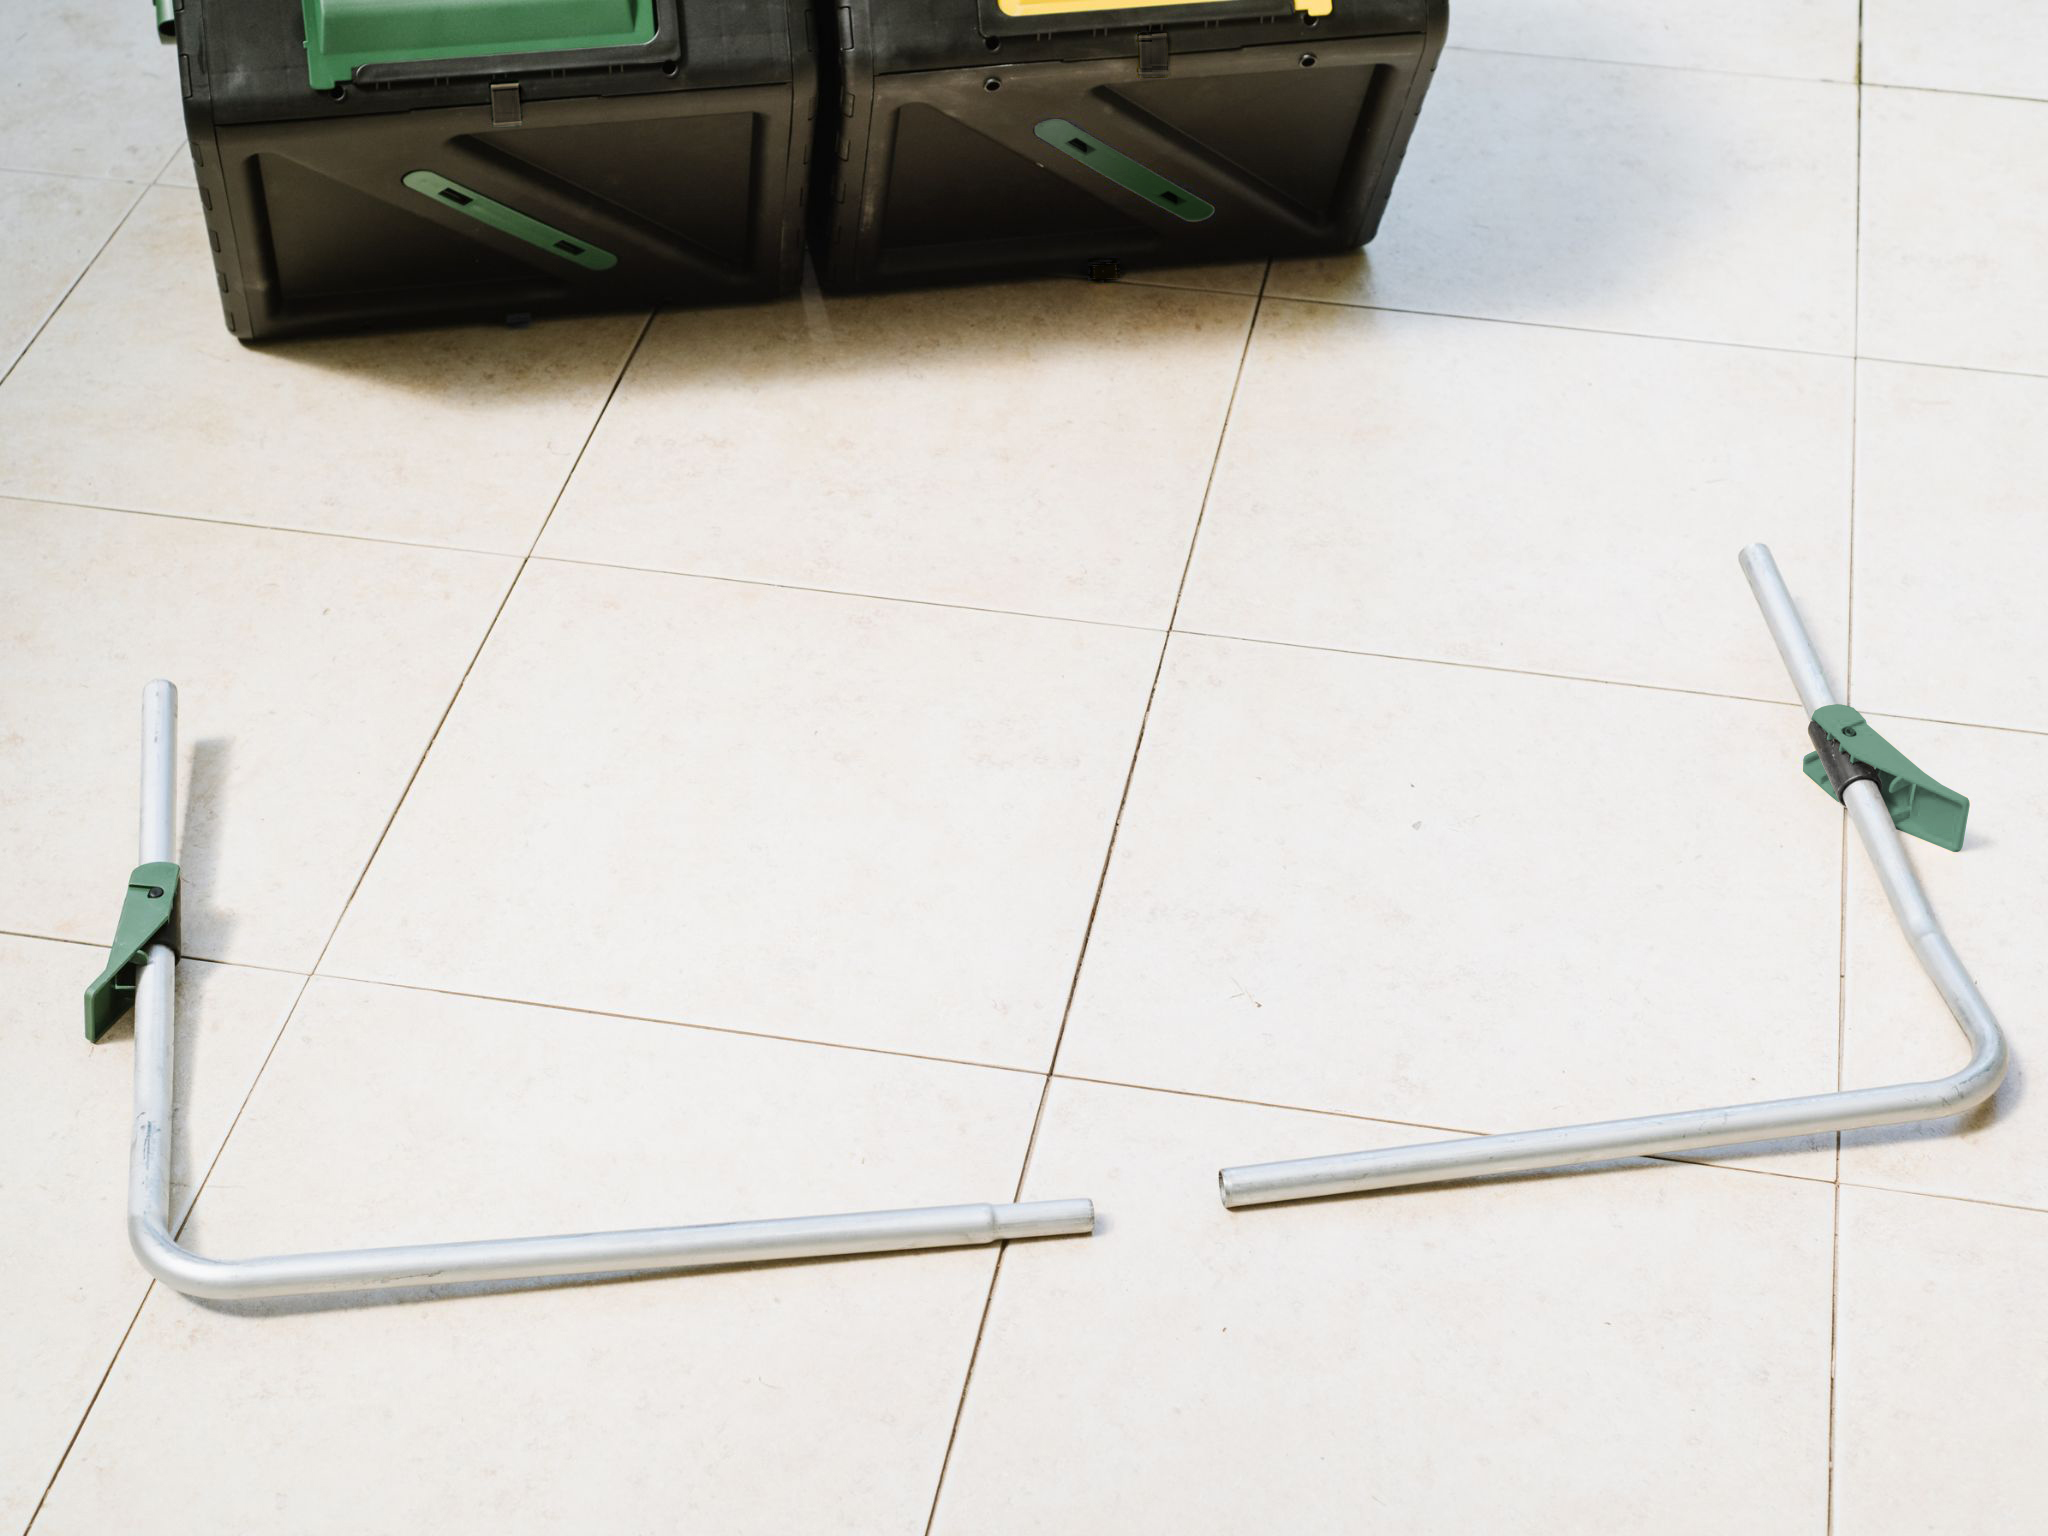
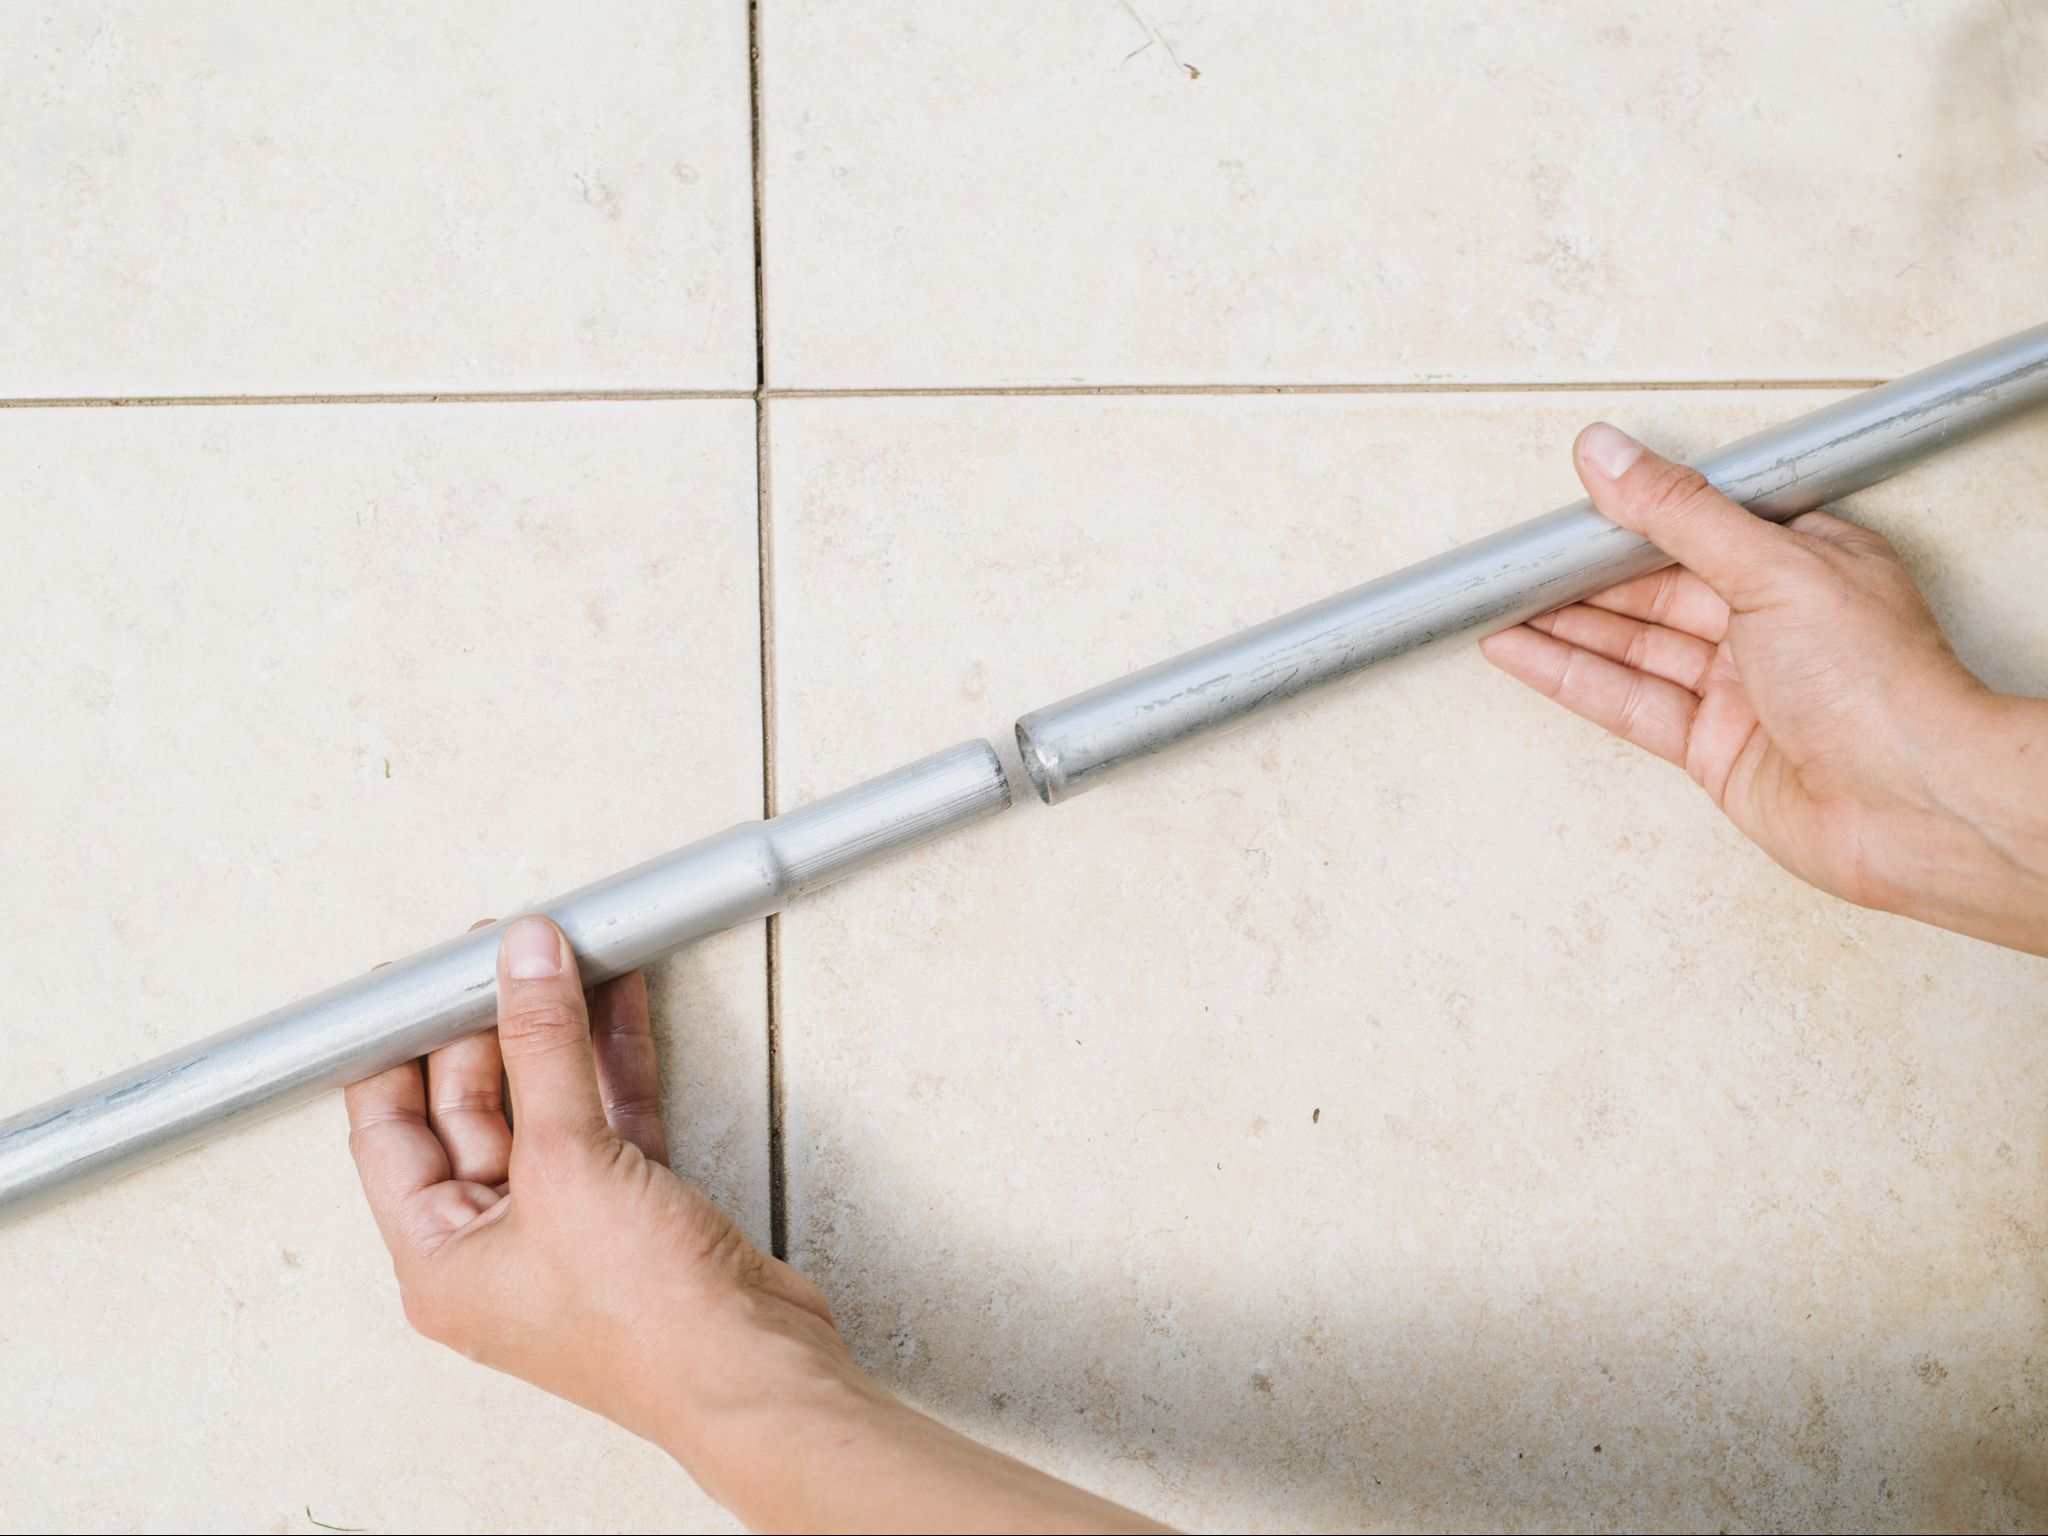
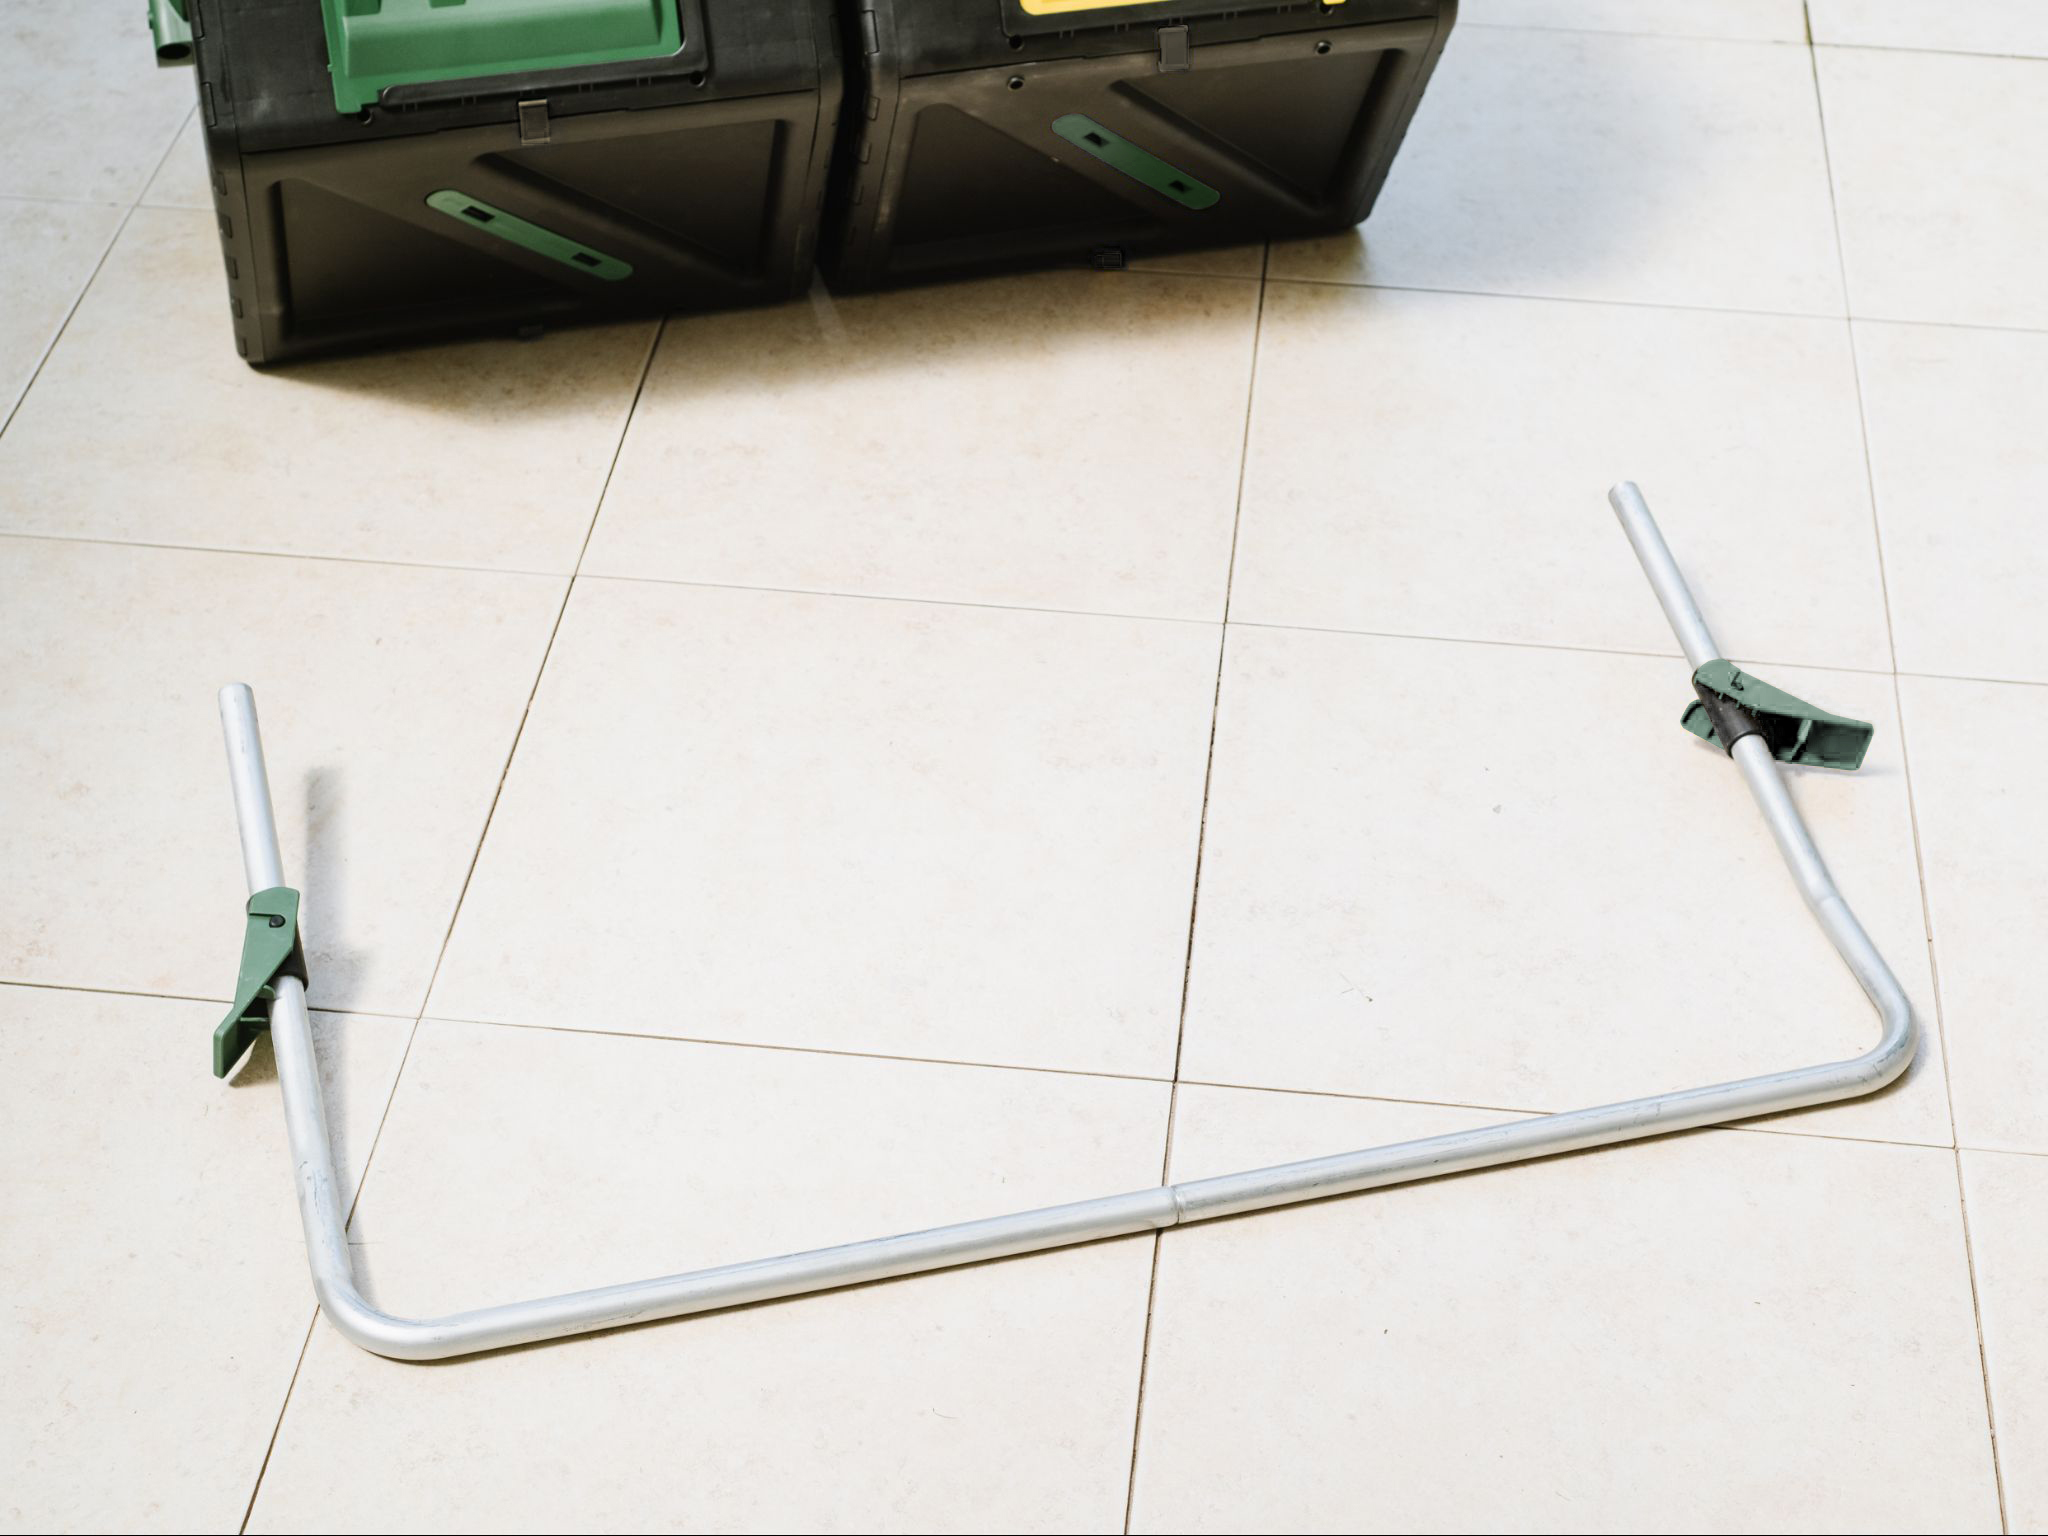
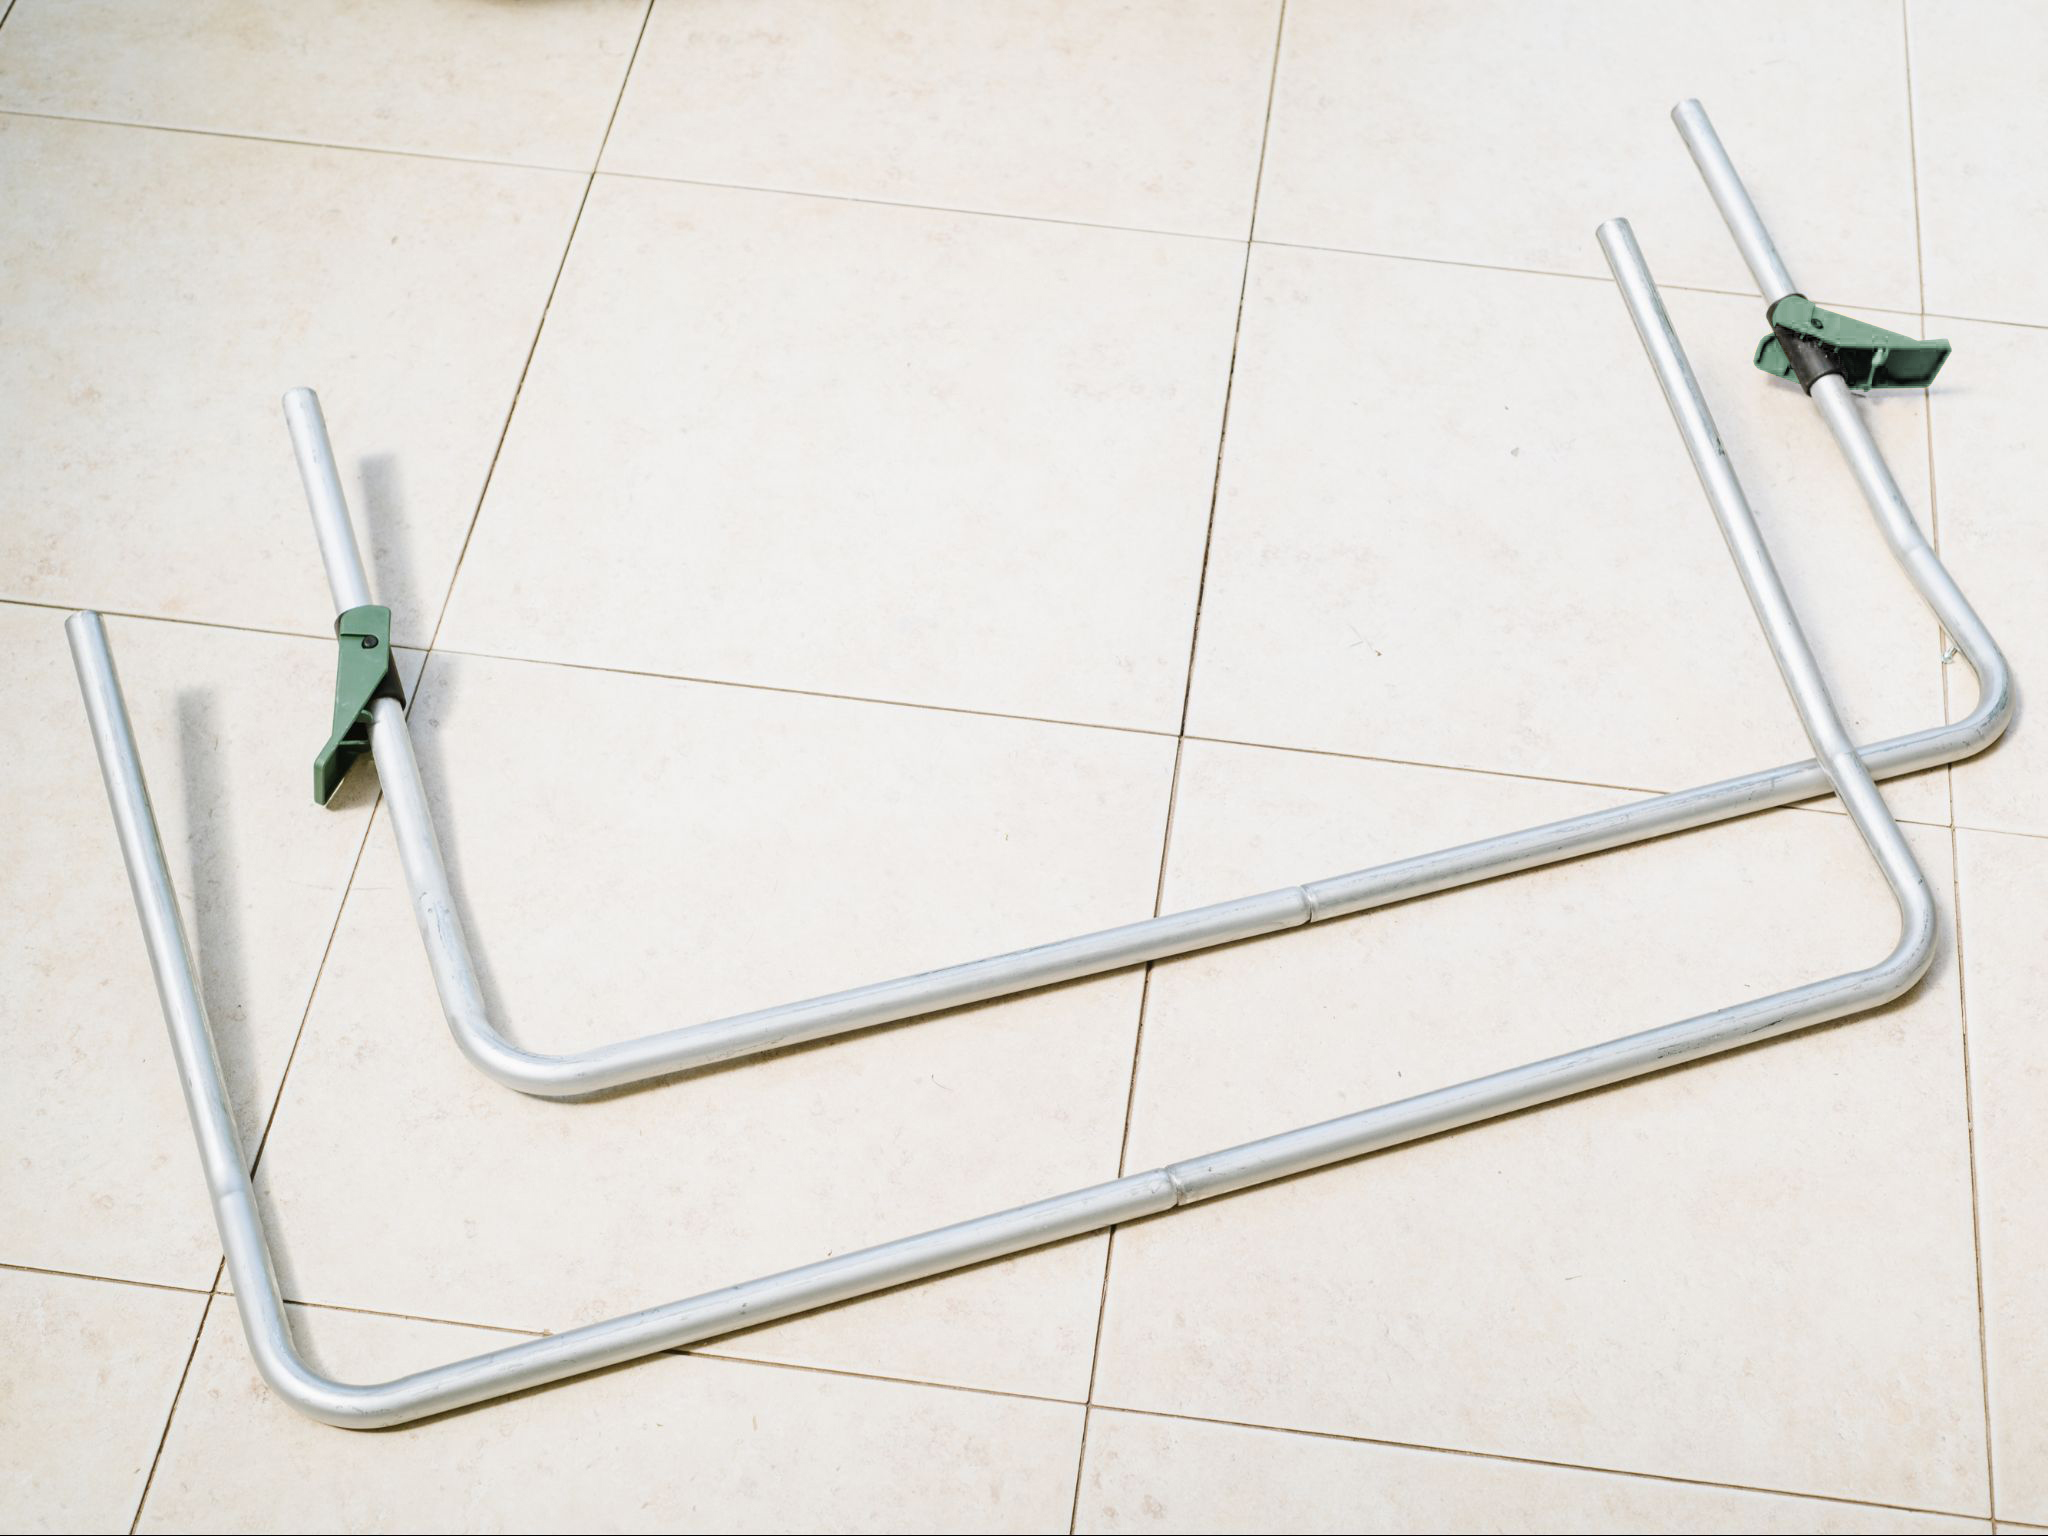
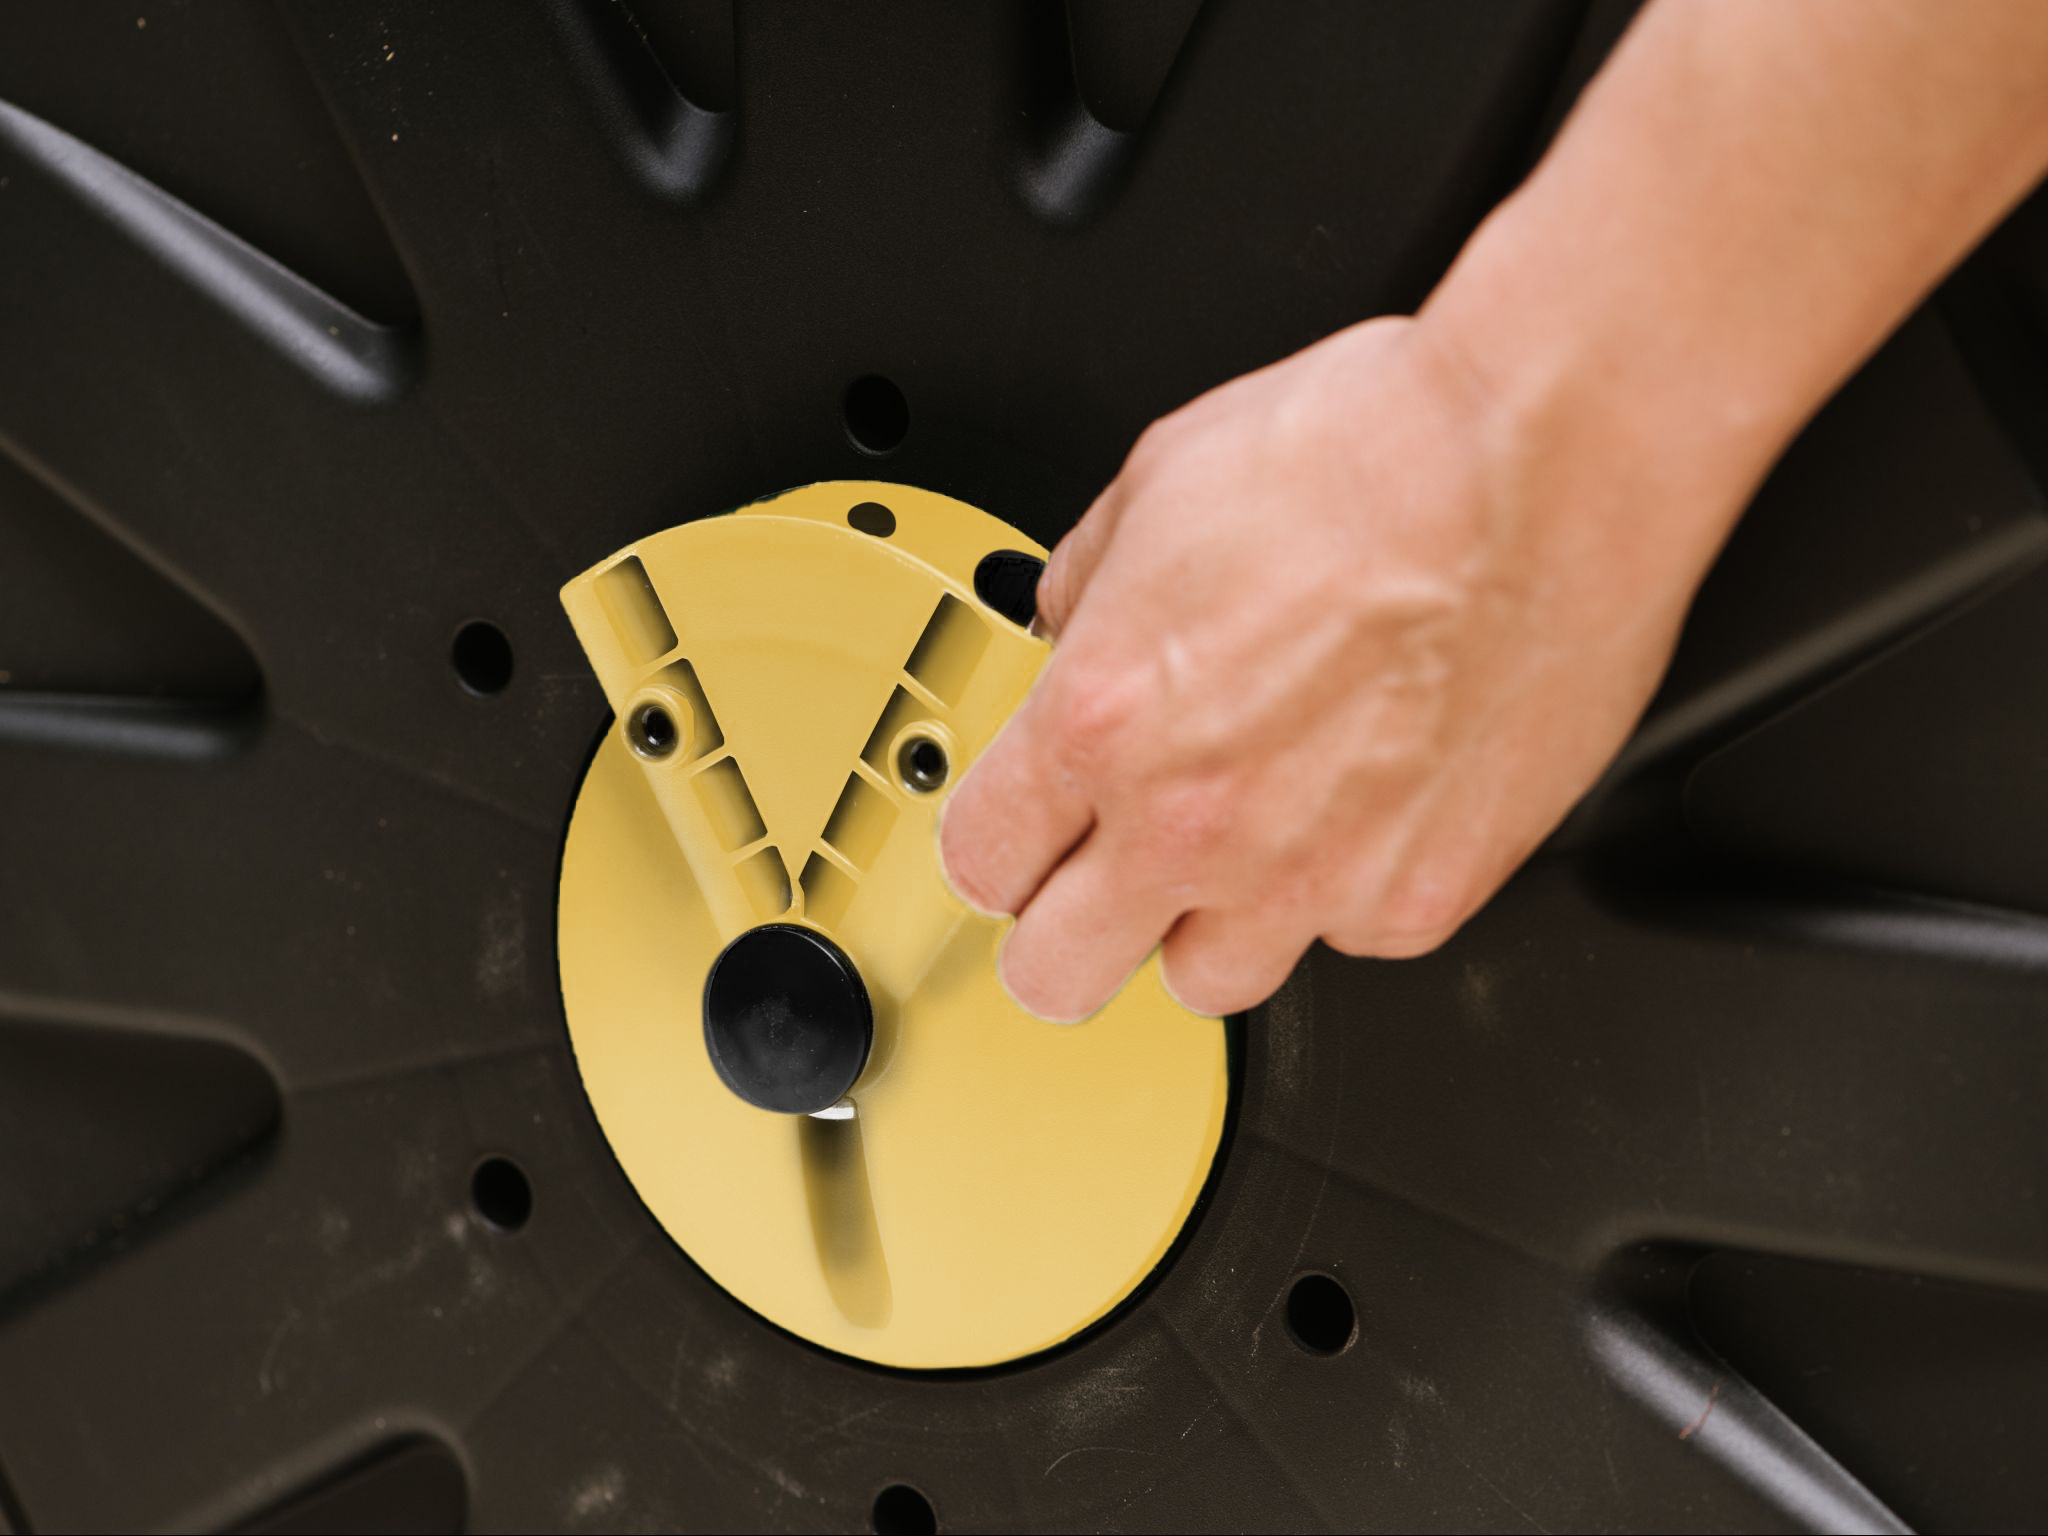
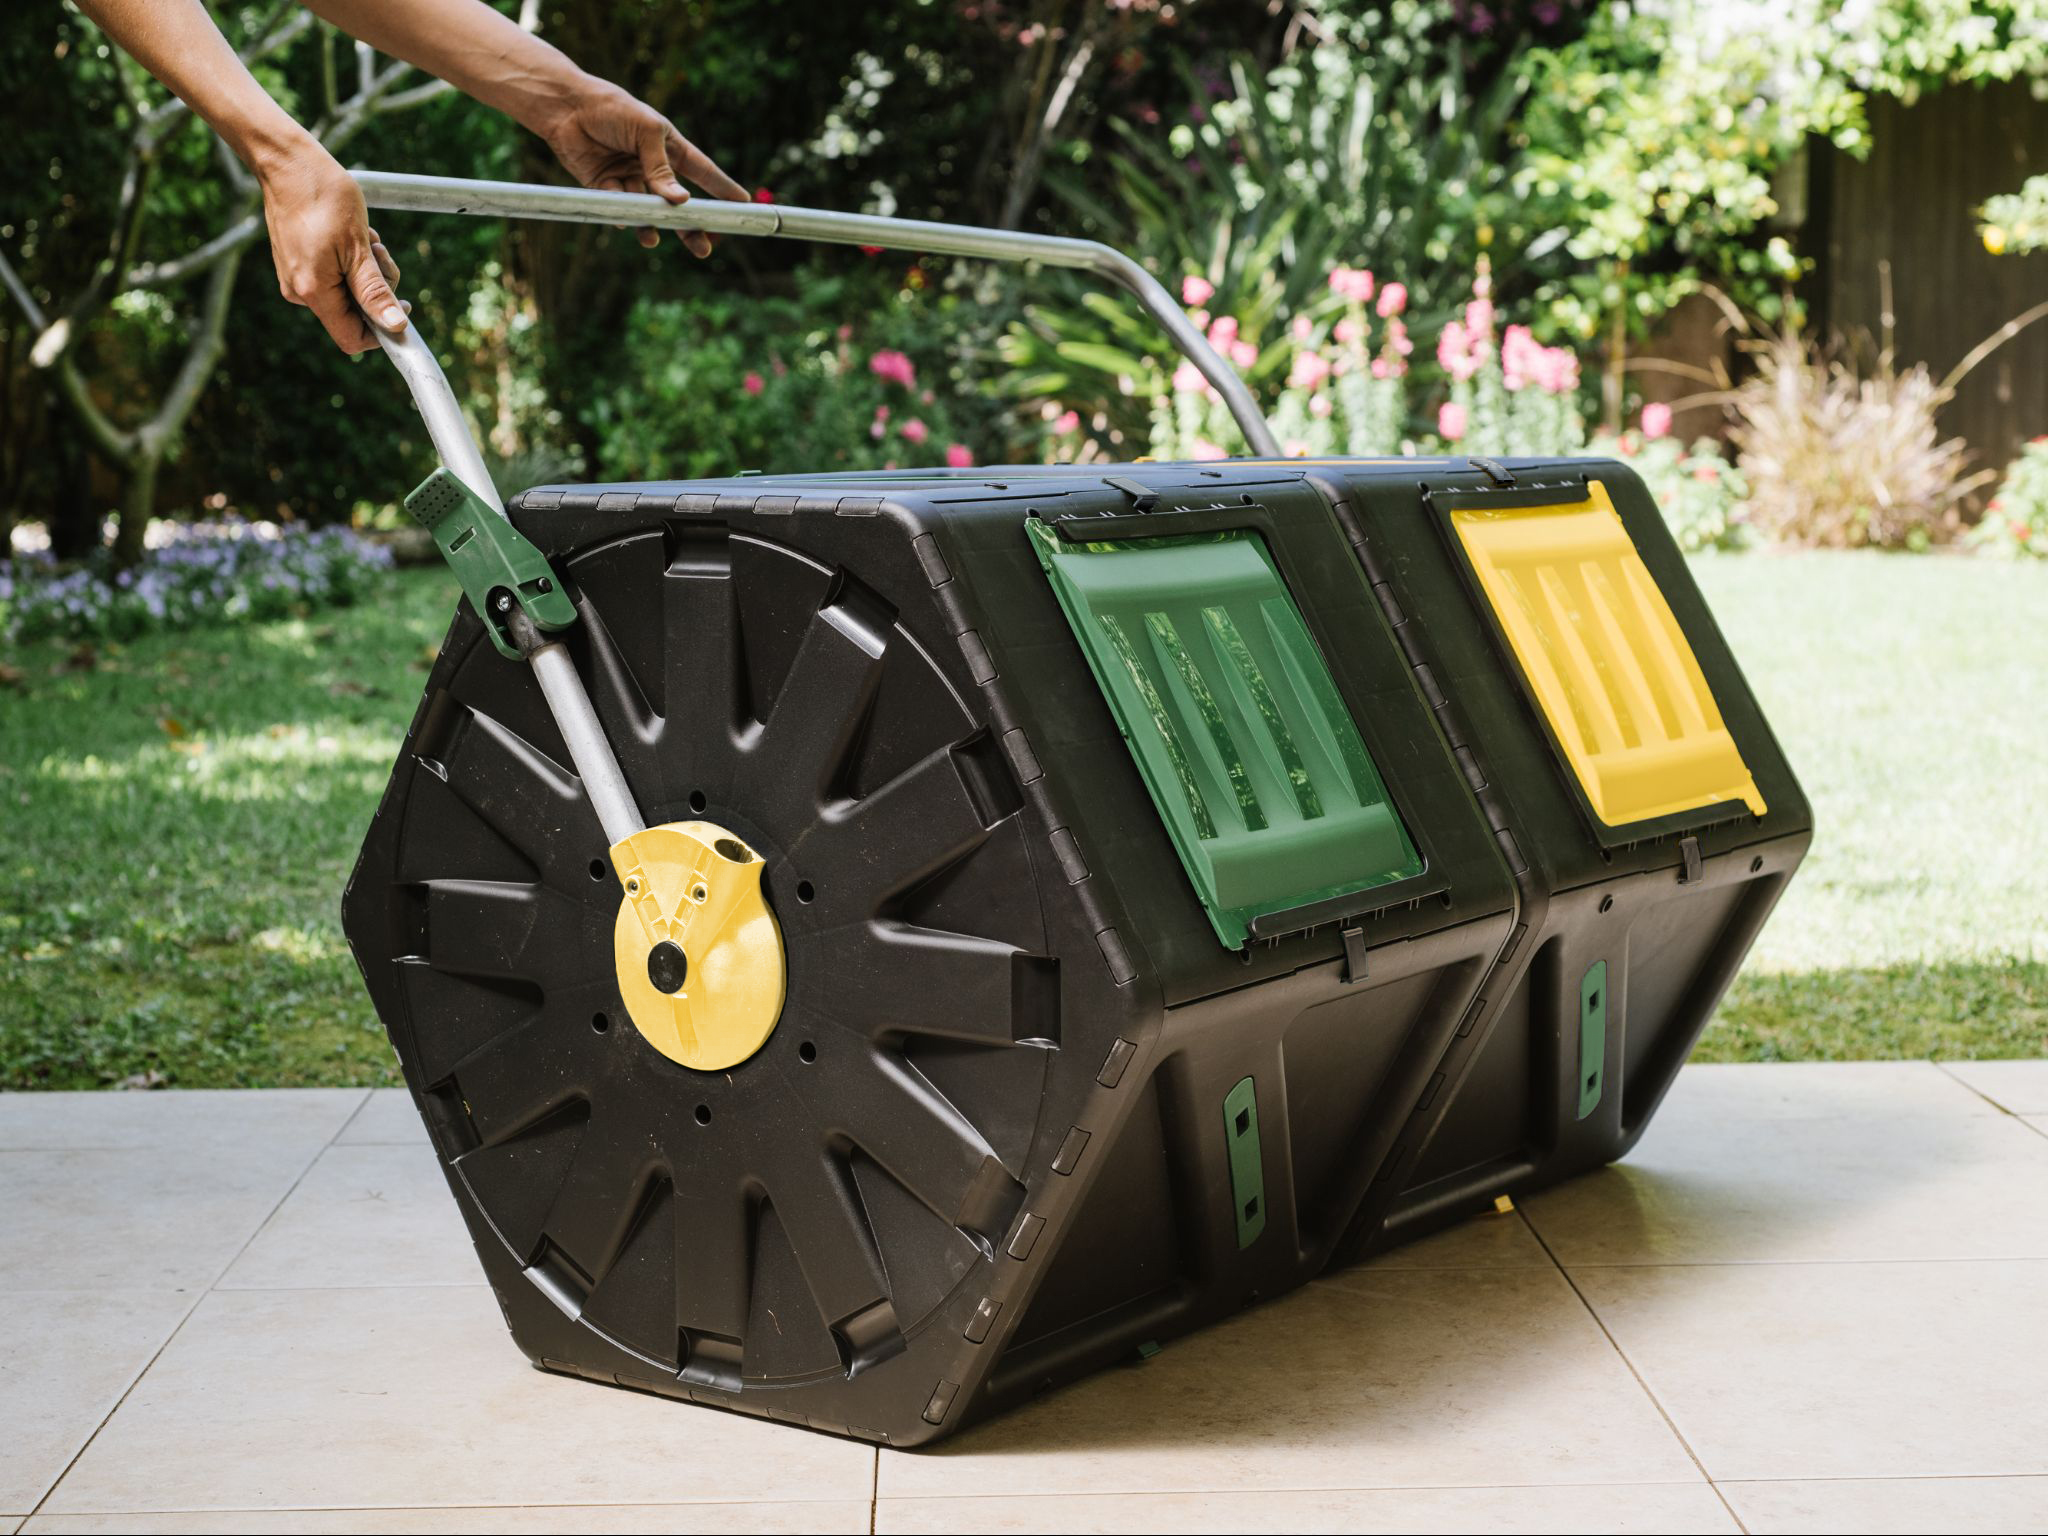
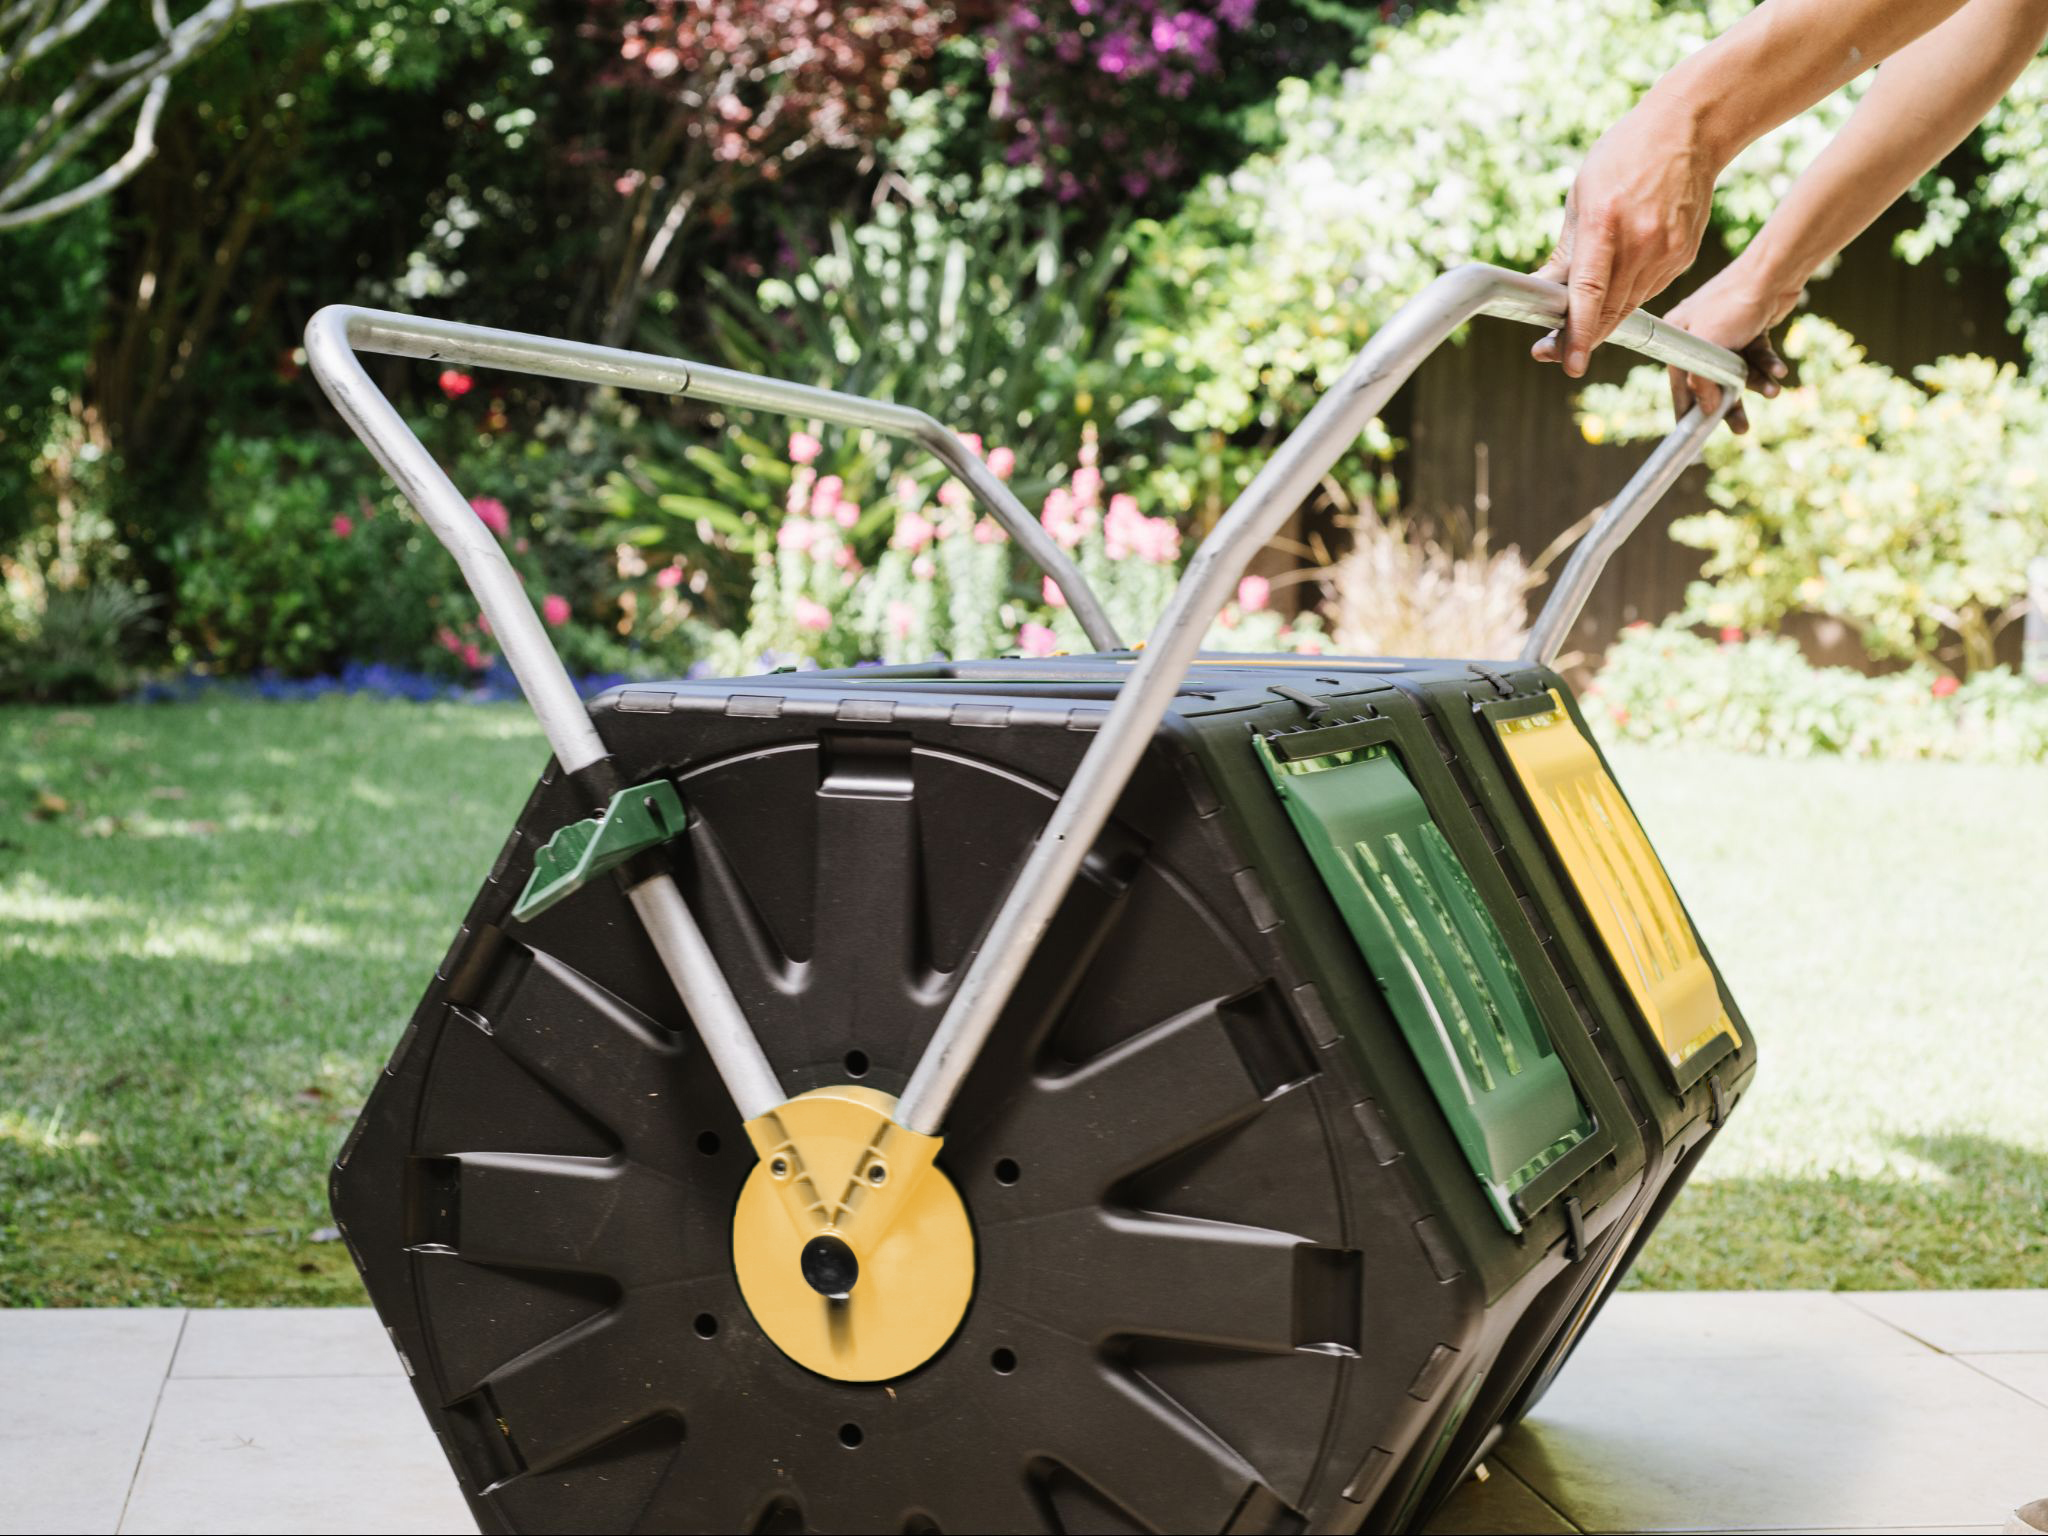
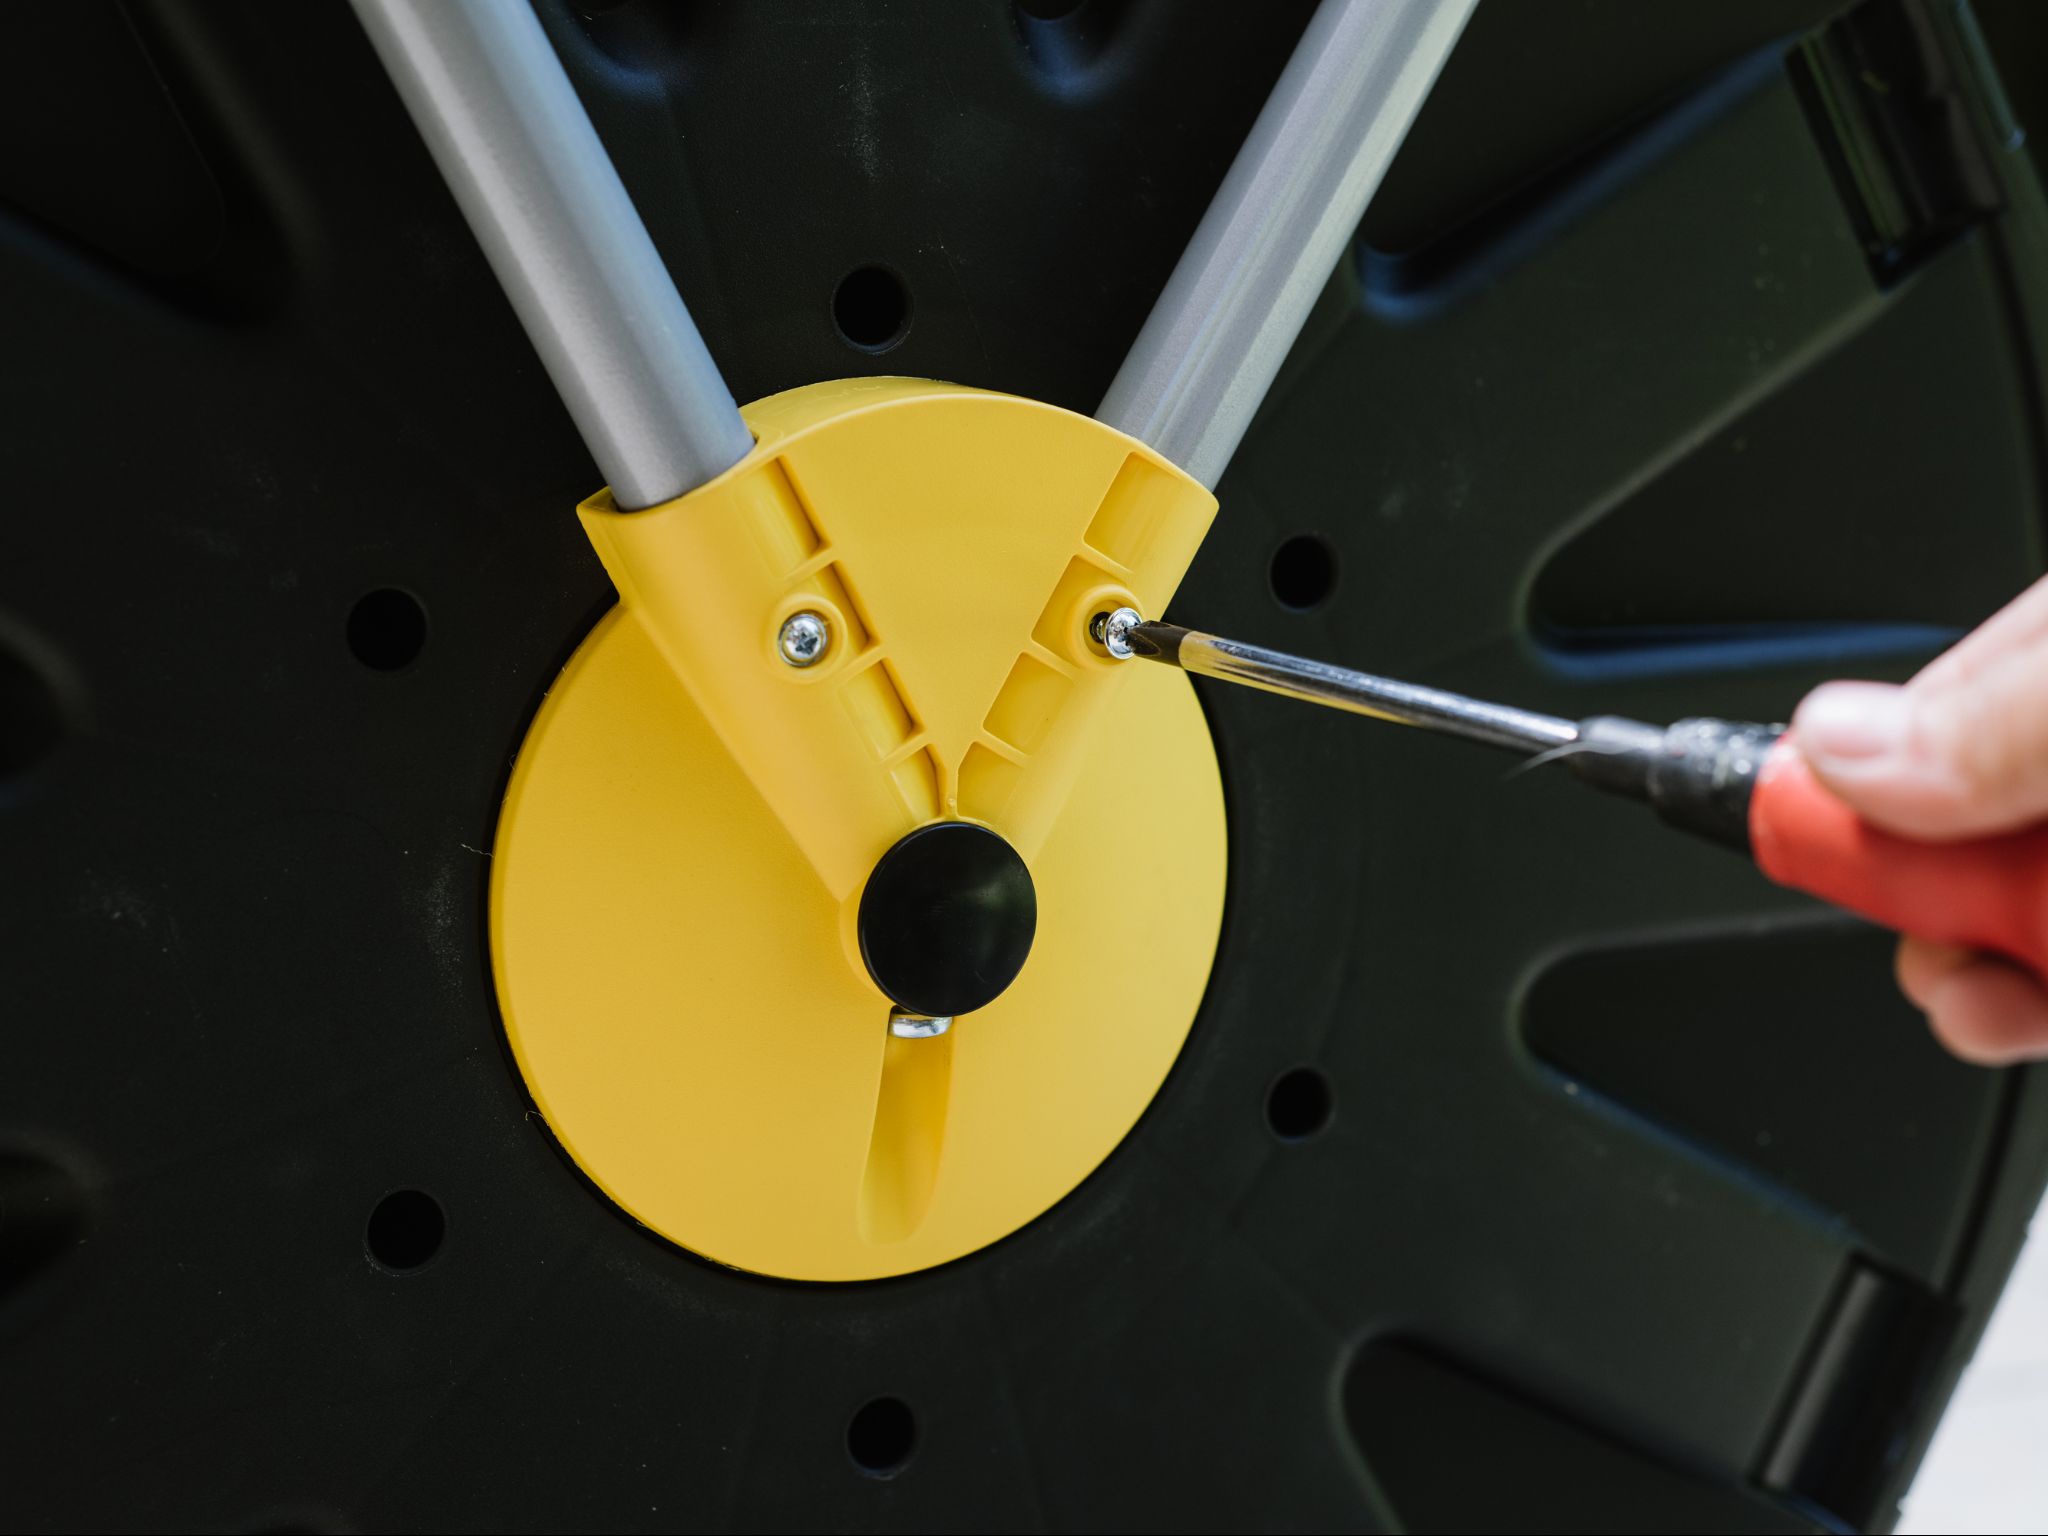
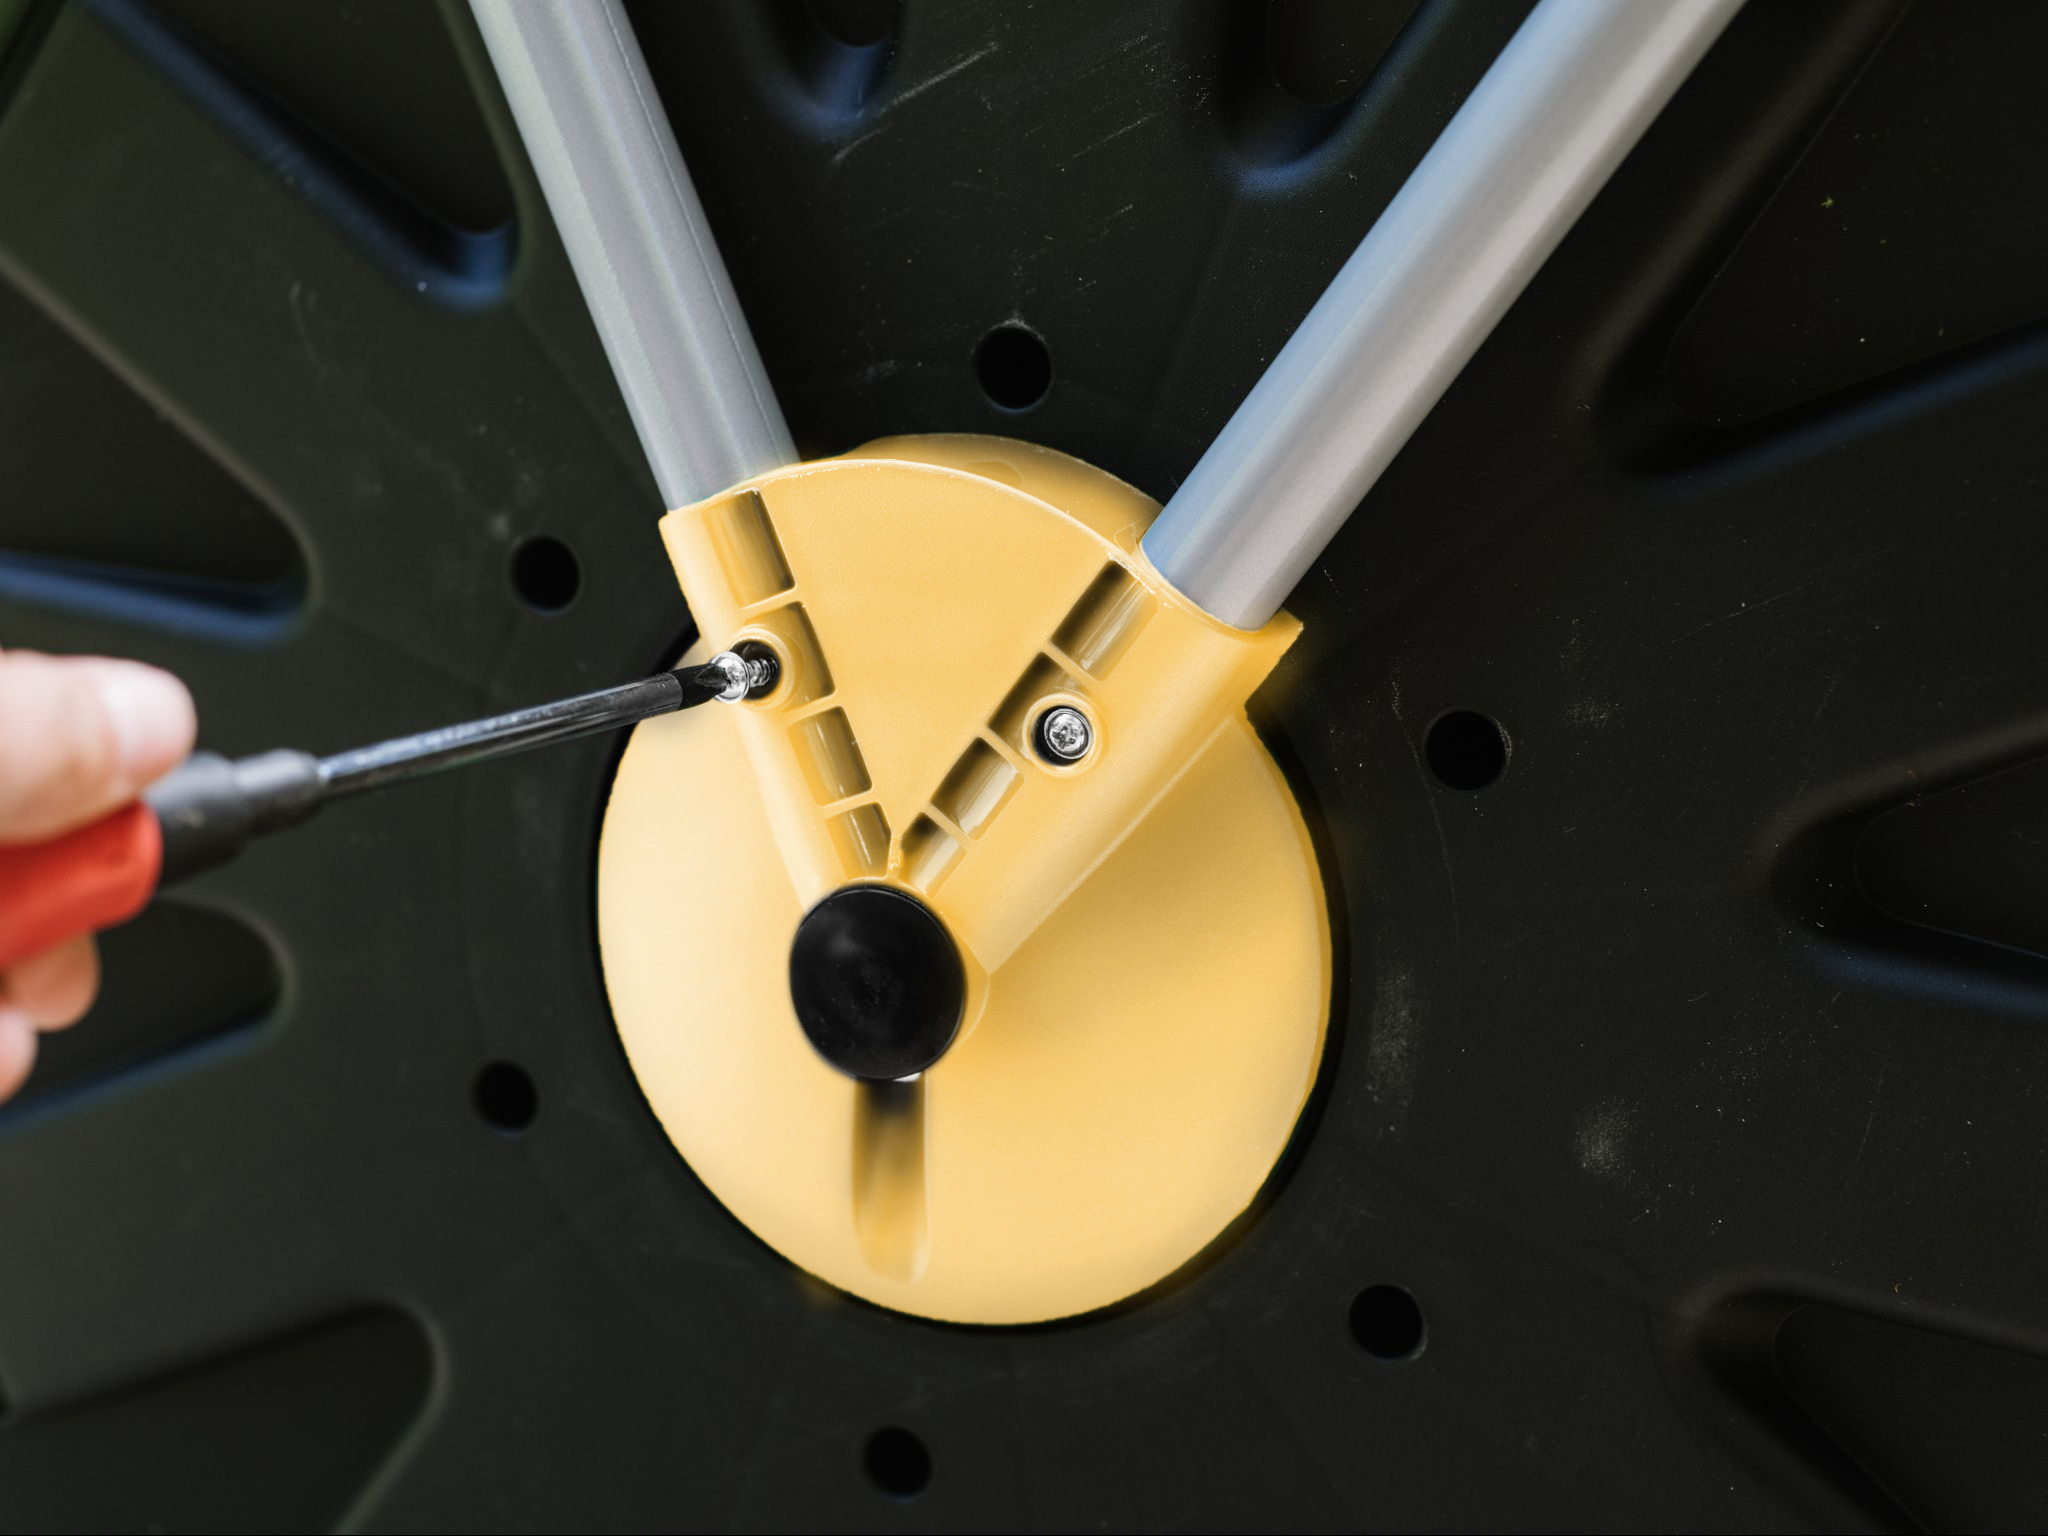
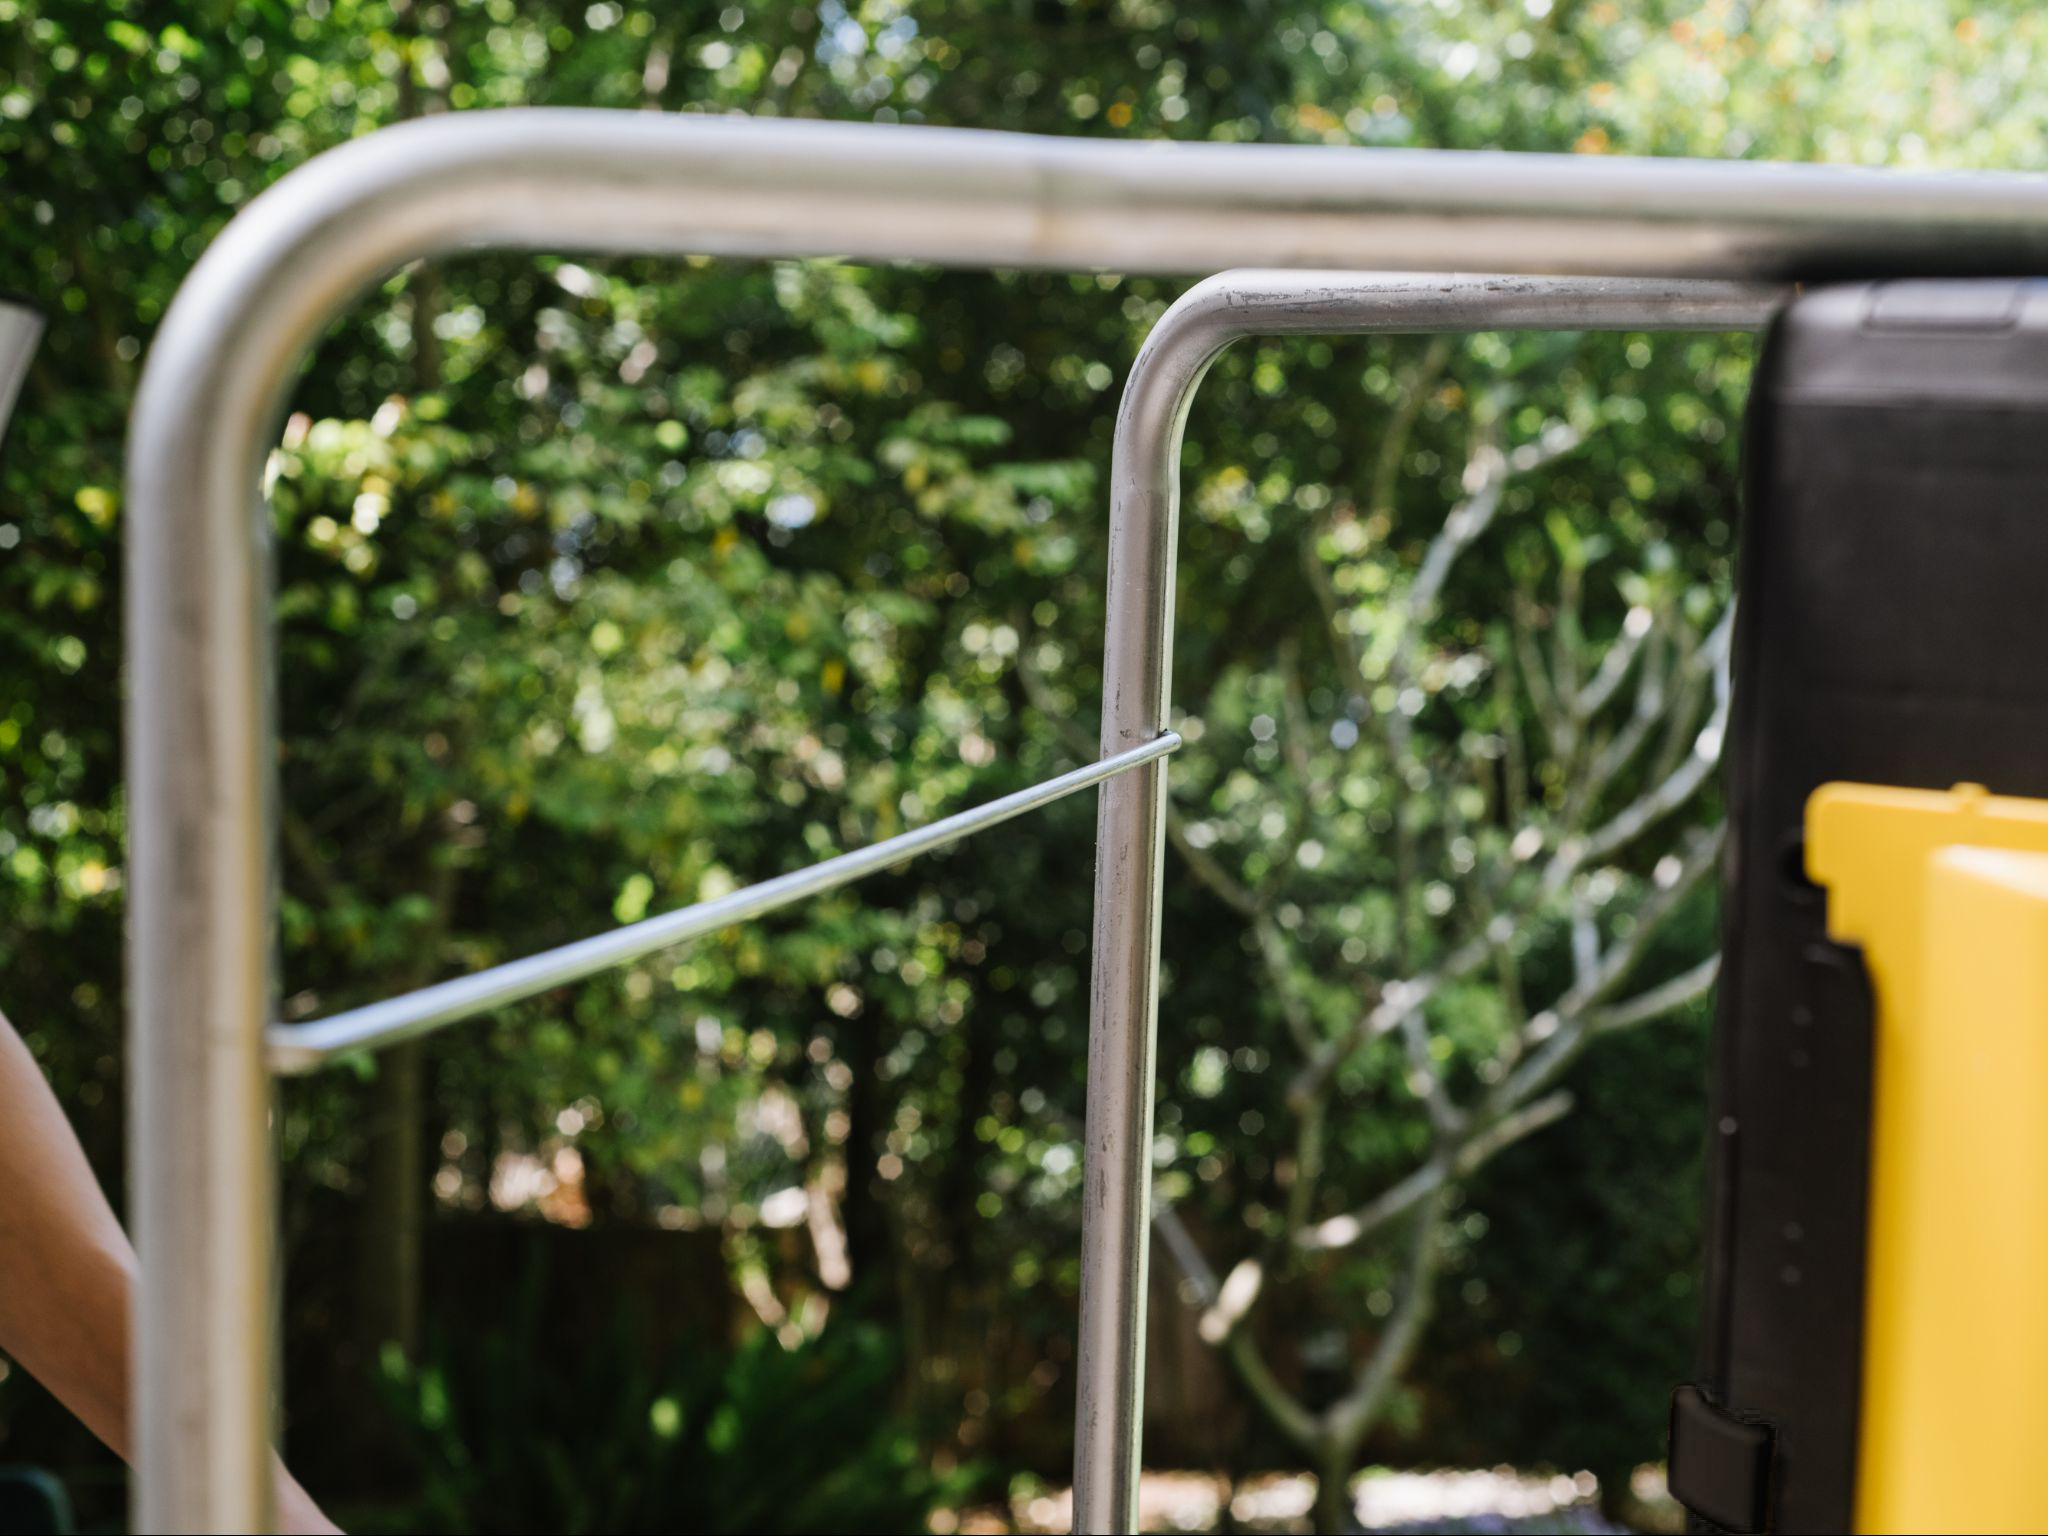
Insert the axis from the direction the container door opens to
In order for compost to be efficient, it requires a correct mixture ratio of “brown”(carbon) and “green” (nitrogen) materials. Water should be added only when necessary and the tumbler should be turned…
Get the best composting tips and special offers!